# Guard for Web
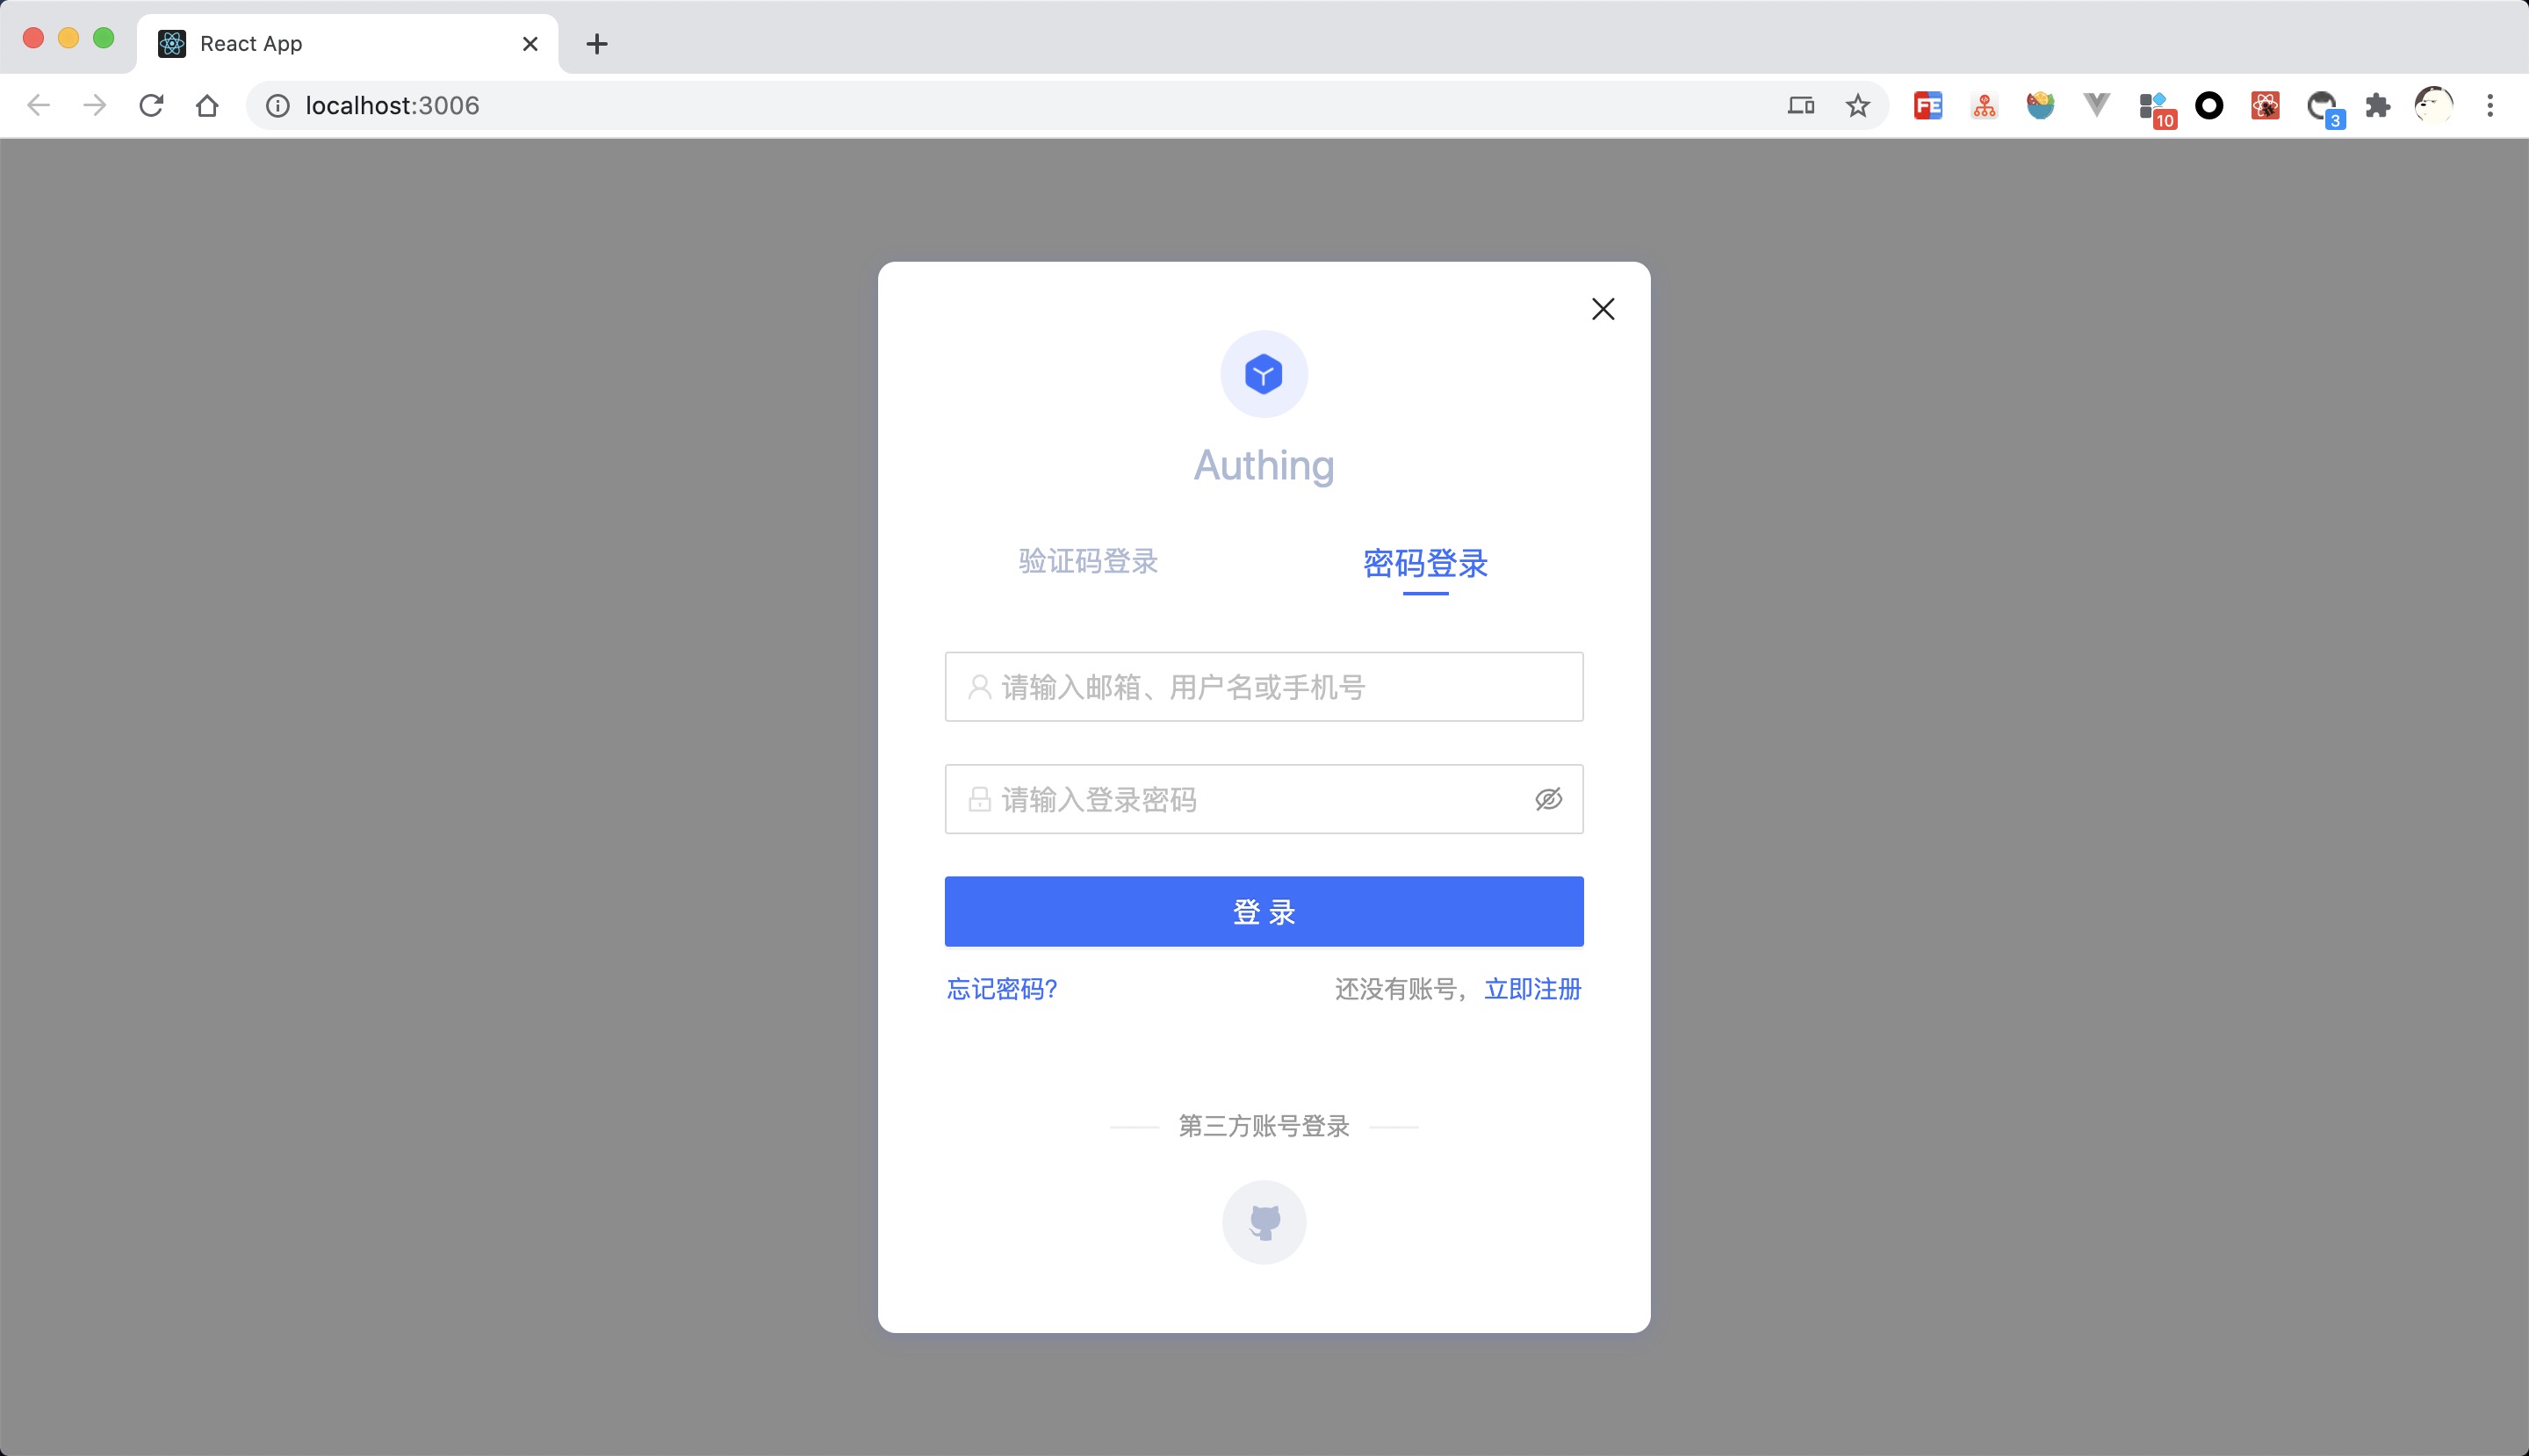
Guard 是一种可嵌入的登录表单,可根据你的需求进行配置,建议用于单页面应用程序。 它使你可以轻松添加各种社会化登录方式,以便你的用户可以无缝登录,并且在不同平台拥有一致的登录体验。
该表单拥有以下基本功能:
- 登录:
- 账号密码登录(包括手机号 + 密码、邮箱 + 密码、用户名 + 密码);
- 手机验证码登录;
- APP 扫码登录(需先接入 APP 扫码登录);
- 小程序扫码登录(需先在后台配置);
- 社会化登录,如 Github 登录(需先在后台配置);
- 企业身份源登录(需要配置企业身份源);
- 注册:
- 账号密码注册;
- 手机验证码注册;
- 忘记密码以及重置密码;
- MFA 认证;
- 响应式特性(兼容移动端和 PC 端);
- 完整的 UI 自定义功能;
- 兼容主流前端 UI 库:
- 原生 JavaScript 调用;
- Vue 组件;
- React 组件;
- Angular 组件。
在线示例
# Guard for Native JavaScript
Native JavaScript,即原生 JavaScript,若你的项目没有使用 React, Vue, Angular 等框架,可通过原生 JavaScript 版本命令式调用 Guard。
# 基本使用
# 1. 通过 npm 安装使用
安装
$ yarn add @authing/native-js-ui-components

# OR

$ npm install @authing/native-js-ui-components --save
使用
import { AuthingGuard } from '@authing/native-js-ui-components'
// 引入 css 文件
import '@authing/native-js-ui-components/lib/index.min.css'

const guard = new AuthingGuard('AUTHING_APP_ID')

// 事件监听
guard.on('load', (authClient) => console.log(authClient))
# 2. 通过 cdn 引入使用
引入代码
// JavaScript 代码
<script src="https://cdn.jsdelivr.net/npm/@authing/native-js-ui-components"></script>
...
// CSS 文件
<link href="https://cdn.jsdelivr.net/npm/@authing/native-js-ui-components/lib/index.min.css" rel="stylesheet"></link>
使用
<script>
var guard = new AuthingNativeJsUIComponents.AuthingGuard("AUTHING_APP_ID")

// 事件监听
guard.on("load", authClient => console.log(authClient))
</script>
# 事件监听
Guard 会在整个声明周期中触发各种事件,如:登录成功、注册成功、登录失败...监听这些事件的方法如下:
...
// Guard 检测 appId 参数完成
guard.on("load", authClient => {
    console.log(authClient)
})
// 用户登录成功
guard.on("login", (user, authClient) => {
    console.log(user, authClient)
})
...
更多事件请查看完整事件列表
# API
# 构造函数 new Guard(appId, config)
初始化一个新的 Guard 实例。
appId 为应用 ID,必须传入。
config 是 Guard 的高级配置,详细请查看高级配置
# Guard 实例
Guard 实例提供了三个方法:
| 方法名 | 方法参数 | 功能 |
|---|---|---|
| on | evtName: 事件名,详细请查看事件列表 Handler: 对应事件的处理函数 | 监听某个事件 |
| show | - | modal 模式中显示表单 |
| hide | - | modal 模式中隐藏表单 |
# 在线体验
# Guard for React
# 基本使用
# 1. 通过 npm 安装使用
安装
$ yarn add @authing/react-ui-components

# OR

$ npm install @authing/react-ui-components --save
使用
import React from 'react'
import ReactDOM from 'react-dom'
import { AuthingGuard } from '@authing/react-ui-components'
// 引入 css 文件
import '@authing/react-ui-components/lib/index.min.css'

const App = () => {
  const appId = 'AUTHING_APP_ID'
  const config = {
    logo: 'https://usercontents.authing.cn/client/logo@2.png',
    title: 'Authing',
    socialConnections: ['github'],
  }
  const onLogin = (userInfo) => {
    console.log(userInfo)
  }
  return <AuthingGuard appId={appId} config={config} onLoding={onLogin} />
}

ReactDOM.render(<App />, root)
# 2. 通过 cdn 引入使用
引入代码
// JavaScript 代码
<script src="https://cdn.jsdelivr.net/npm/@authing/react-ui-components"></script>
...
// CSS 文件
<link href="https://cdn.jsdelivr.net/npm/@authing/react-ui-components/lib/index.min.css" rel="stylesheet"></link>
使用
<script>
var App = () => {
    const appId = "AUTHING\_APP\_ID"
    const config = {
    logo: "https://usercontents.authing.cn/client/logo@2.png",
    title: "Authing",
    socialConnections: ['github'],
  }
  const onLogin = (userInfo) => {
    console.log(userInfo)
  }
    return <AuthingReactUIComponents.AuthingGuard appId={appId} config={config} onLogin={onLogin} />
}

ReactDOM.render(<App />, root);
</script>
# 参数
| 参数名 | 说明 | 是否必传 | 默认值 |
|---|---|---|---|
| appId | 应用 ID | 是 | - |
| config | Guard 高级配置,同高级配置,注意,这里无需 传入 target 参数 | 否 | - |
| visible | modal 模式时表单是否可见 | 否 | · |
# 事件监听
所有事件请查看事件列表,注意在 React 中,事件监听应采用小驼峰命名,如:onLogin, onLoginError
# hooks
Guard 提供了 useAuthing 便于对用户进行管理:
import React, { useEffect } from 'react'
import { useAuthing, initAuthClient } from '@authing/react-ui-components'
// 在使用 useAuthing 前先初始化 authClient
initAuthClient({
  appId: 'AUTHING_APP_ID',
})

export const useInfo = () => {
  const { authClient } = useAuthing()
  const [user, setUser] = useState()

  useEffect(() => {
    authClient.getCurrent().then((user) => setUser(user))
  }, [])

  return <div>Username: {user && user.username}</div>
}
useAuthing 可传入参数的参数同 initAuthClient,返回值为一个对象,对象各属性说明如下:
| key | 说明 |
|---|---|
| authClient | AuthenticationClient 实例 |
# 在线体验
# Guard for Vue
# 基本使用
# 1. 通过 npm 安装使用
安装
$ yarn add @authing/vue-ui-components

# OR

$ npm install @authing/vue-ui-components --save
使用
<template>
<AuthingGuard :appId="appId" :config="config" @register="handleRegister" />
</template>
<script>
import { AuthingGuard } from "@authing/vue-ui-components"

export default {
  components: {
    AuthingGuard
  },
  data() {
    return {
      appId: "AUTHING\_APP\_ID",
      config: {
        socialConnections: ['github'],
        logo: "https://usercontents.authing.cn/client/logo@2.png",
        title: "Authing",
      },
    };
  },
  methods: {
    handleRegister(*user*) {
      console.log(user)
    }
  },
};
</script>
# 2. 通过 cdn 引入使用
引入代码
// JavaScript 代码
<script src="https://cdn.jsdelivr.net/npm/@authing/vue-ui-components"></script>
...
// CSS 文件
<link href="https://cdn.jsdelivr.net/npm/@authing/vue-ui-components/lib/index.min.css" rel="stylesheet"></link>
使用
<script>
const appId = "AUTHING\_APP\_ID"
const config = {
  logo: "https://usercontents.authing.cn/client/logo@2.png",
  title: "Authing",
  socialConnections: ['github'],
}

const app = new Vue({
  el: "#app",
  render: h => h(AuthingVueUIComponents.AuthingGuard, {
      props: {
      appId,
      config,
    }
  }),
})
</script>
# 参数
| 参数名 | 说明 | 是否必传 | 默认值 |
|---|---|---|---|
| appId | 应用 ID | 是 | - |
| config | Guard 高级配置,同高级配置,注意,这里无需 传入 target 参数 | 否 | - |
| visible | modal 模式时表单是否可见 | 否 | · |
# 事件监听
所有事件请查看事件列表,监听方式为 @login @login-error 等
# 在线体验
# Guard for Angular
# 基本使用
# 1. 通过 npm 安装使用
安装
$ yarn add @authing/ng-ui-components

# OR

$ npm install @authing/ng-ui-components --save
使用
// app.module.ts
import { BrowserModule } from '@angular/platform-browser'
import { NgModule } from '@angular/core'
import { AuthingGuardModule } from '@authing/ng-ui-components'
import { AppComponent } from './app.component'
@NgModule({
  declarations: [AppComponent],
  imports: [BrowserModule, AuthingGuardModule],
  providers: [],
  bootstrap: [AppComponent],
})
export class AppModule {}

// app.component.ts
import { Component } from '@angular/core'
import {
  CommonMessage,
  AuthenticationClient,
} from 'ng-ui-components'
@Component({
  selector: 'app-root',
  templateUrl: './app.component.html',
  styleUrls: ['./app.component.scss'],
})
export class AppComponent {
  title = 'demo'
  appId = 'AUTHING_APP_ID'
  onLoad([e]: [AuthenticationClient]) {
    console.log('ffffff', e)
  }
}

// app.component.html
<authing-guard [appId]="appId" (onLoad)="onLoad($event)"></authing-guard>
# 2. 通过 cdn 引入使用
引入代码
<script src="https://cdn.jsdelivr.net/npm/@authing/ng-ui-components"></script>
使用
<div ng-app="">
  <authing-guard [appId]="AUTHING_APP_ID"></authing-guard>
</div>
# 参数
| 参数名 | 说明 | 是否必传 | 默认值 |
|---|---|---|---|
| appId | 应用 ID | 是 | - |
| config | Guard 高级配置,同 #配置,注意,这里无需 传入 target 参数 | 否 | - |
| visible | modal 模式时表单是否可见 | 否 | · |
# 事件监听
所有事件请查看事件列表,监听方式为小驼峰命名,如 onLogin, onLoginError 等
# 在线示例
# 展示方式
Guard 目前有两种展示方式 modal | normal,normal 方式会将表单插入指定的 dom 节点,适合将登录作为单独页面的场景,modal 模式会以模态框形式展示表单,适合在已有页面中弹出进行登录。默认展示方式为 normal,可通过传入 mode 参数配置展示方式:
import { AuthingGuard, GuardMode } from '@authing/native-js-ui-components'
// 引入 css 文件
import '@authing/native-js-ui-components/lib/index.min.css'

const guard = new AuthingGuard('AUTHING_APP_ID', {
  mode: GuardMode.Modal,
})

// modal 模式需要调用 show 方法才会展示表单
guard.show()
注意:native js 版本的 modal 模式需要在初始化后手动调用 guard.show() 才会展示 Guard。
# SSO 场景
单点登录(Single Sign On),简称为 SSO,是目前比较流行的企业业务整合的解决方案之一。SSO 的定义是在多个应用系统中,用户只需要登录一次就可以访问所有相互信任的应用系统。
随着企业发展,你的公司可能会采购各种 SaaS 软件、OA 系统、ERP 系统等,虽然这些软件提高了办公效率,单每个系统都需要单独登录就会显得非常繁杂,这时你就可以在 Authing 中注册一个应用作为 SSO 身份提供者,在同一浏览器中只需登录一次,就可访问所有系统。使用 Guard 进行 SSO 登录的方法如下:
...
const guard = new AuthingGuard("AUTHING_APP_ID", {
  appDomain: "xxx.authing.cn", // 用户池的域名
  isSSO: true, // 表示开启 SSO 模式
})
...
通过传入 appDomain, isSSO 就可开启 SSO 登录模式,Guard 会在 load 事件之后检测是否已有用户登录此应用,若有会直接触发 login 事件,方便你进行下一步操作。
# 高级配置
Guard 提供了很多高级配置,如自定义 UI,使用特定登录方式等。所有配置如下:
| 参数名 | 参数说明 | 类型 | 是否必传 | 默认值 |
|---|---|---|---|---|
| target | 指定 Guard 表单的挂载点,接受 querySelector (opens new window) 能接受的所有参数或者 dom 元素,若未传入,Guard 会自动生成一个 div 标签放入 body 的最后面 | String | HTMLElement | 否 |
| mode | Guard 展示模式 | GuardMode | 否 | GuardMode.Normal |
| title | 产品名称 | String | 否 | Authing |
| logo | 产品 logo | String | 否 | [Authing logo] |
| contentCss | 自定义 CSS 样式,如果指定了,会在 DOM 的 head 中插入一个 节点。如 body {background:#6699 !important;}。 | String | 否 | - |
| loginMethods | 需要使用的普通登录(包括 LDAP)方式列表 | LoginMethods[] | 否 | [LoginMethods.PhoneCode, LoginMethods.Password] |
| registerMethods | 需要使用的注册方式 | RegisterMethods[] | 否 | [RegisterMethods.Email, RegisterMethods.Phone] |
| defaultRegisterMethod | 默认展示的注册方式 | RegisterMethods | 否 | _RegisterMethods.Email* |
| defaultScenes | 打开组件时展示的界面 | GuardScenes | 否 | _GuardScenes.Login* |
| socialConnections | 需要使用的社会化登录列表 | SocialConnections[] | 否 | [] |
| enterpriseConnections | 需要使用的企业身份源列表(不包括 LDAP),列表项值为配置的企业身份源唯一标识符,注意:企业身份源需要传入对应 appId 才能使用 | Array | 否 | [] |
| defaultLoginMethod | 默认显示的登录方式。可选值为 options.loginMethods 中的某一项 | String | 否 | LoginMethods.Password |
| autoRegister | 是否将注册和登录合并,合并后如果用户不存在将自动注册 | Boolean | 否 | false |
| disableRegister | 是否禁止注册,禁止的话会隐藏「注册」入口 | Boolean | 否 | false |
| disableResetPwd | 是否禁止重置密码,禁止的话会隐藏「忘记密码」入口 | |||
| clickCloseable | Modal 模式时是否隐藏登录框右上角的关闭按钮,如果隐藏,用户将不能通过点击按钮关闭登录框 | Boolean | 否 | true |
| escCloseable | Modal 模式时是否可以通过键盘 ESC 键关闭登录框 | Boolean | 否 | true |
| isSSO | 是否是单点登录 | Boolean | 否 | false |
| appDomain | SSO 模式时的 app 域名 | String | SSO 模式时必传 | - |
| qrCodeScanOptions | 扫码登录配置,详情请查看 QrCodeAuthenticationClient().startScanning(domId, options) (opens new window) 的 options 参数 | Objcect | 否 | null |
| apiHost | 私有部署时的 API 请求地址 | String | 私有部署时必传 | [Authing 官方 api 地址] |
# 类型说明
以下为高级配置中可能用到的所有枚举值的说明:
# GuardMode
Guard 展示方式
| key | value | 说明 |
|---|---|---|
| Modal | 'modal' | 模态框模式 |
| Normal | 'normal' | 正常模式 |
# LoginMethods
Guard 支持的普通登录方式
| key | value | 说明 |
|---|---|---|
| LDAP | 'ldap' | LDAP 身份目录登录(需要配置 LDAP 服务 (opens new window)) |
| AppQr | 'app-qrcode' | APP 扫码登录(需要接入 APP 扫码登录 (opens new window)) |
| Password | 'password' | 账号密码登录(包括手机号 + 密码、邮箱 + 密码、用户名 + 密码。) |
| PhoneCode | 'phone-code' | 手机验证码登录 |
| WxMinQr | 'wechat-miniprogram-qrcode' | 微信小程序扫码登录 |
| AD | 'ad' | AD 用户目录登录 |
# RegisterMethods
Guard 支持的注册方式
| key | value | 说明 |
|---|---|---|
| 'email' | 邮箱注册 | |
| Phone | 'phone' | 手机验证码注册 |
# GuardScenes
Guard 可展示的界面
| key | value | 说明 |
|---|---|---|
| Login | 'login' | 登录界面 |
| Register | 'register' | 注册界面 |
# ResetPwdMethods
Guard 支持的重置密码方式
| key | value | 说明 |
|---|---|---|
| 'email' | 邮件验证码重置 | |
| Phone | 'phone' | 手机短信验证码重置 |
# SocialConnections
Guard 支持的社会化登录方式
| key | value | 说明 |
|---|---|---|
| 'qq' | QQ 登录 | |
| 'weibo' | 新浪微博登录 | |
| Github | 'github' | GitHub 登录 |
| 'google' | Google 账号登录 | |
| WxPc | 'wechat:pc' | 微信 PC 端登录 |
| Dingtalk | 'dingtalk' | 钉钉登录 |
| WxWCorpQr | 'wechatwork:corp:qrconnect' | 企业微信二维码登录 |
| WxWSPQr | 'wechatwork:service-provider:qrconnect' | 企业微信第三方应用扫码授权登录 |
| WxWSPAuth | 'wechatwork:service-provider:authorization' | 企业微信第三方应用网页授权登录 |
# 事件
Guard 所有事件列表如下:
| 事件名 | 事件说明 | 事件参数 | 事件参数说明 |
|---|---|---|---|
| load | Authing appId 验证通过,加载完成 | authClient | AuthenticationClient 对象,可直接操作 login, register,详情请查看 authing-js-sdk (opens new window) |
| load-error | Authing appId 验证失败,加载失败 | error | 错误信息 |
| login | 用户登录成功 | user, authClient | user: 用户信息 authClient 同上 |
| login-error | 用户登录失败 | error | 错误信息,包含字段缺失/非法或服务器错误等信息 |
| register | 用户注册成功 | user, authClient | user: 用户信息 authClient 同上 |
| register-error | 用户注册失败 | error | 错误信息,包含字段缺失/非法或服务器错误等信息 |
| pwd-email-send | 忘记密码邮件发送成功 | - | - |
| pwd-email-send-error | 忘记密码邮件发送失败 | error | 错误信息 |
| pwd-phone-send | 忘记密码手机验证码发送成功 | - | - |
| pwd-phone-send-error | 忘记密码手机验证码发送失败 | error | 错误信息 |
| pwd-reset | 重置密码成功 | - | - |
| pwd-reset-error | 重置密码失败 | error | 错误信息 |
| close | modal 模式中 guard 关闭事件 | - | - |
| login-tab-change | 登录 tab 切换事件 | activeTab | 切换后的 tab |
| register-tab-change | 注册 tab 切换事件 | activeTab | 切换后的 tab |
| register-info-completed | 注册补充成功事件 | user, udfs, authClient | user: 用户信息 udfs: 补充的自定义字段信息 authClient 同上 |
| register-info-completed-error | 注册补充失败事件 | error, udfs, authClient | error: 错误信息 udfs: 补充的自定义字段信息 authClient 同上 |
# initAuthClient
当你需要对用户进行管理,如用户登出,获取当前登录信息时,可先调用 initAuthClient 初始化 AuthenticationClient, initAuthClient 的参数为一个对象,除了支持 AuthenticationClient 的所有参数外,在 SSO 场景还需要传入 isSSO 和 appDomain。
# getAuthClient
用于获取 initAuthClient 初始化的 AuthenticationClient。
← 私有化部署 SDK for 单点登录 →