# Access Active Directory
Authing supports the AD (Active Directory) of your intranet to achieve: -Use the AD account of the intranet to log in to the application you developed.
# Ready to work
- If you still have an Authing account, you can register here (opens new window).
- If you have not installed Windows Active Directory,
# Step
- [Create an AD connection in the Authing console](#Create an ad-connection in the -authing-console)
- Run Authing AD Connector on Windows
# Create an AD connection in the Authing console
Enter Authing console (opens new window), follow the instructions in the figure below to find Connect to Identity Source/Connect to Active Directory, click "Add "Button:

Create AD connection
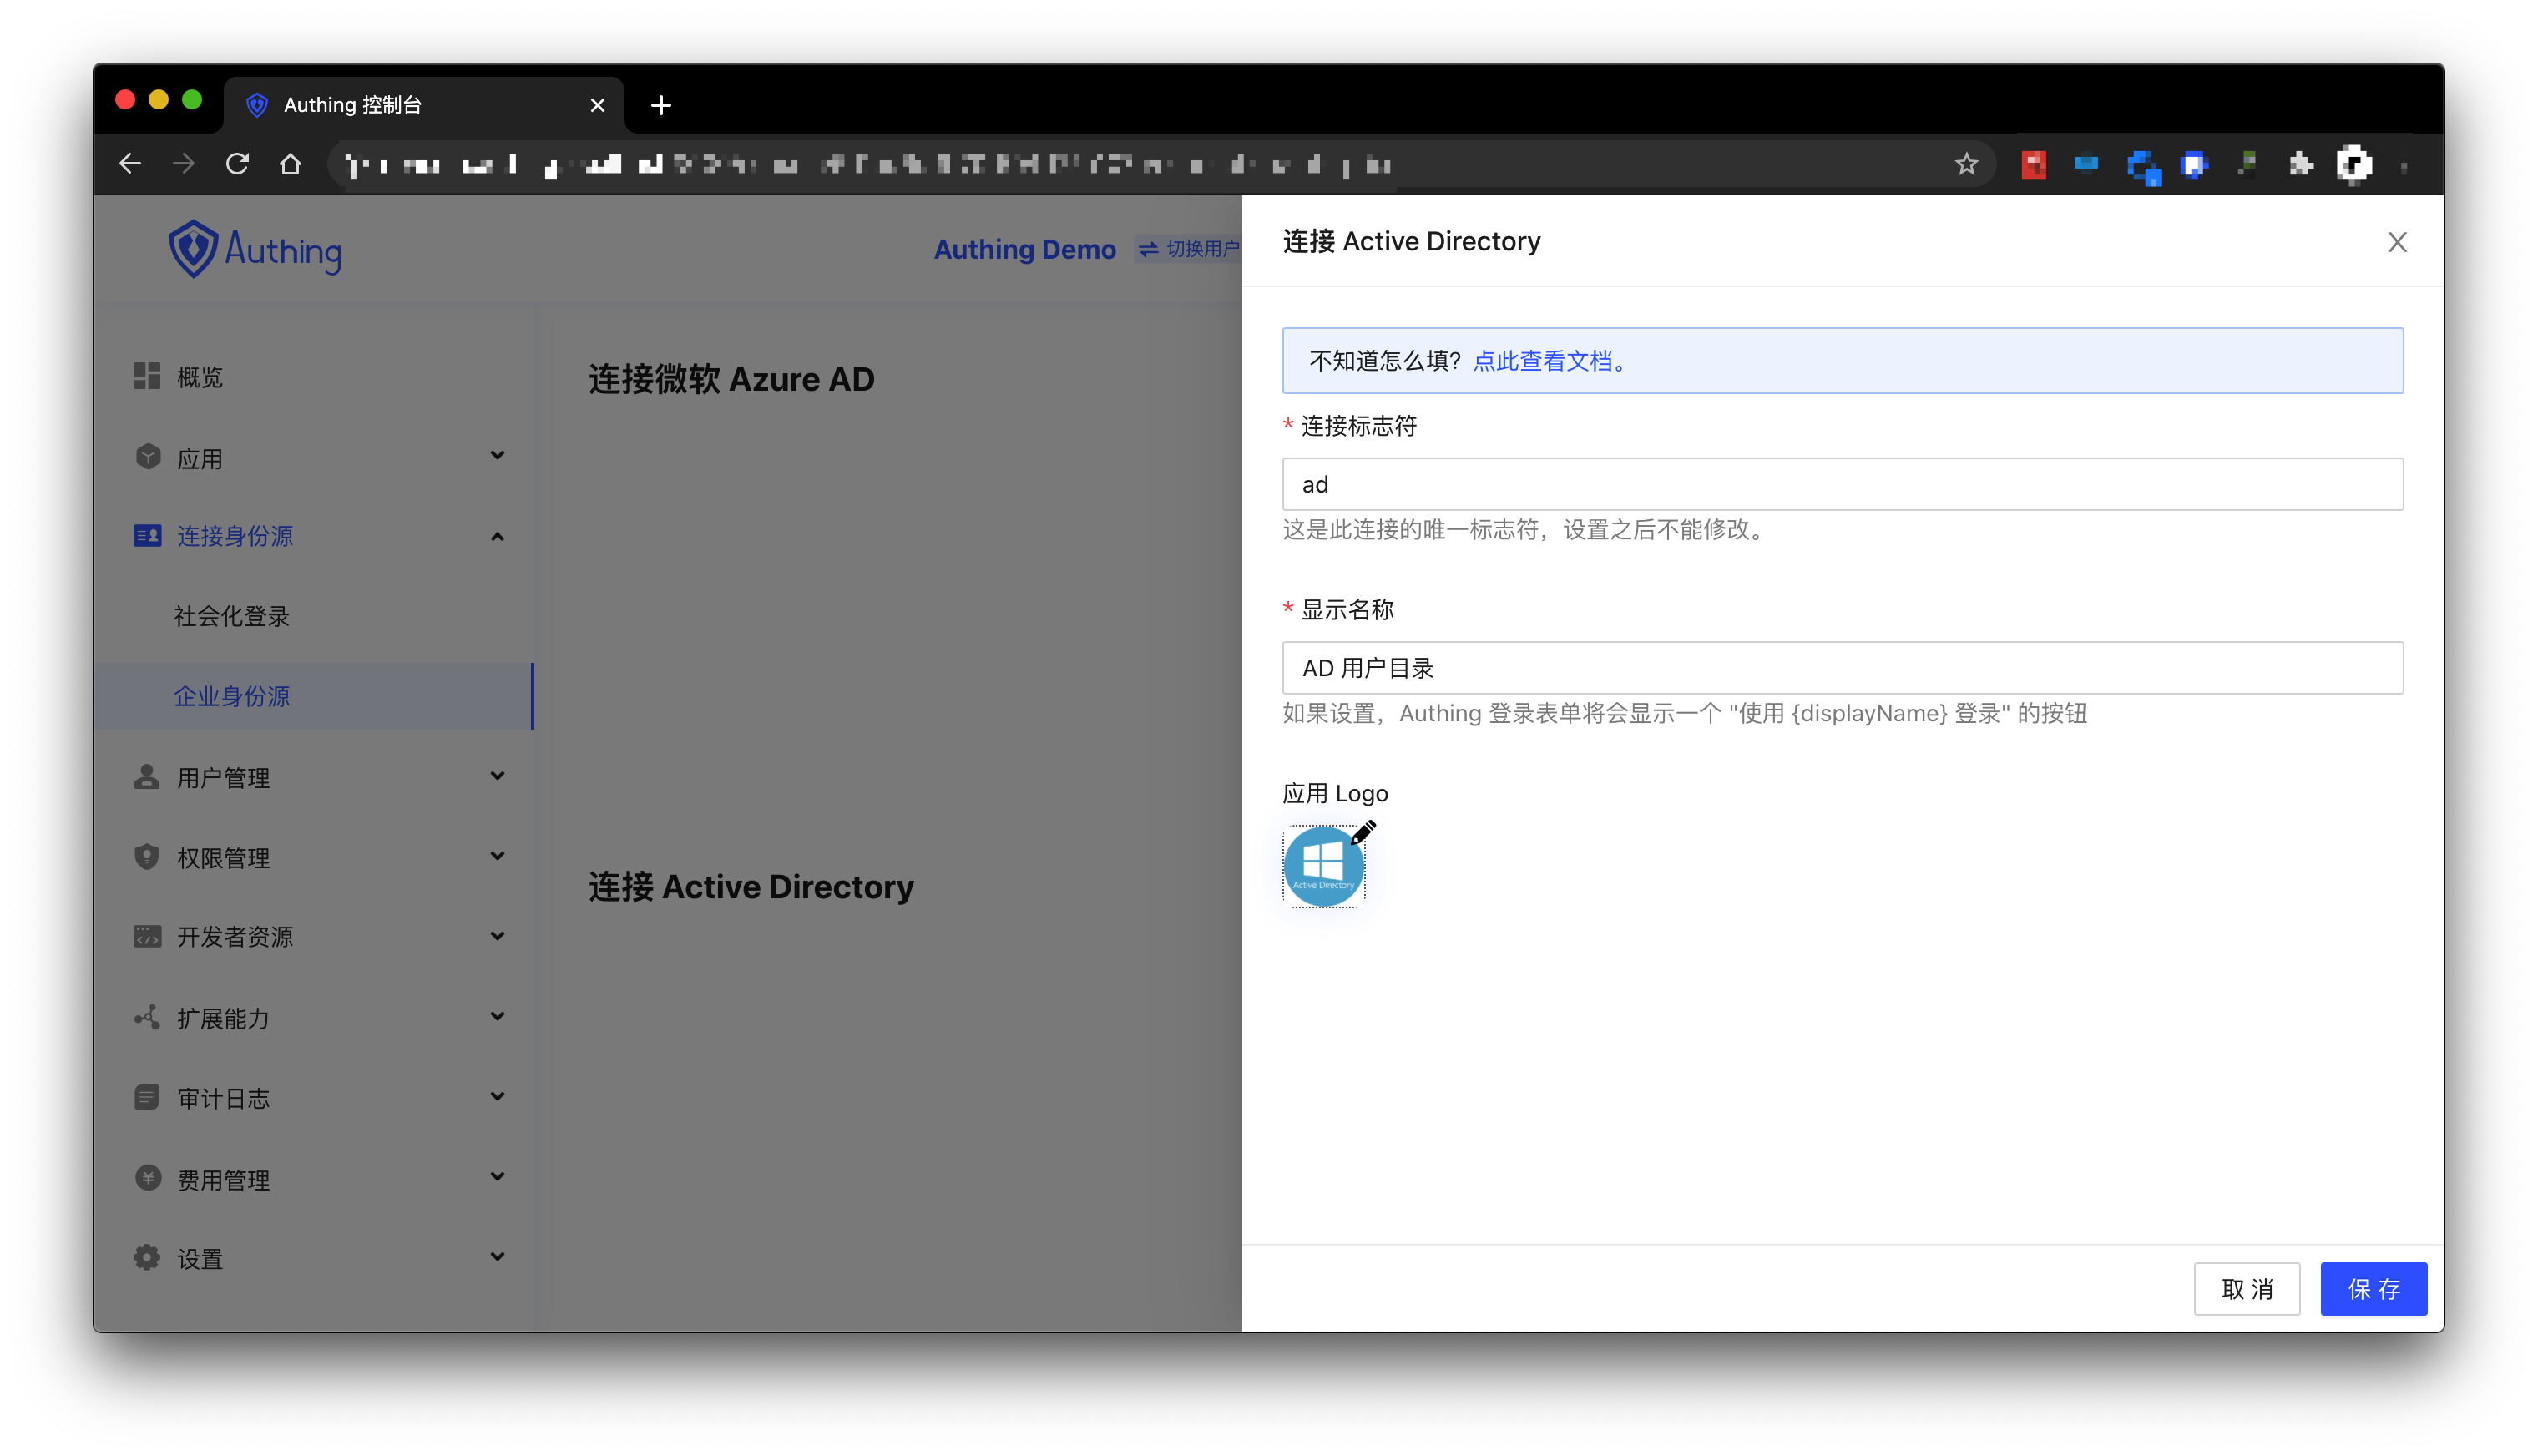
You need to enter the following field information:
- Connection identifier: This is the only identifier for this connection and cannot be modified after setting.
- Display Name: If set, the Authing login form will display a "Login with {displayName}" button.
- App Lofo
Then click the "Save" button:
Create AD connection
After successful creation, you will get a Provisioning Ticket Url, which will be used in the following steps:

# Run Authing AD Connector on Windows
Before installing Authing AD Connector, please ensure that the above conditions are met:
-Windows server; -Active Directory is installed on the server; -The machine running Authing AD Connector can connect to Active Directory; -A user account with read permission of Active Directory.
First, you need download (opens new window) Authing AD Connector, which is an exe file that needs to run on your Windows AD server, responsible for Authing to communicate. The Authing AD Connector needs to be installed in the LAN AD domain environment, but it does not have to be installed on the server running the AD service, as long as the Authing AD Connector can access the AD user directory.
# Install Authing AD Connector
Click here (opens new window) to download the latest Authing AD Connector.
Upload the downloaded file to the machine in the AD domain environment, and double-click the application to install it.

The system may warn you, click "Run anyway".

Select the language and click "OK".

Click "Next".

Accept the license agreement and click "Next".

Select the software installation directory and click "Install".

Wait for the installation to complete.

Click "Finish", a command line window will pop up and wait for the installation to complete.

There may be an error message missing optional dependencies in the middle, which can be ignored. See the following interface to indicate that the installation is successful, you can press any key to exit:

Then you can see the AuthingADConnector service on the Windows service management page:

Next, open the browser and visit http://127.0.0.1:9742, you will see the following interface:

Fill in your Provisioning Ticket Url, AD server link address (please fill in http://ws.authing.cn:8855 ), Base DN, domain user name, and password, and then click "Save "Button.

After that, click "Test Connection", the following result appears, indicating that the connection is normal:

If you encounter a problem that the Connector and Authing link test fails, please wait for a while. The handshake between the Connector and Authing may not have been completed due to network latency.
If you encounter AD-related errors, please check whether the AD server link and account and secret information are correct.
# Use Guard to experience AD login
Follow the steps above to complete the opening of AD Connector, and then access your OIDC or OAuth application login address. Click the "Use AD" radio button to switch to AD login.

Experience AD login
Enter the AD domain user account and password information, and click "Login".

Experience AD login
If the account password you entered is correct, you should be able to see the successful login prompt:

Authing does not provide an AD test server. In this example, the AD domain user information is invalid.