# Inter-application authorization for user permission
Suppose your company is a social communication business company, and now another company wants to develop a tool for organizing and exporting chat records by calling your business API, and has signed a contract with your company. Now that you want to securely authorize user information to this company, you expect:
- API calls are only open to partner companies.
- Different partners have different access rights and different business APIs.
- Before the partner company obtains its own company's user data from the business API, must obtain the user's consent.
- If the cooperation is terminated in the future or changes occur, it is hoped that certain data rights can be recovered or completely disabled.
# Authority Management and Assignment
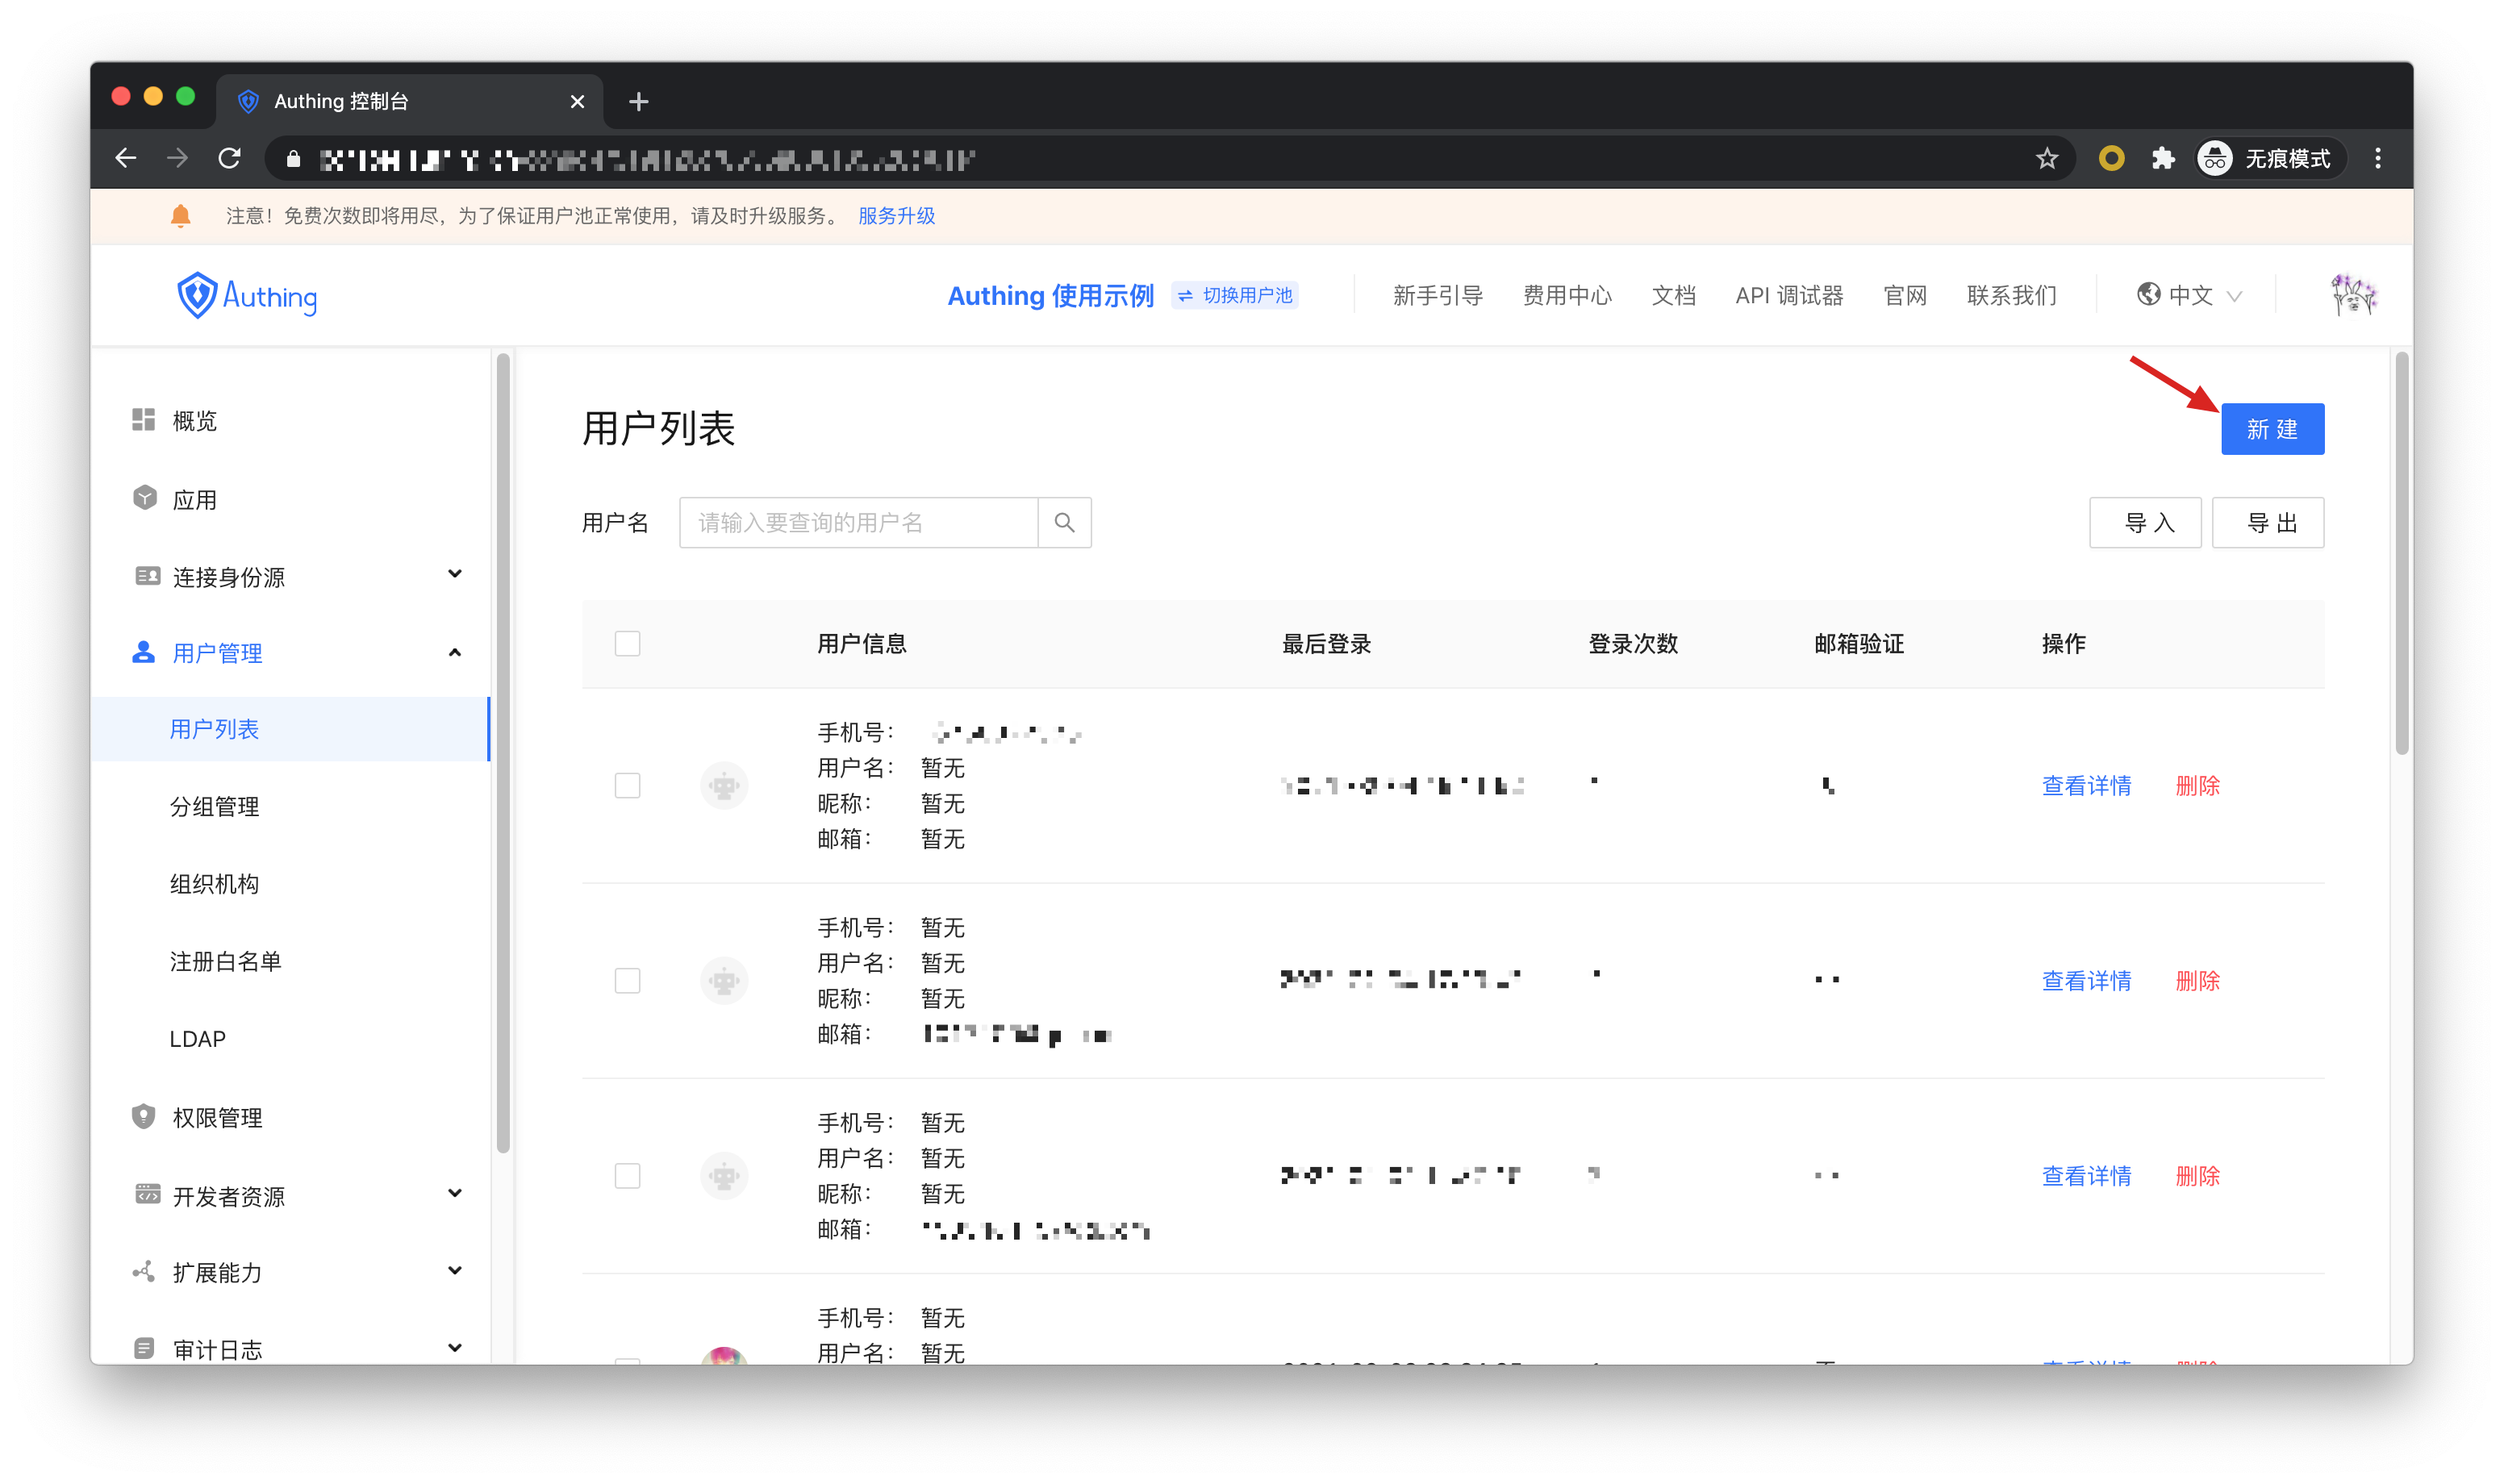
First create two users in Authing. They are user1@123.com and user2@123.com.
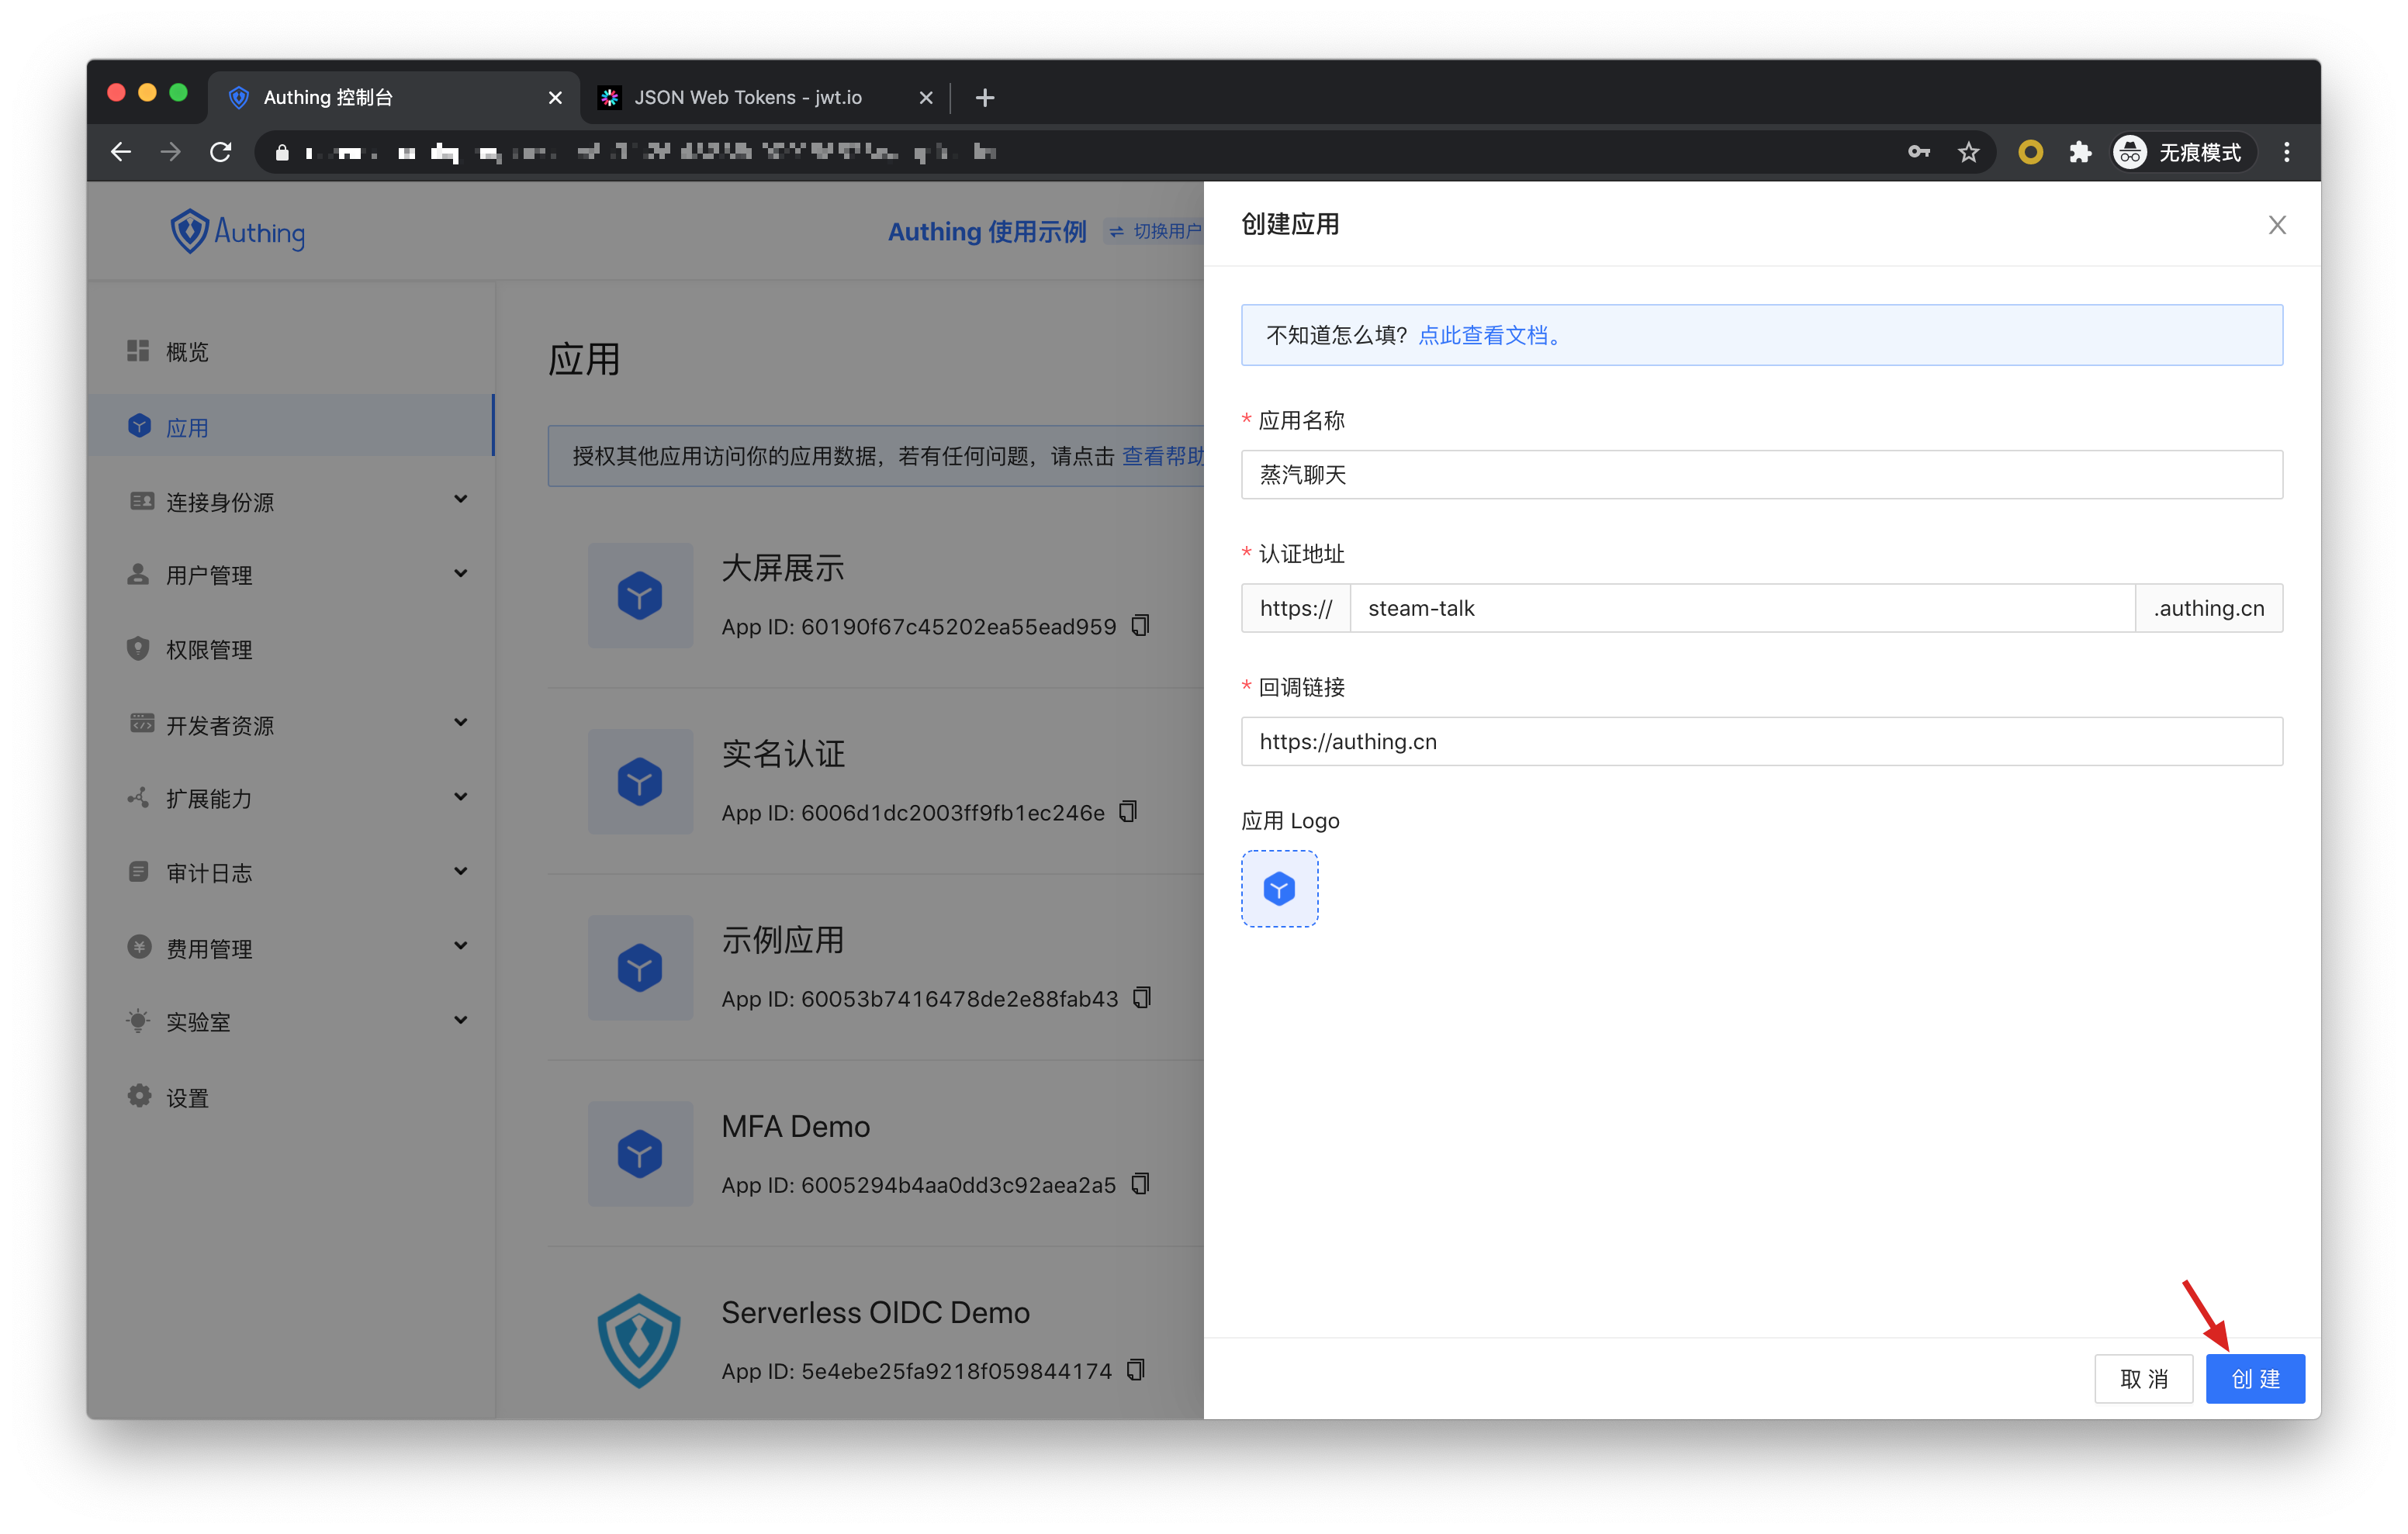
Create an application in Authing. If our social software is called "Steam Chat", then the application name is called "Steam Chat".
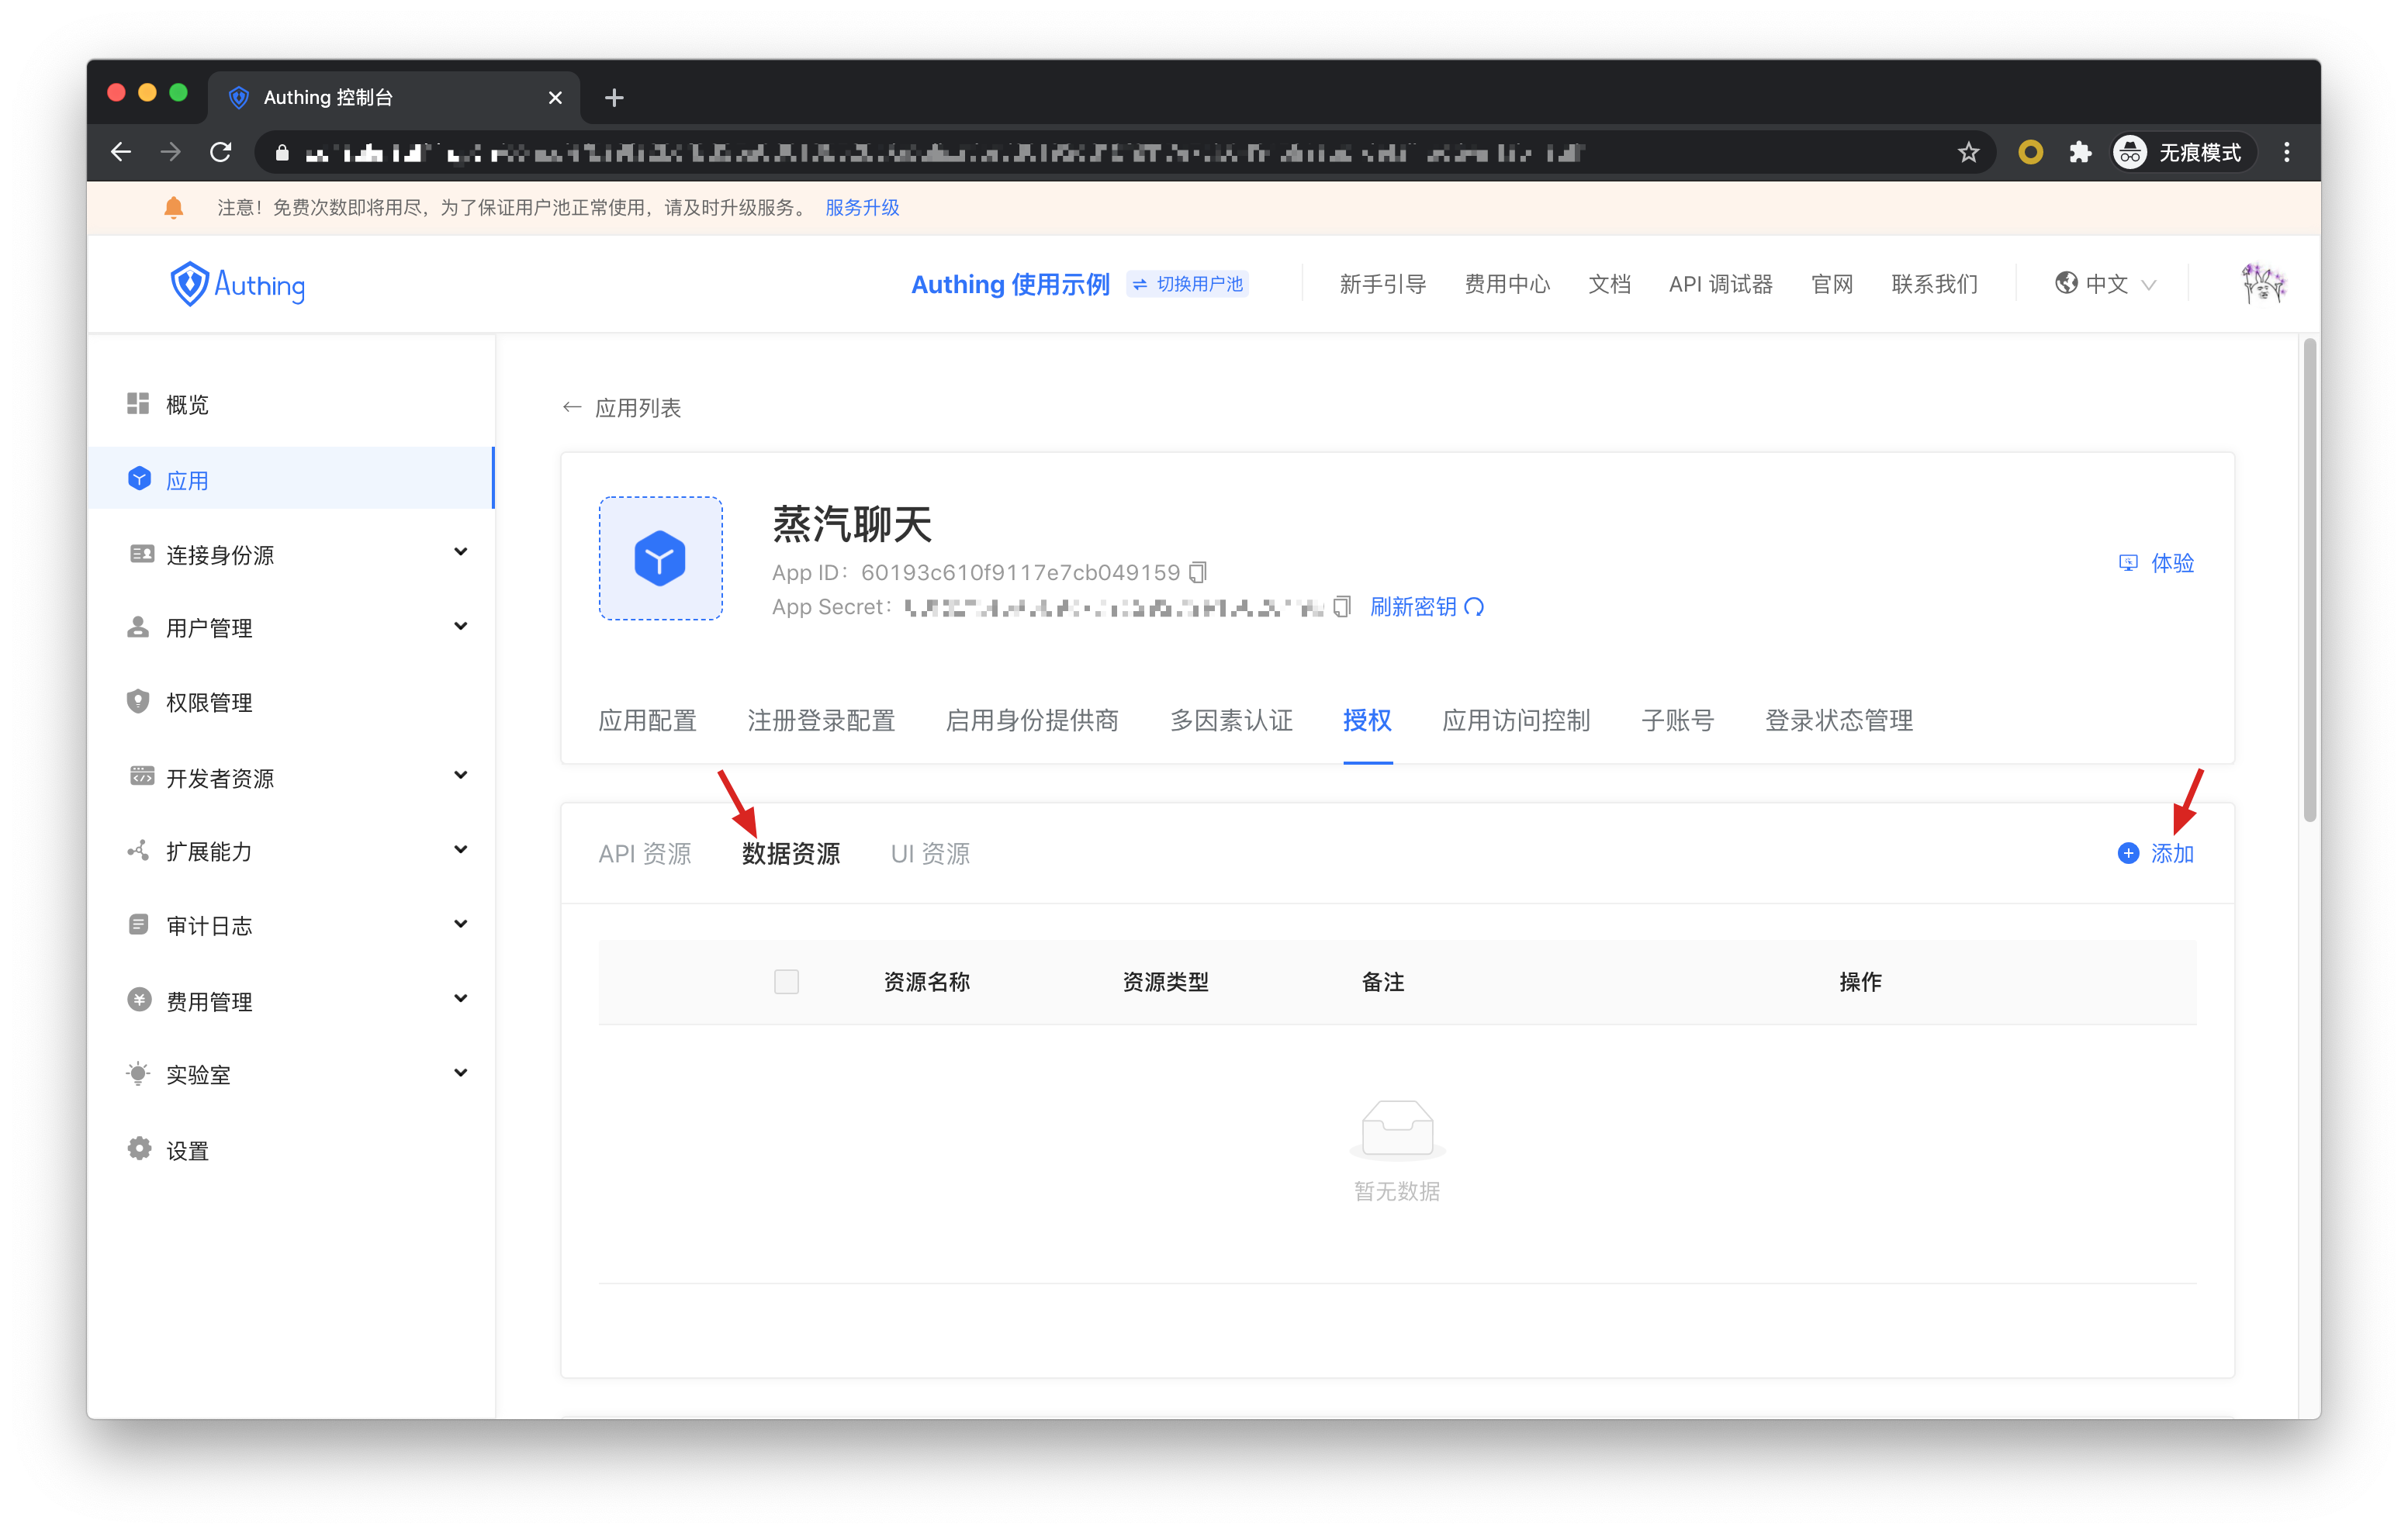
In the application details, click the Authorization tab, switch to the Data Resources tab, and then click Add.
API resources, data resources, and UI resources are essentially indistinguishable. The types are only used to distinguish between management levels. Creating a good resource classification can help administrators quickly focus on different resources.
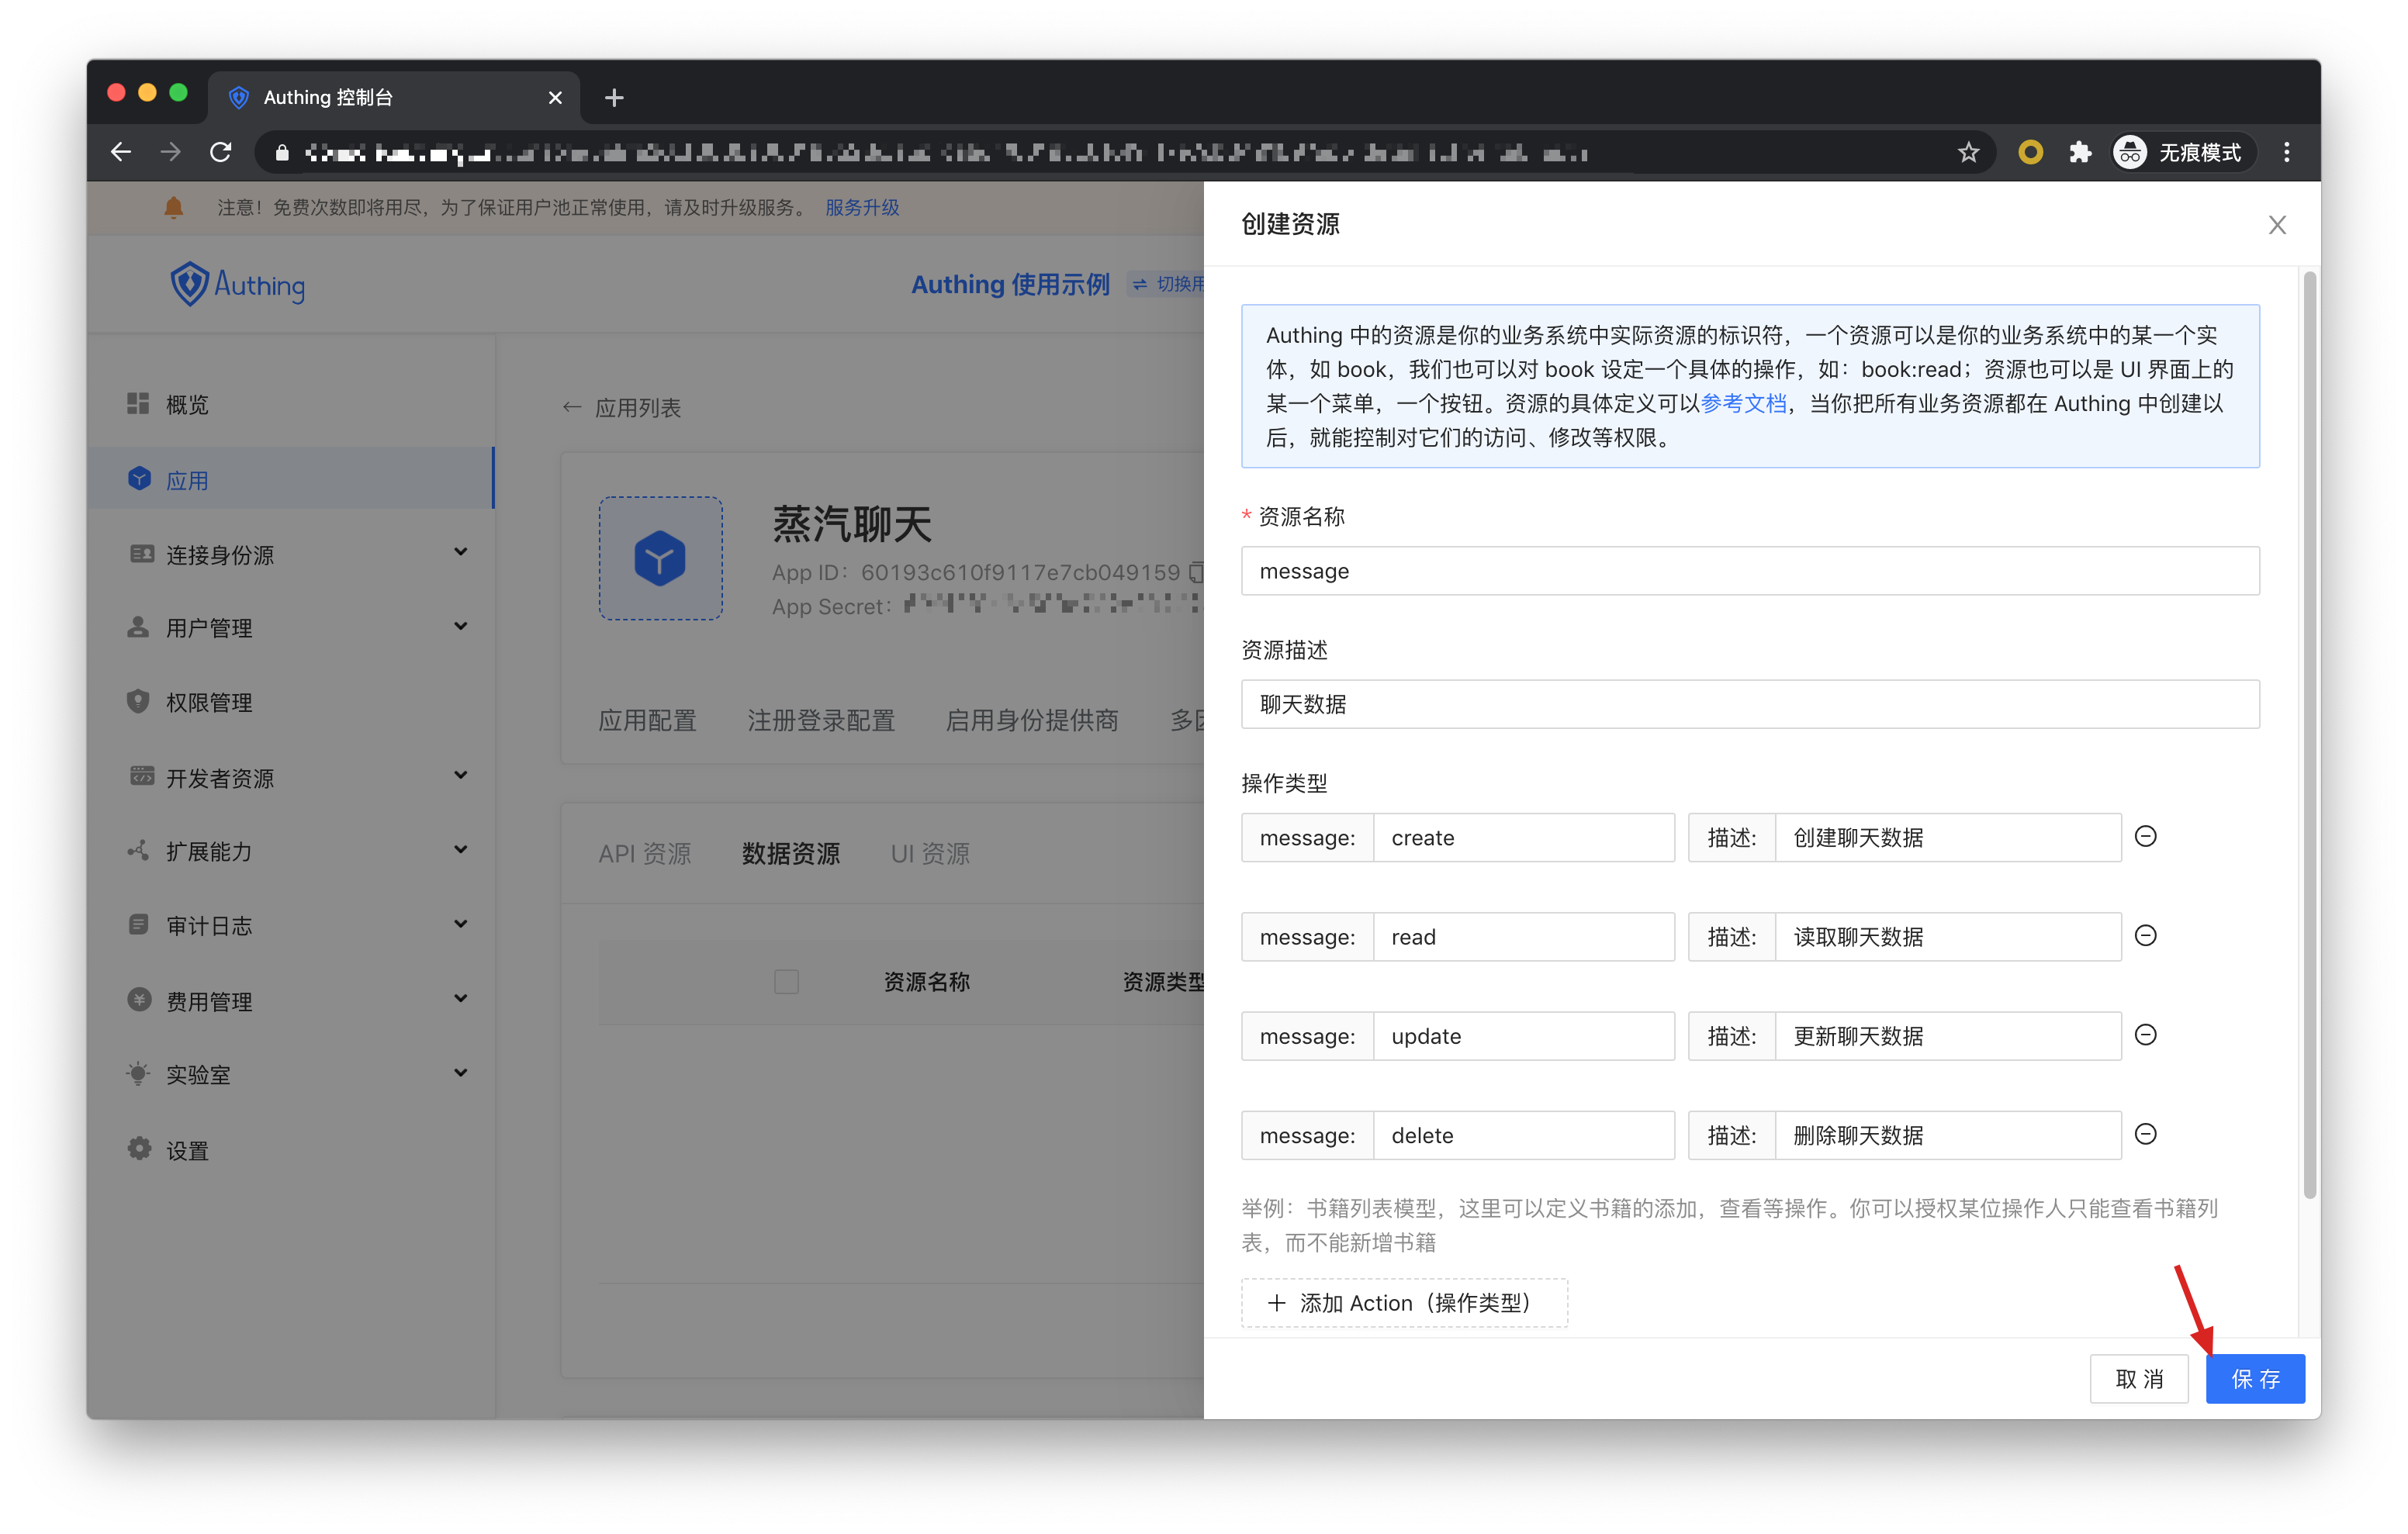
We create a chat data resource, define several operations for adding, deleting, modifying, and checking, and finally click Save.
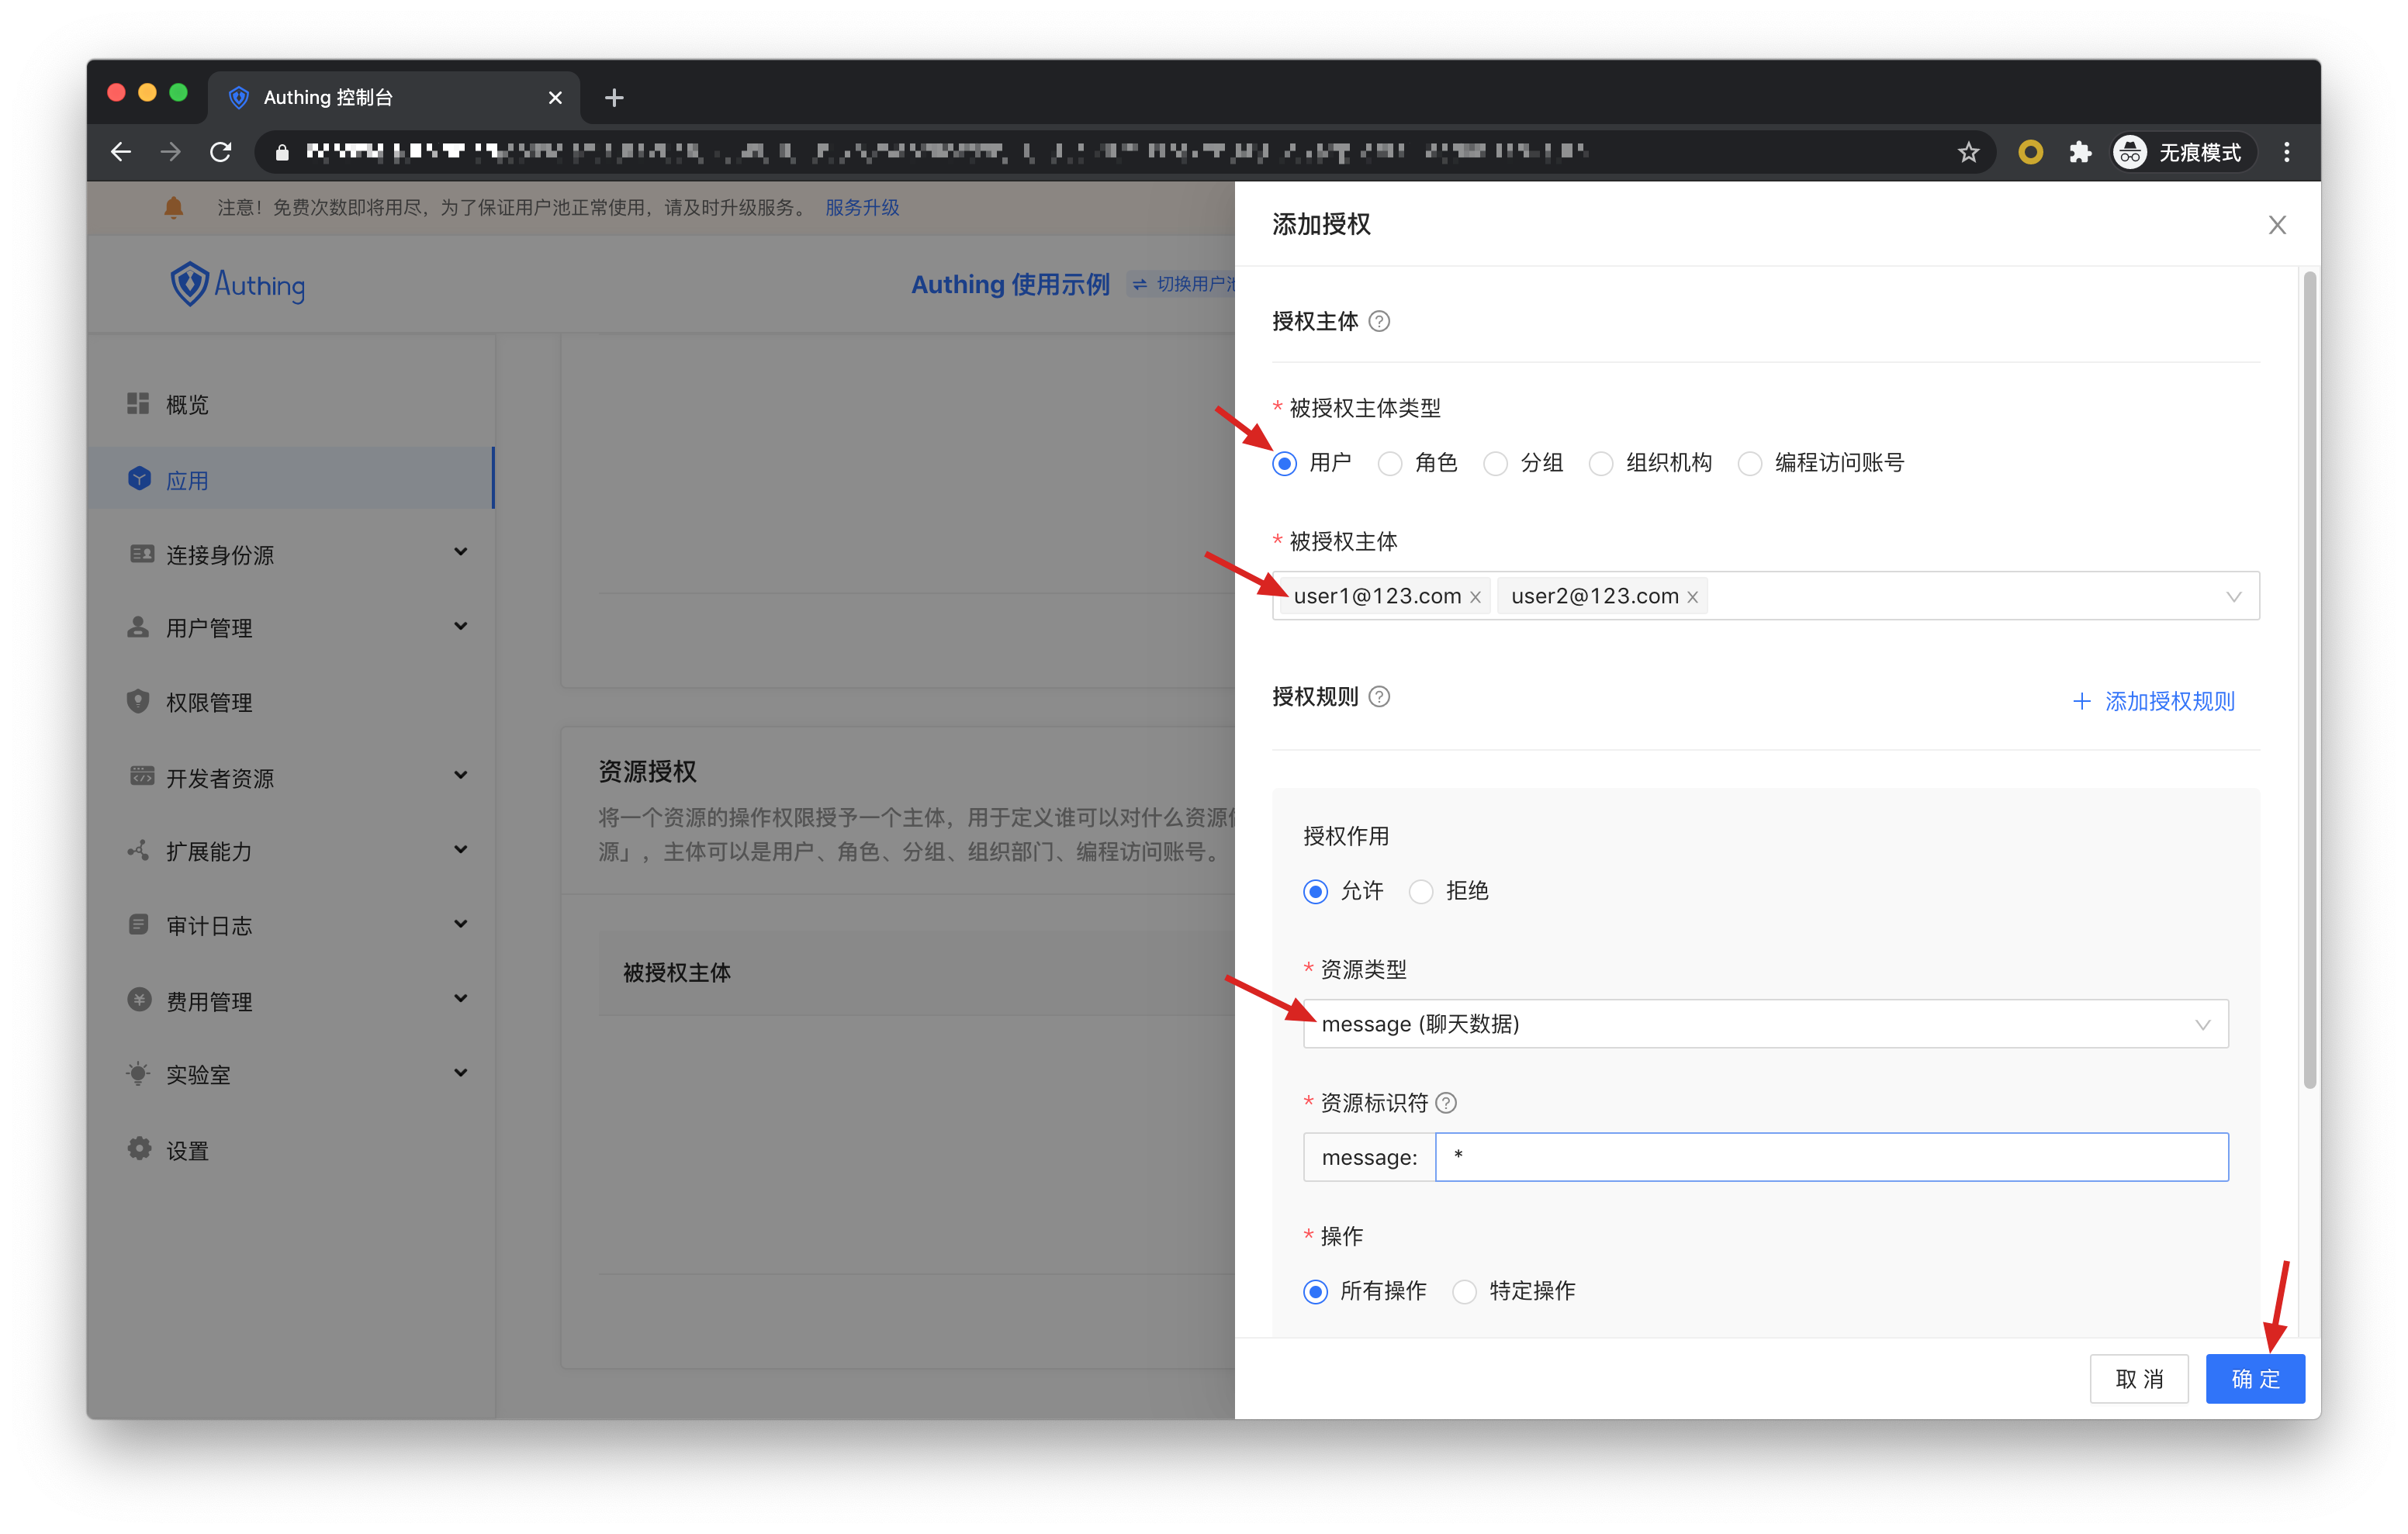
Then add authorization rules in Resource Authorization.
Authorized subject select user1@123.com and user2@123.com, resource type select chat data, and then click OK.
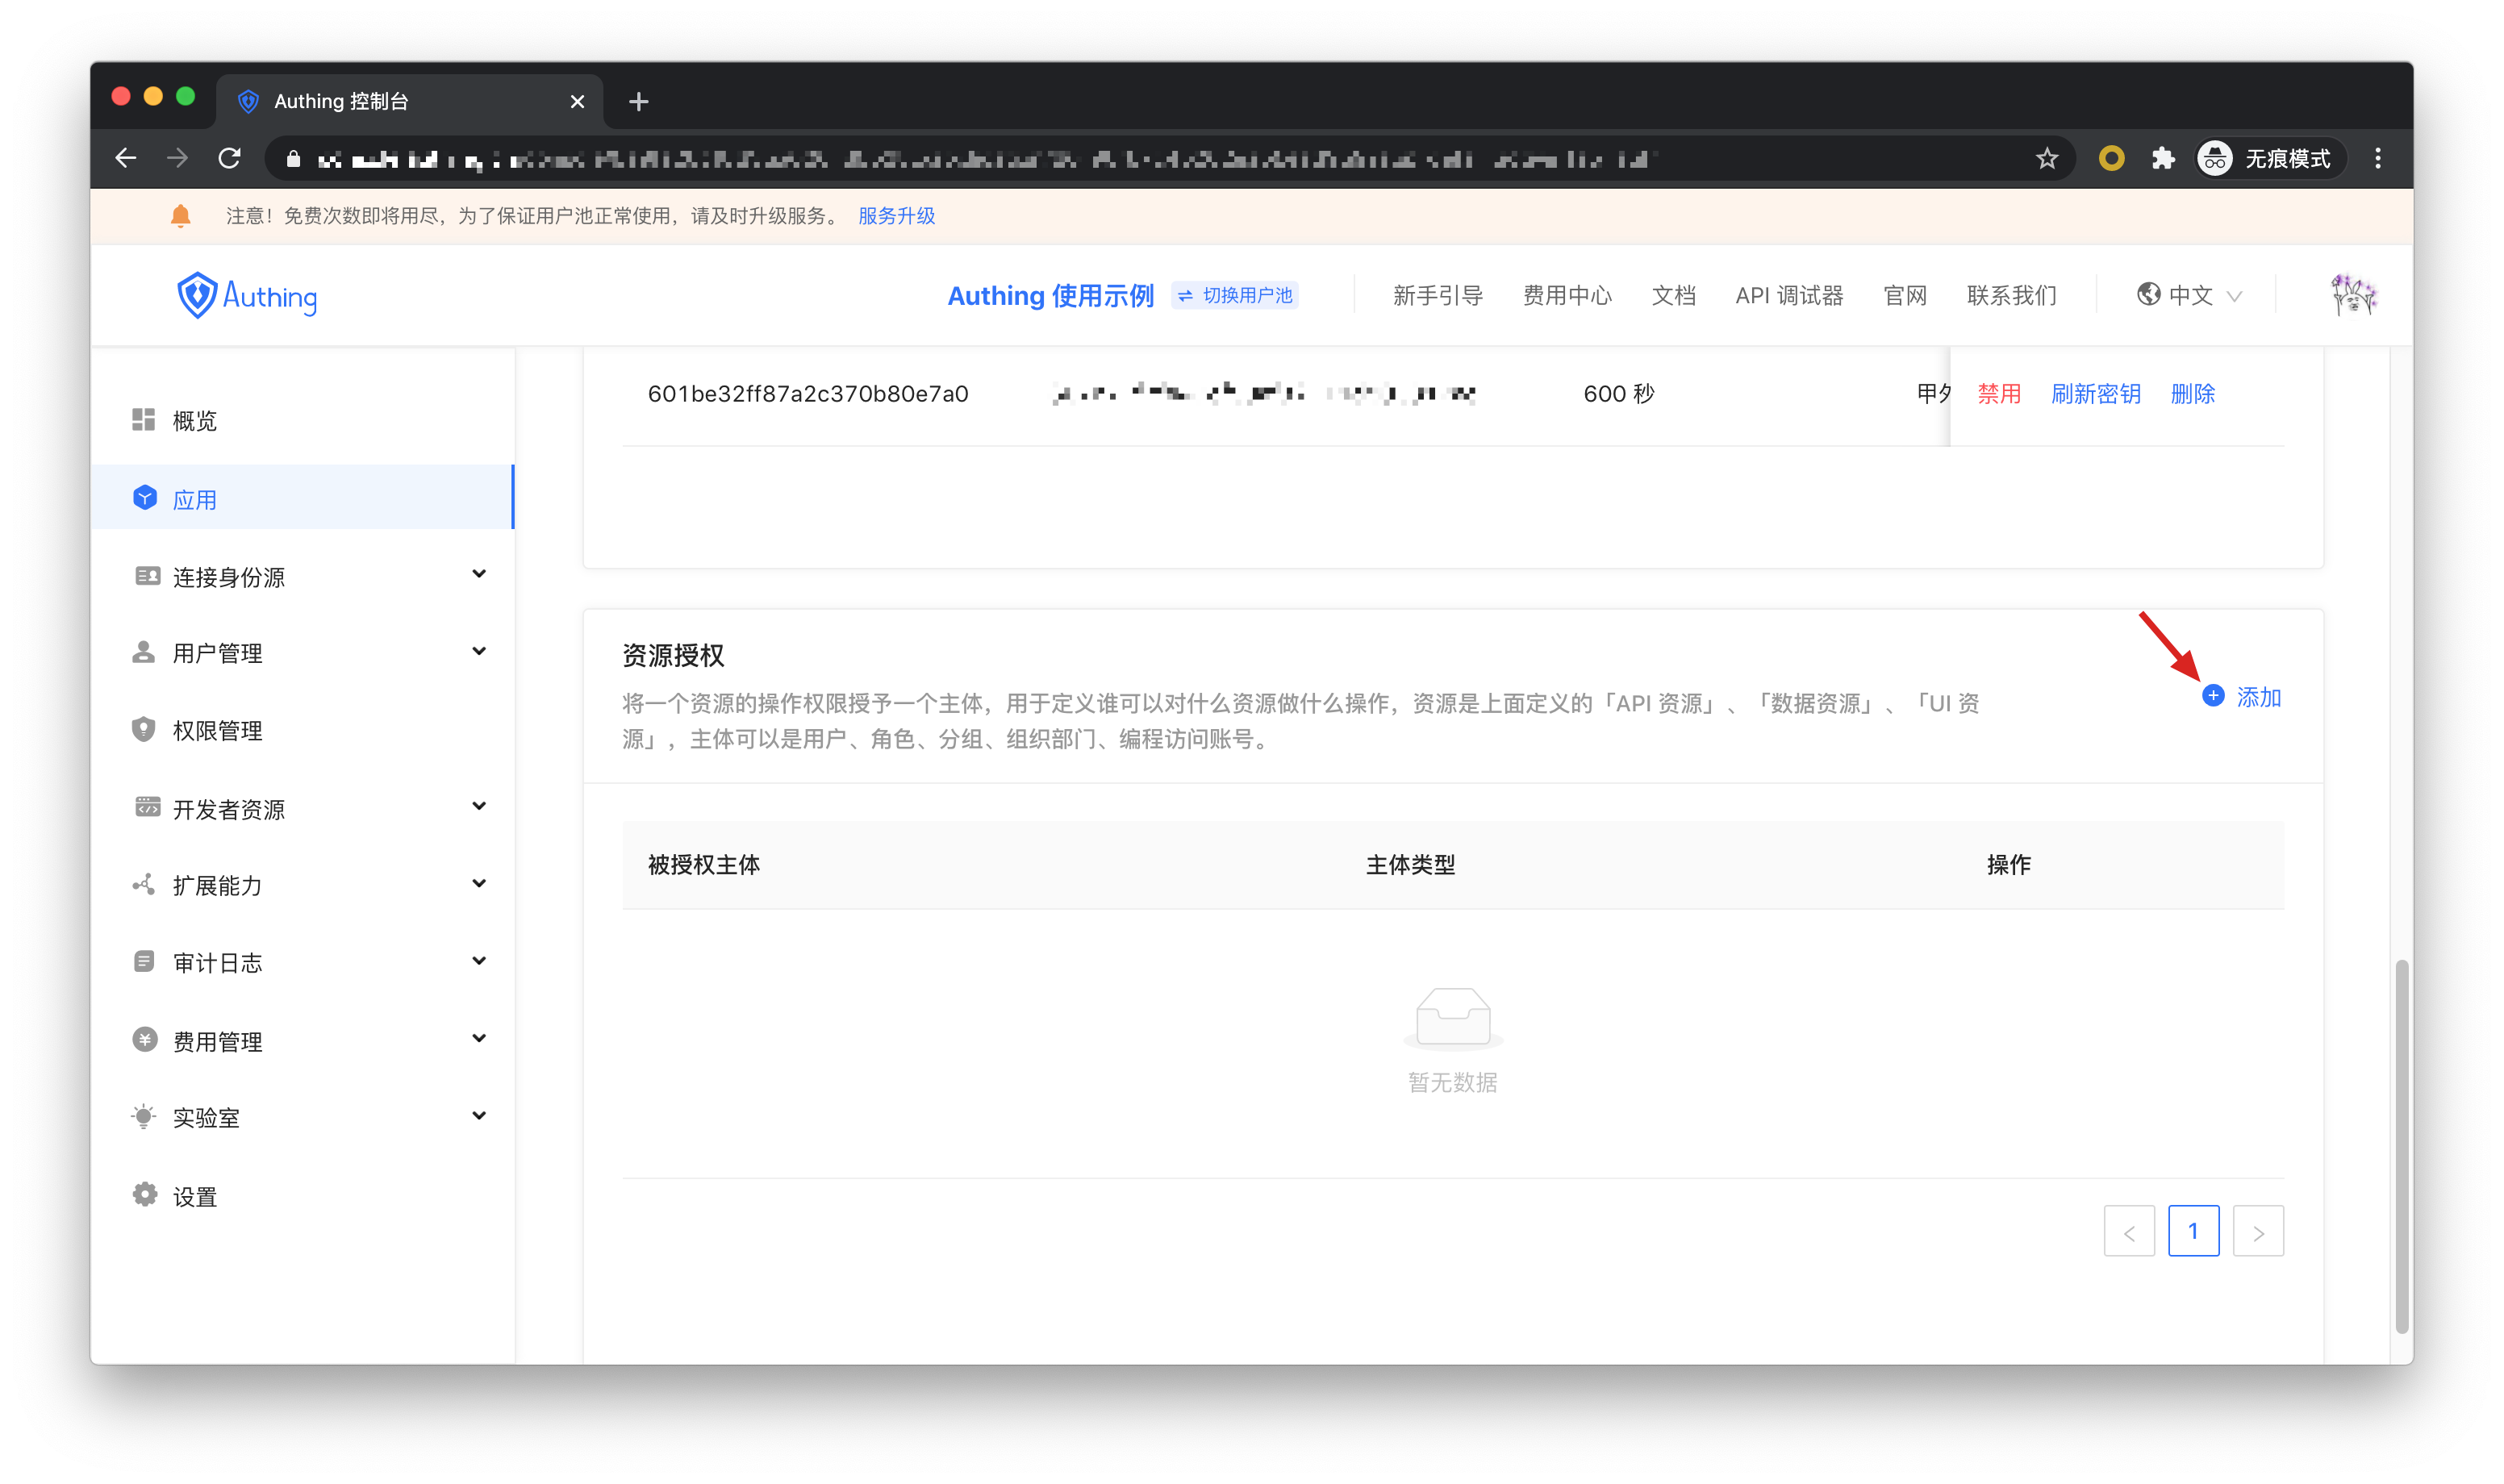
Then we create a programming access account, which will be given to the caller in the future.
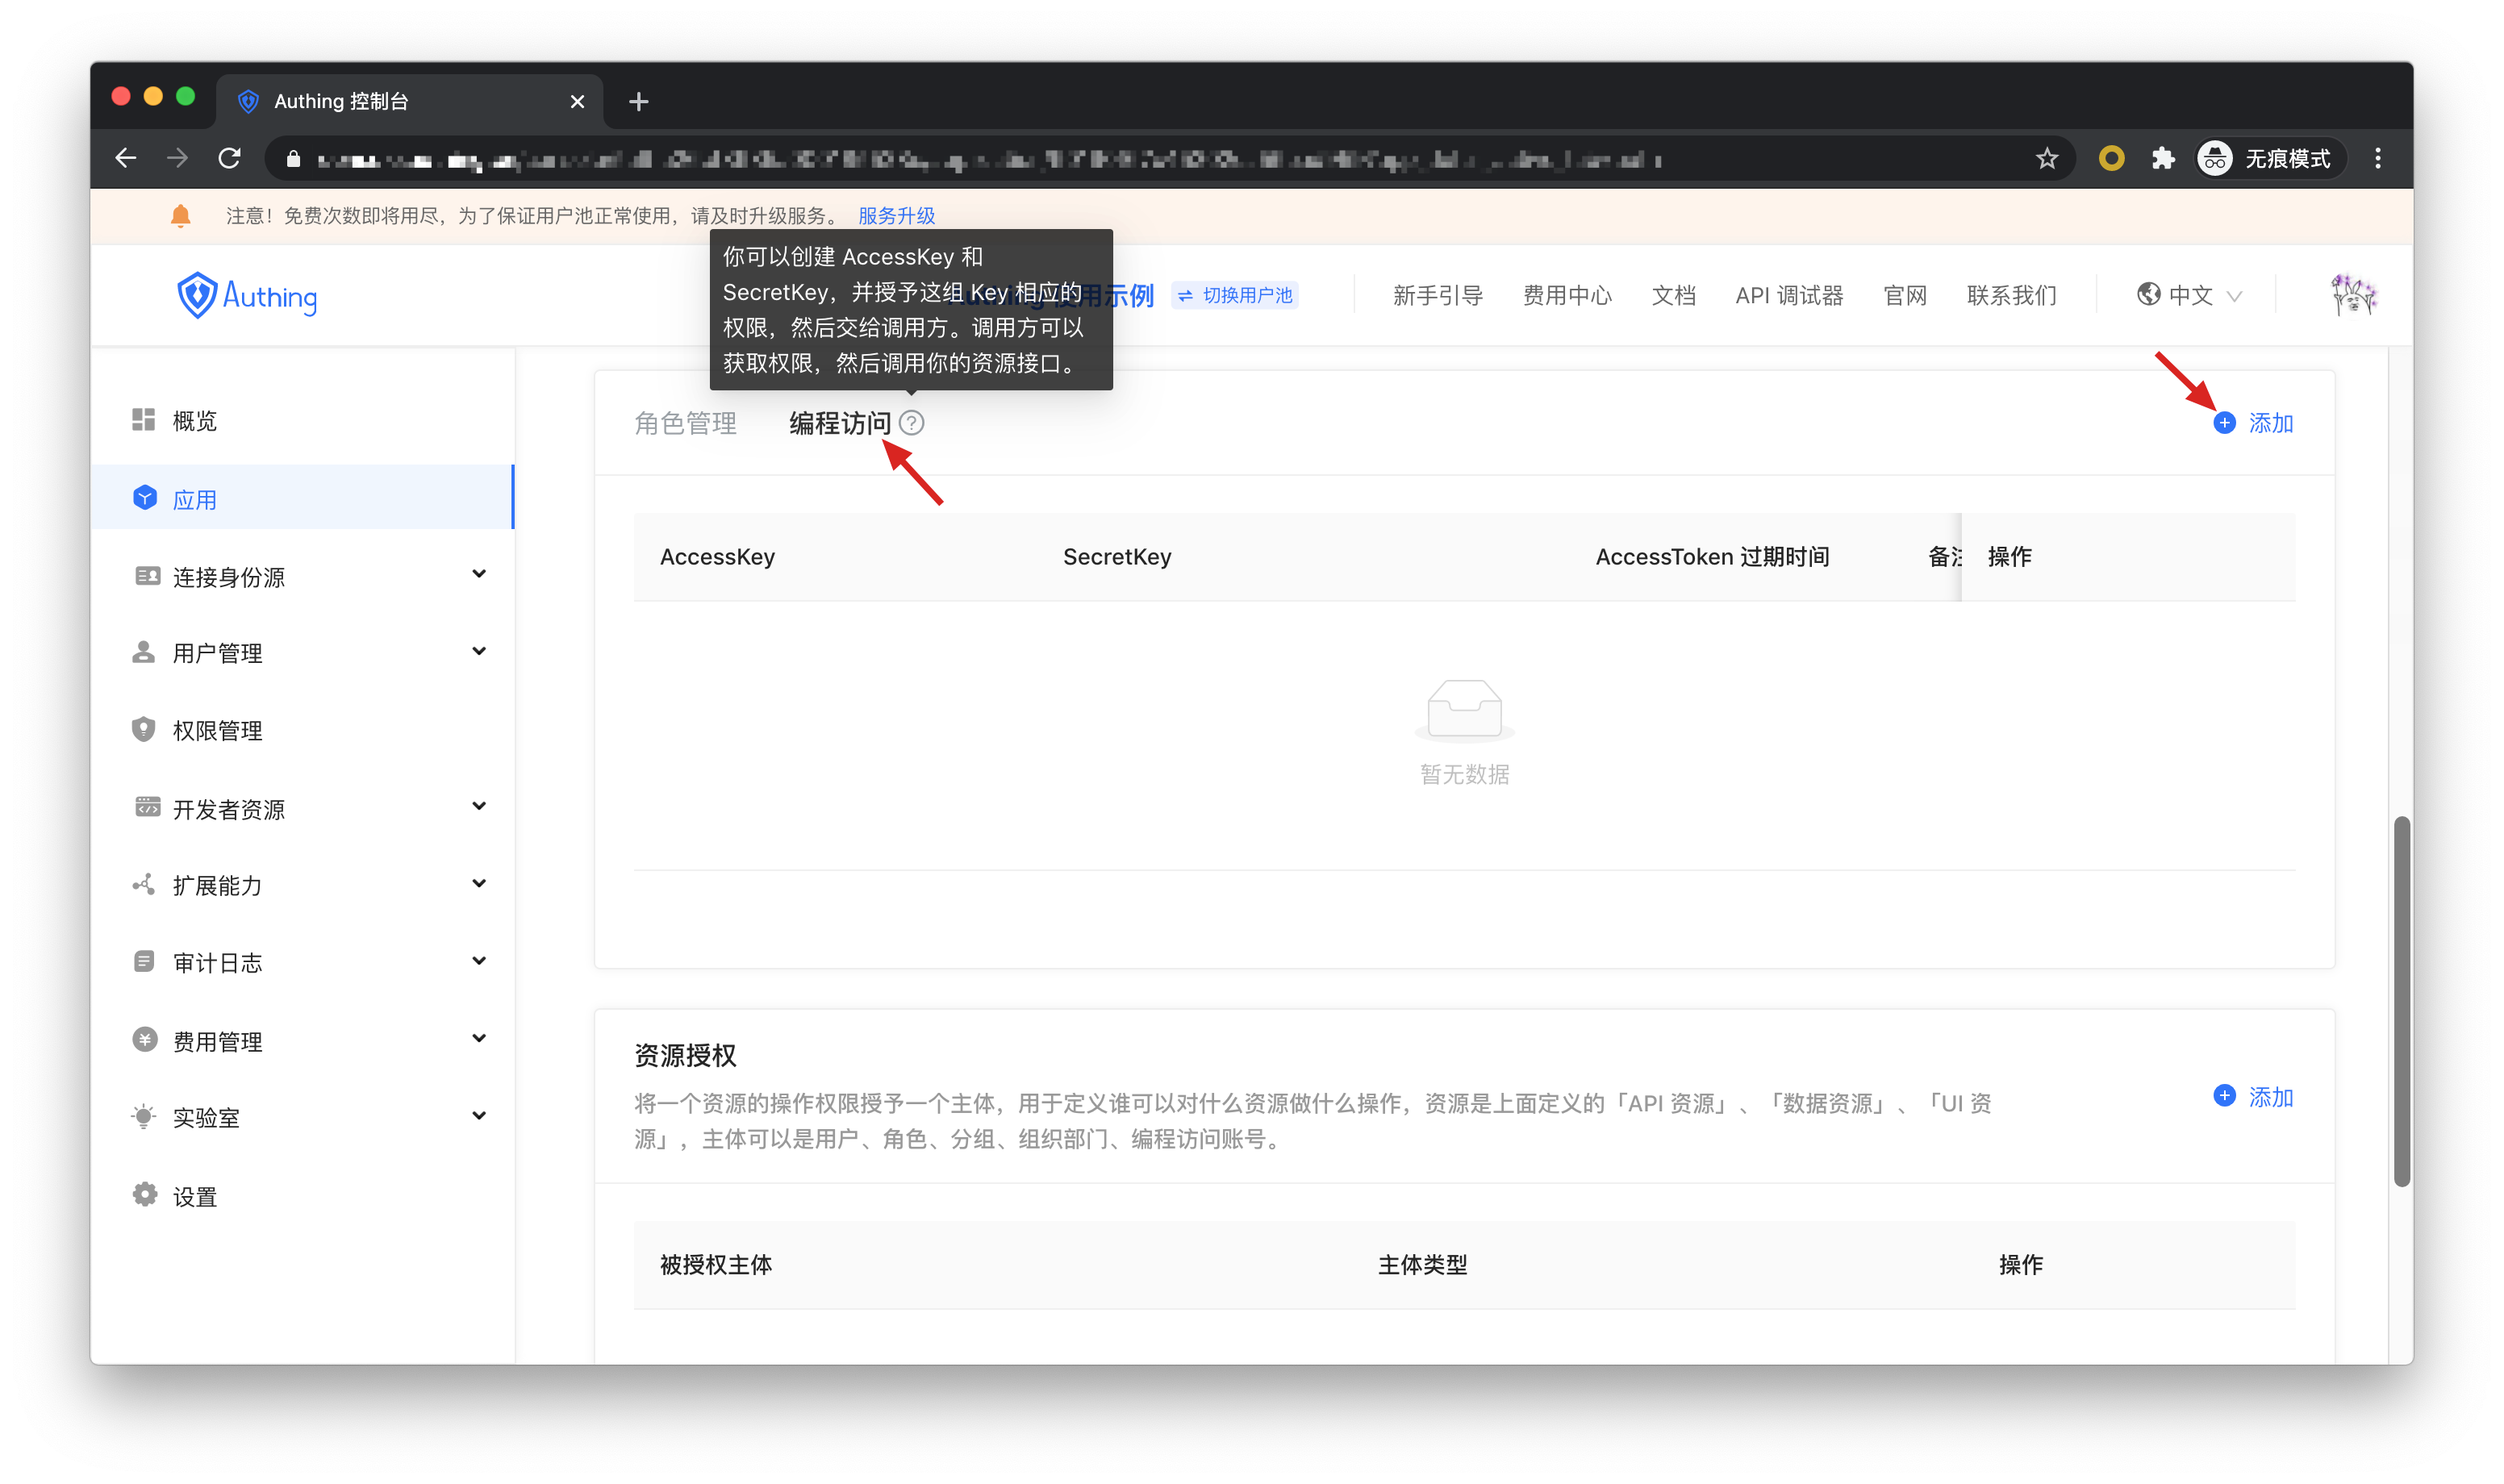

If the program access account is deleted, the caller will lose the ability to obtain user authorization.
# AccessToken expiration time
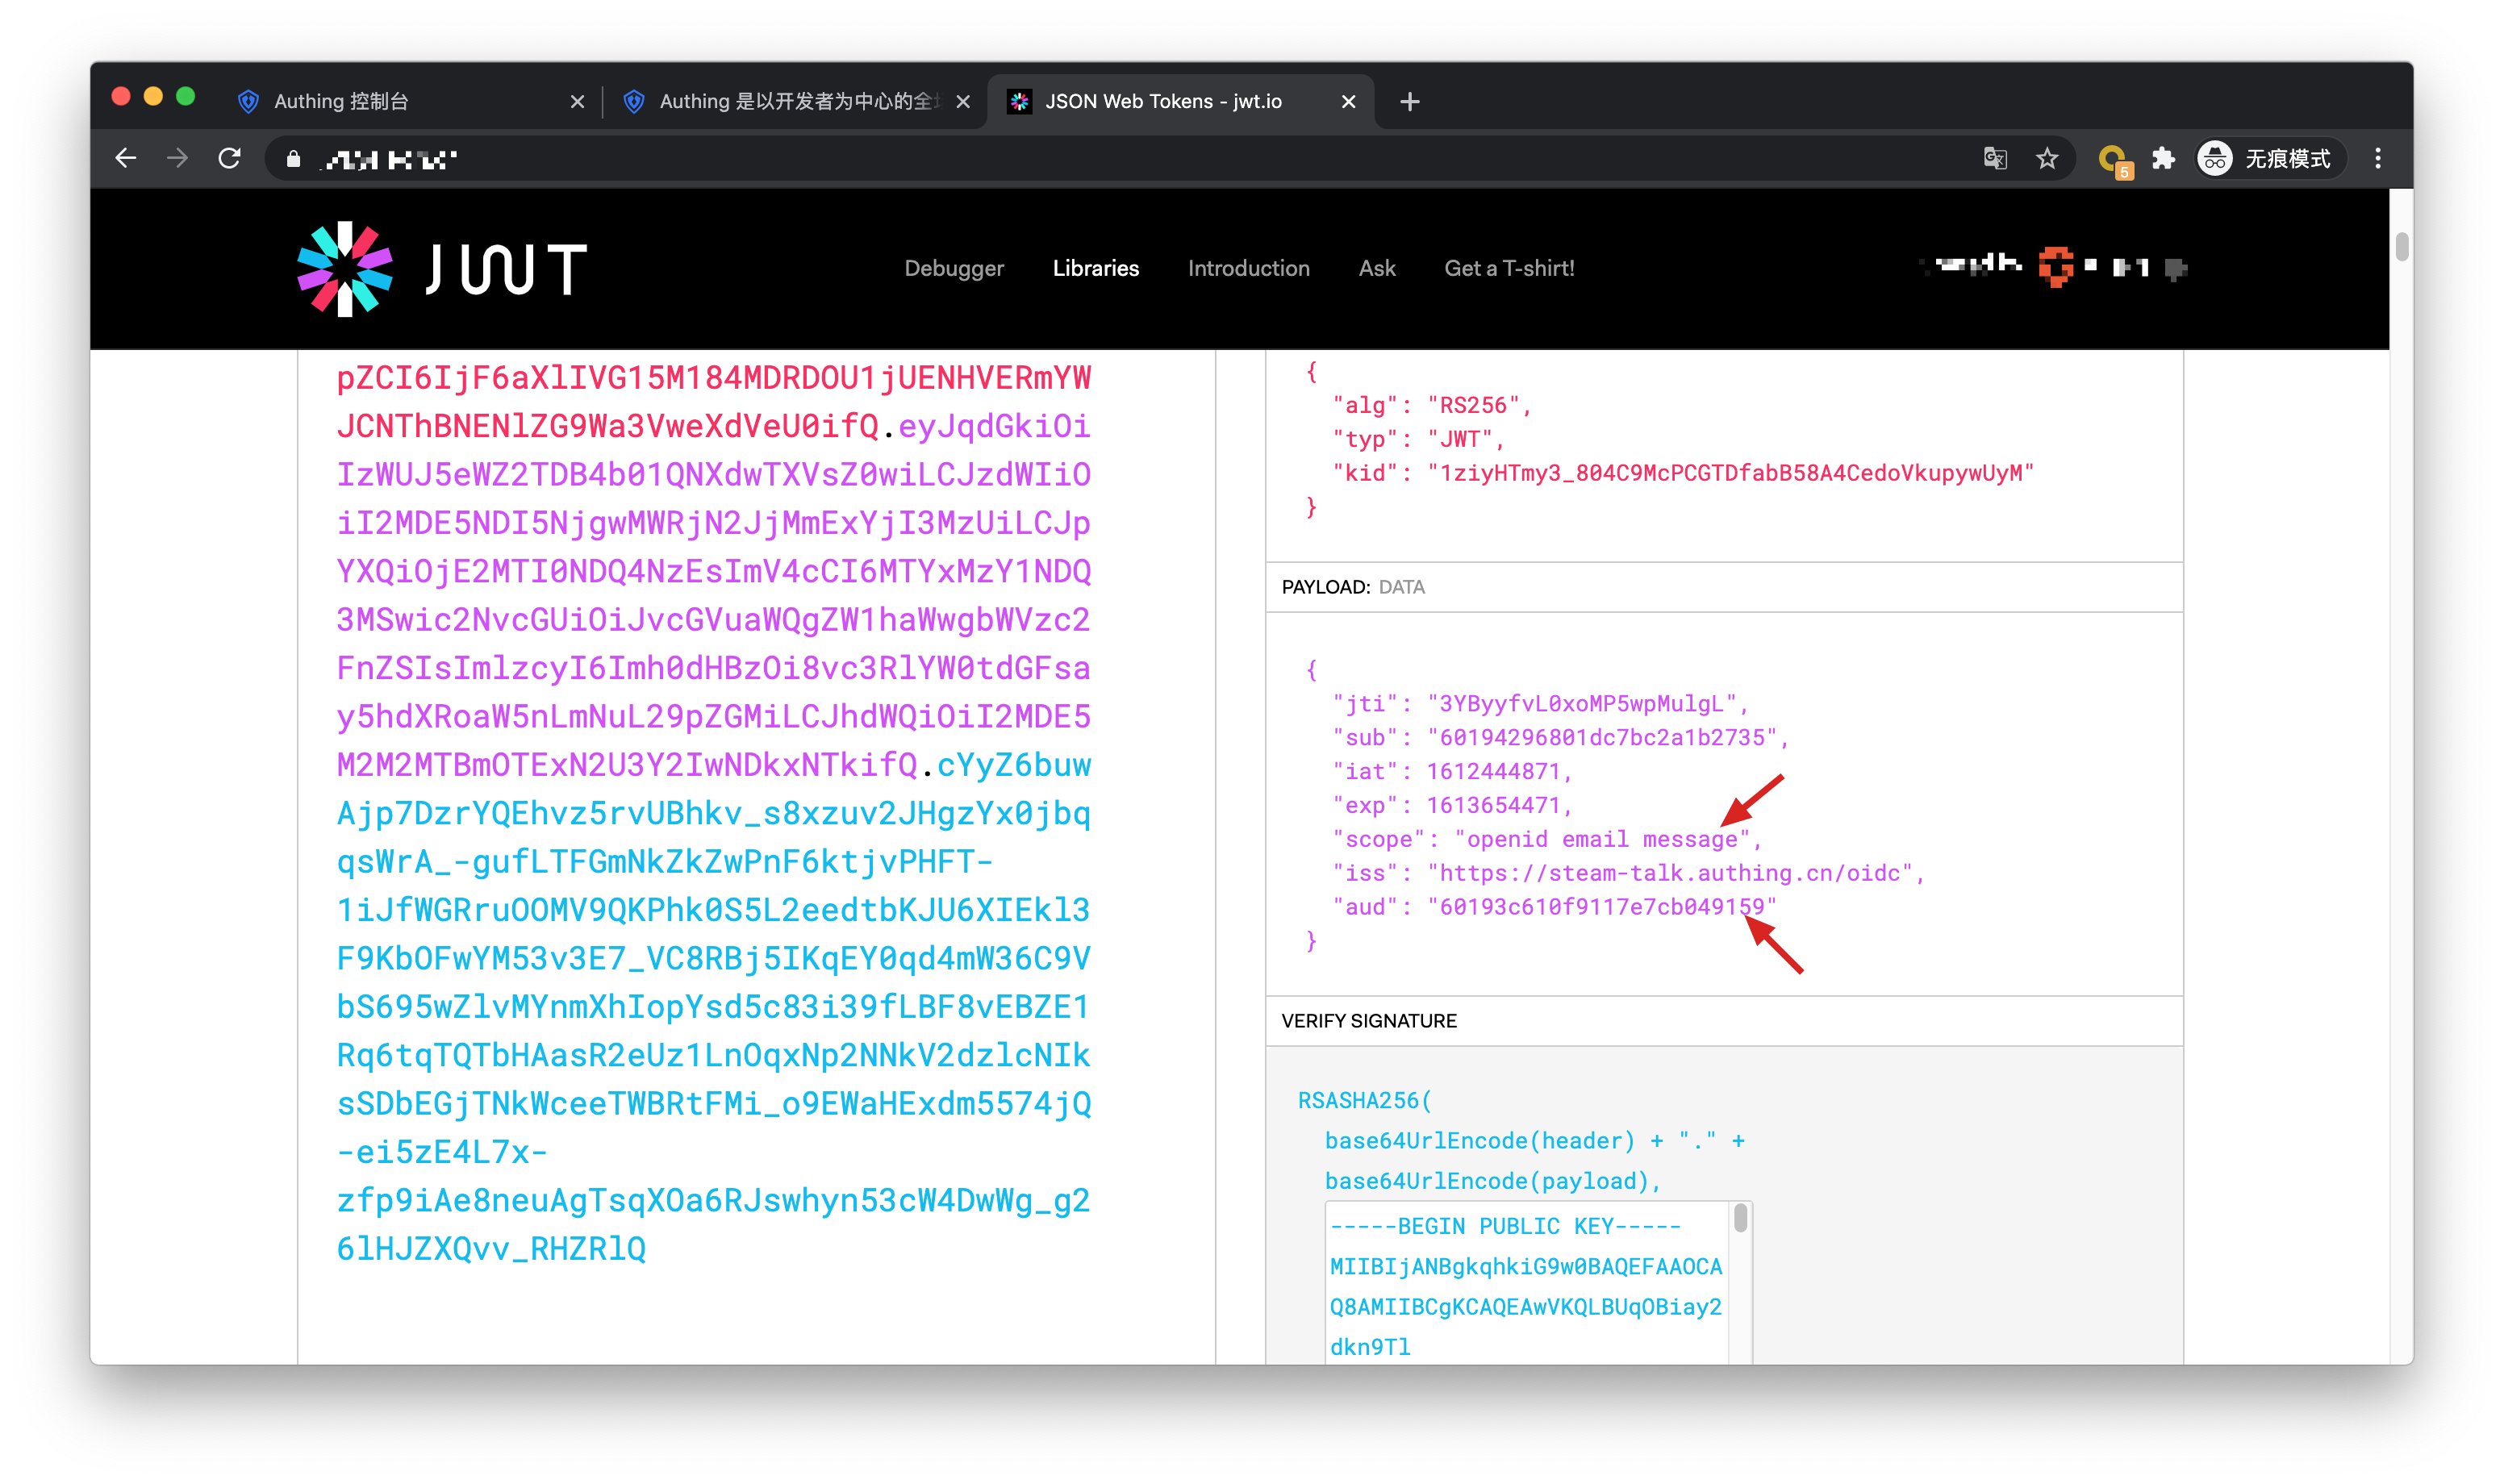
When you create a programmatic access account, you need to specify the AccessToken expiration time. Authing uses the RS256 signature algorithm to sign when issuing the AccessToken to ensure that the AccessToken will not be tampered with.
Token signature is a part of JWT. For more information, please refer to JWT Interpretation and Use.
-RS256 is an asymmetric signature algorithm. Authing holds the private key to sign the Token, and consumers of JWT use the public key to verify the signature. The RS256 signature algorithm has the following benefits:
- Anyone can use the application public key to verify the signature, and the signer must be Authing.
- There is no risk of private key leakage. If you use HS256 but leak the application key, you need to refresh the key and redeploy all APIs. For more information on signature issues, please refer to Verify Token.
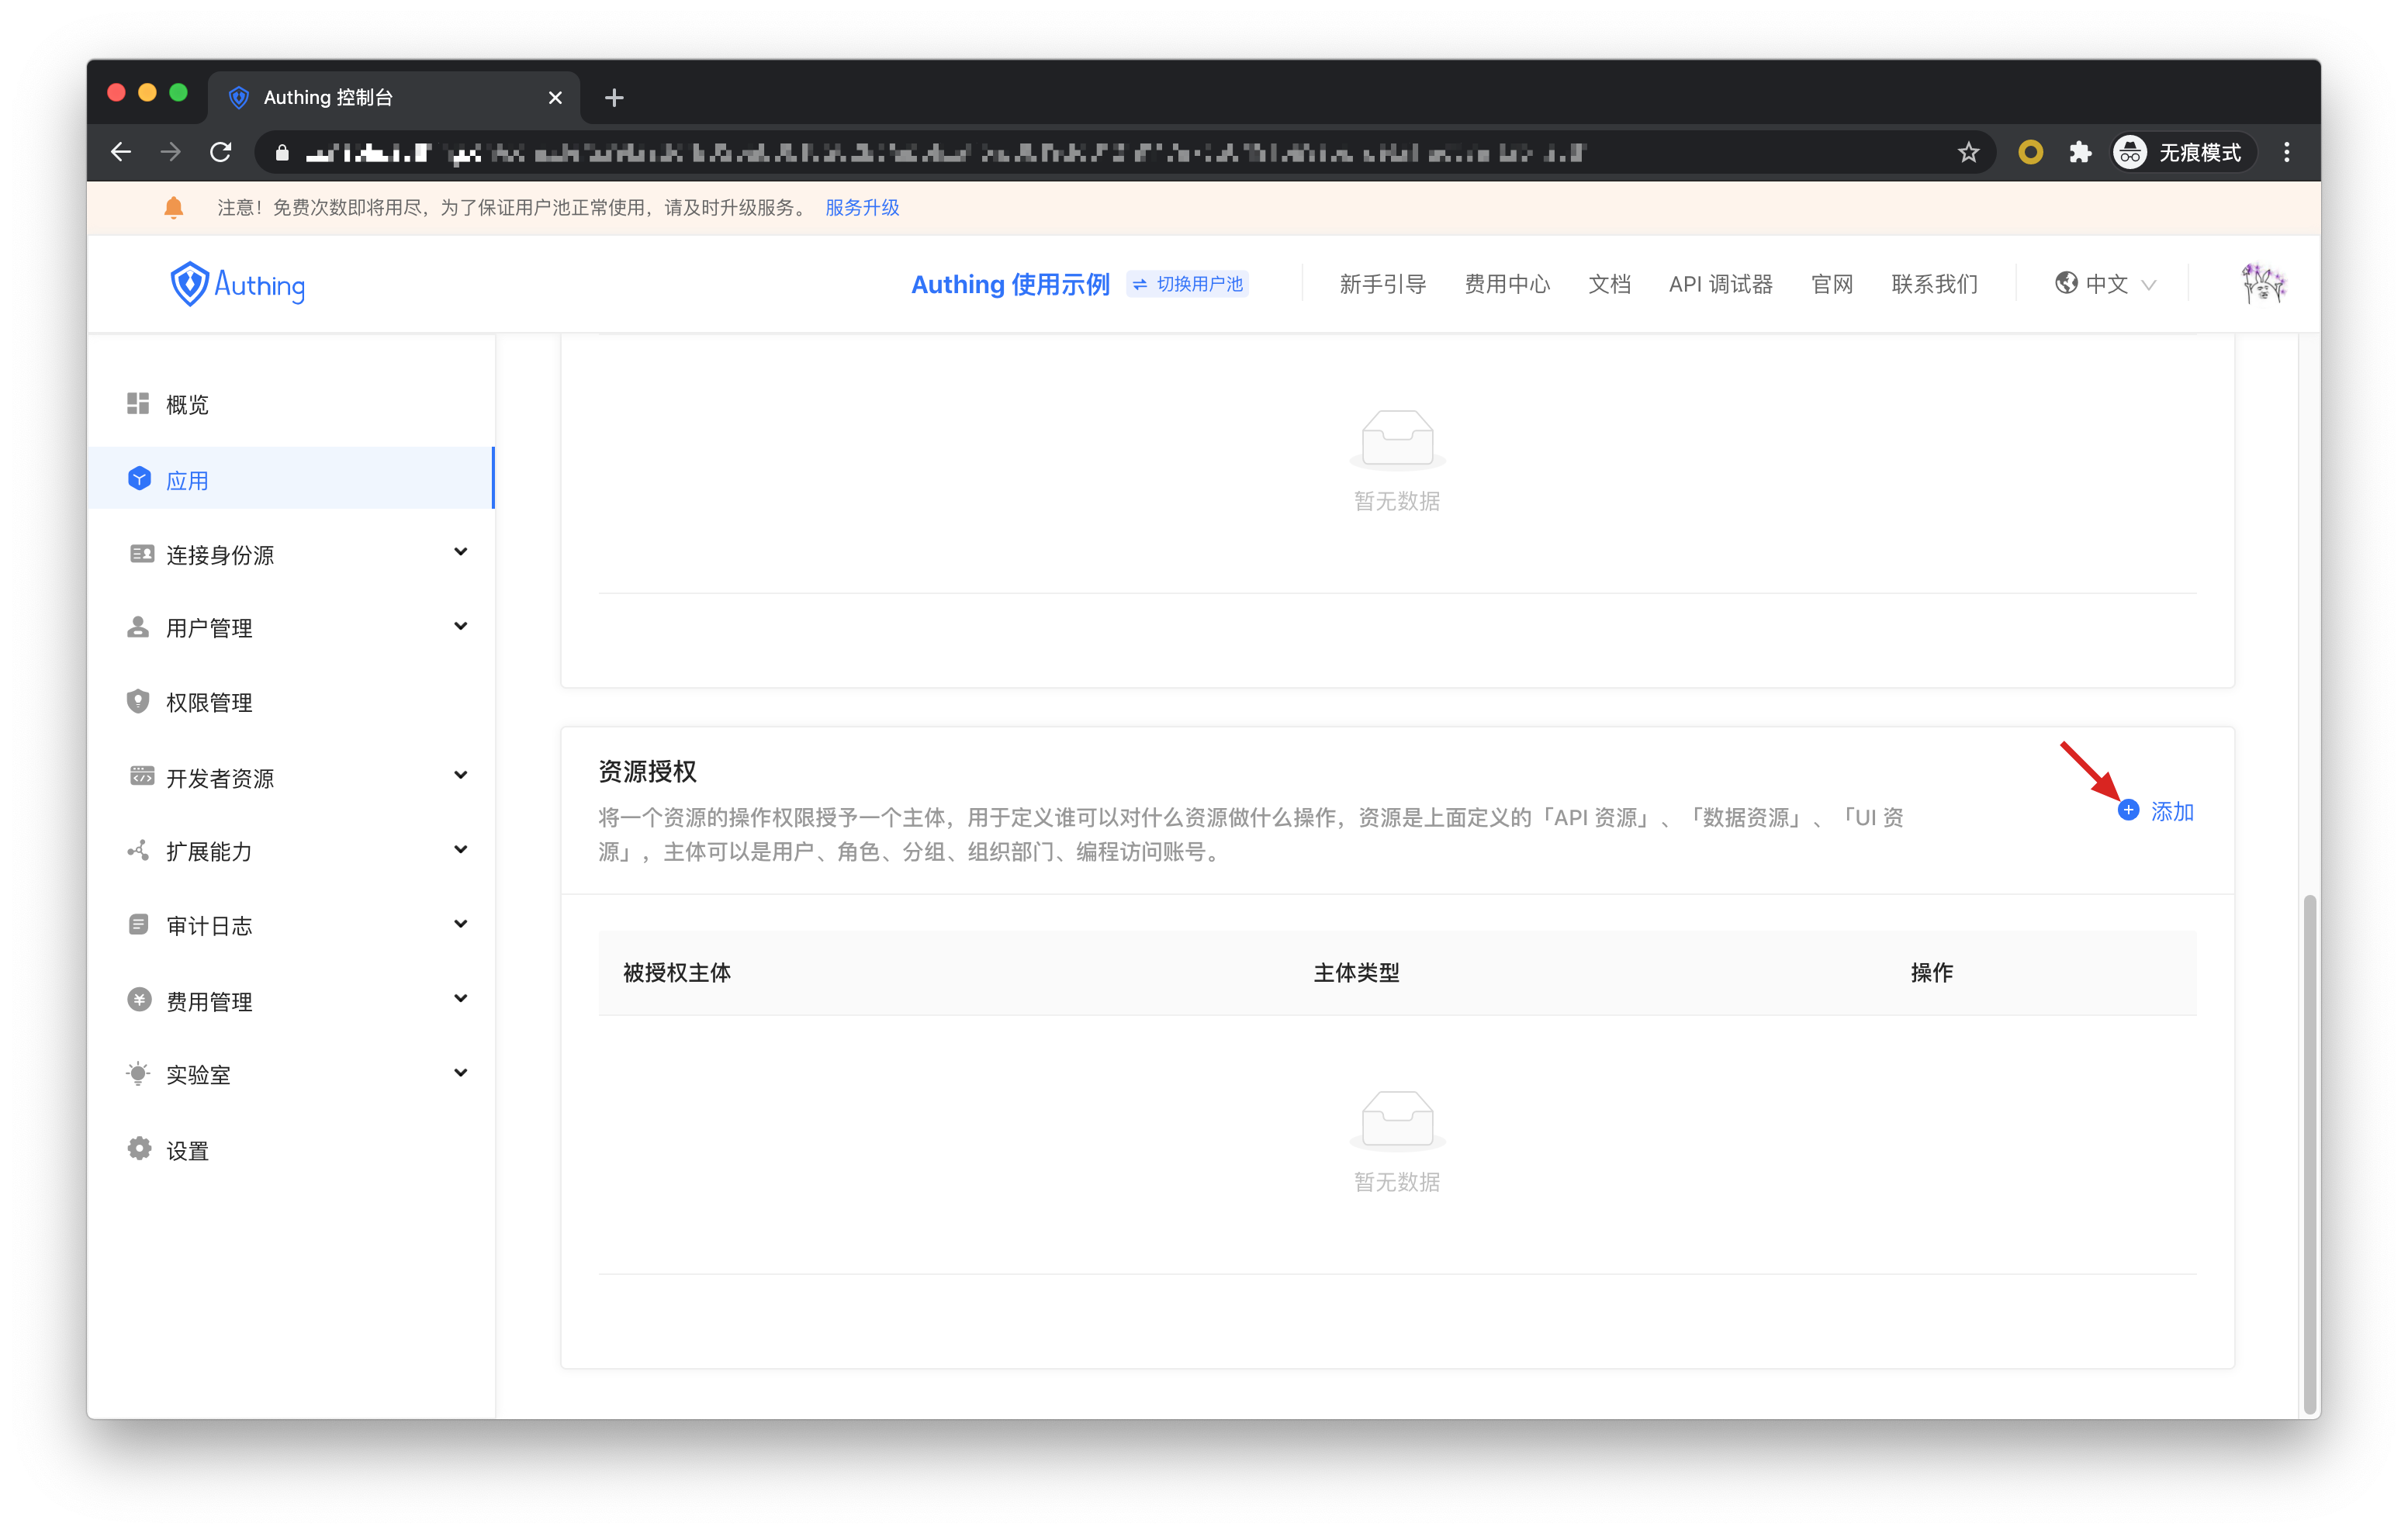
Next, we add resource permissions for the user. On the Resource Authorization card, click Add.

Then we add all operation permissions for all message data for user1@123.com and user2@123.com users, and finally click OK. At this point, the administrator's rights management operations are all over.
# Obtain a permissioned AccessToken
The caller needs to obtain resource authorization from the resource side through the OIDC authorization code mode. The user of the resource party will participate in the authorization process. After the user's authorization, Authing will issue an AccessToken with the authority scope and the subject is the resource holder. First need to splice authorized link:
https://{application domain name}.authing.cn/oidc/auth?client_id={application ID}&response_type=code&scope=openid email message&redirect_uri={caller business address}&state={random string}
The scope parameter can be filled with the resource and corresponding operation defined in the above steps. The specific format is as follows.
# Scope permission item specification
Authing's scope permission items are separated by spaces, and the format of each item is resource identifier: resource operation.
The following are all scope formats supported by Authing:
book:1:read means the read permission of the book resource numbered 1
book:*:read means the read permission of all book resources
book:read means the read permission of all book resources
book:*:* means all operation permissions for all book resources
book:* means all operation permissions for all book resources
book means all operation permissions for all book resources
*:*:* means all operation permissions for all resources
*:* means all operation permissions for all resources
* means all operation permissions for all resources
For example, the create operation of message resource and message resource are defined above, and the content of message:create can be filled in the scope here.
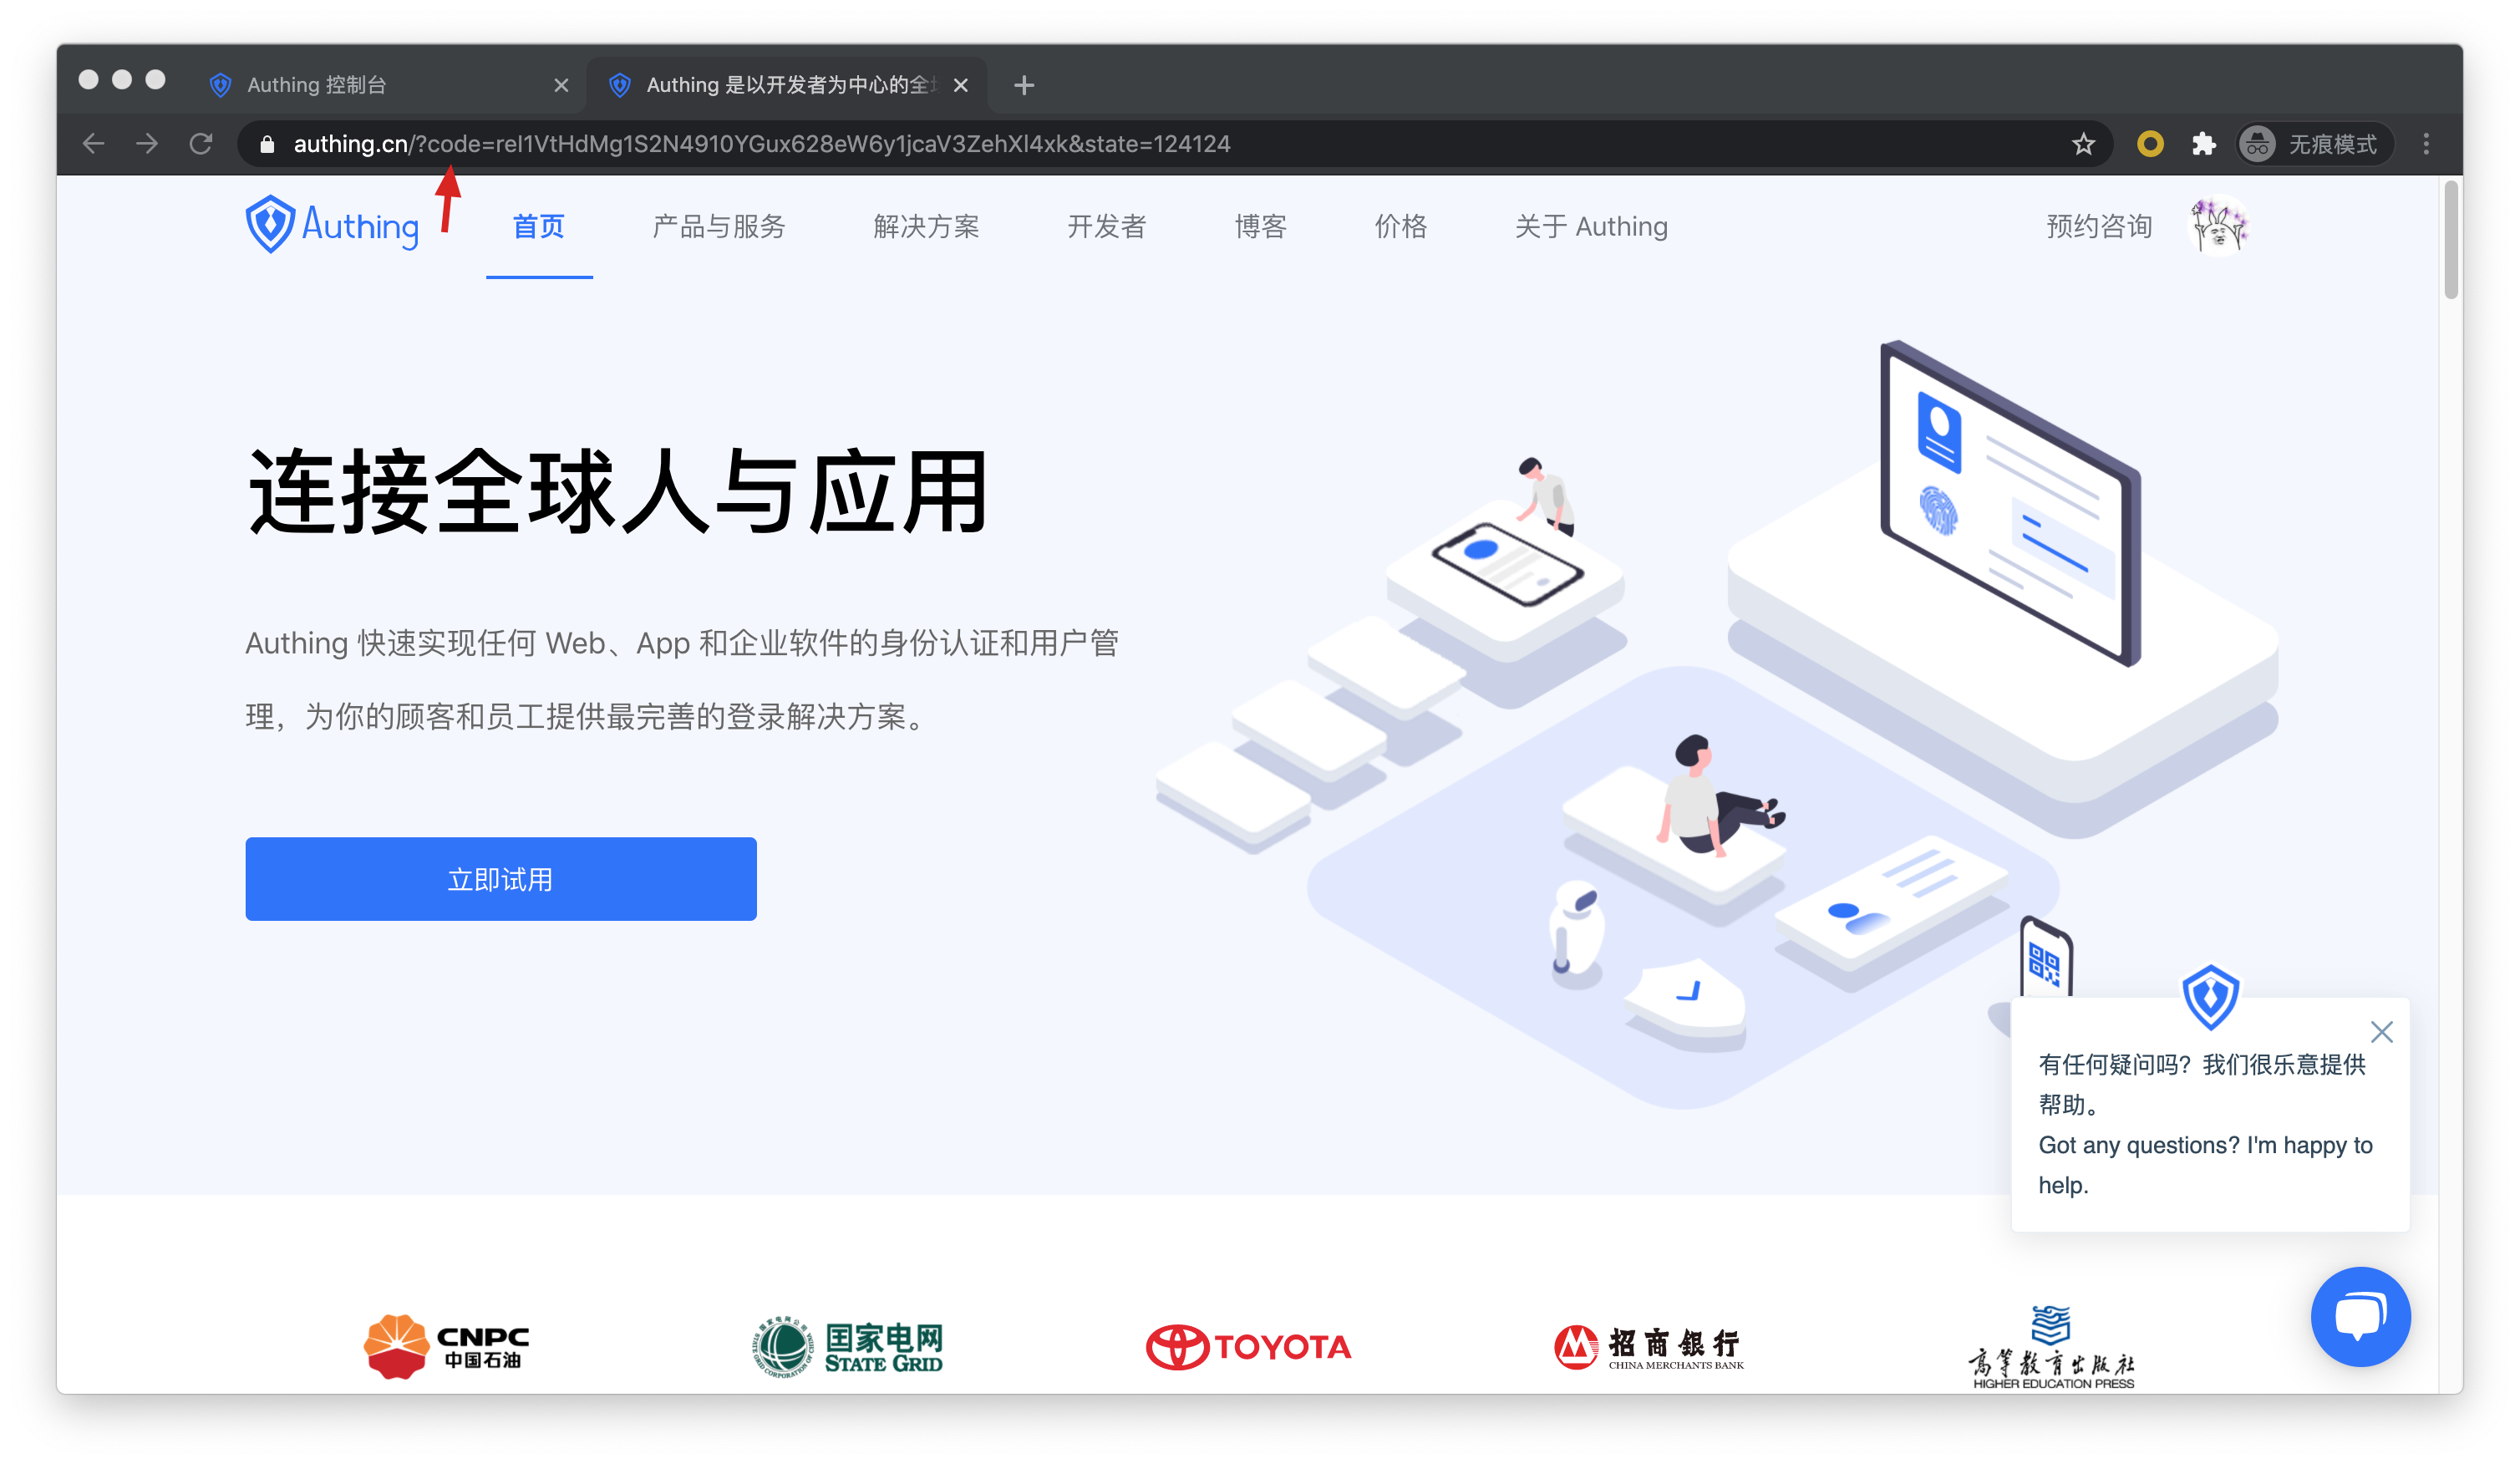
The caller should guide the user to click on this link. After the user clicks, it will jump to the authentication page.
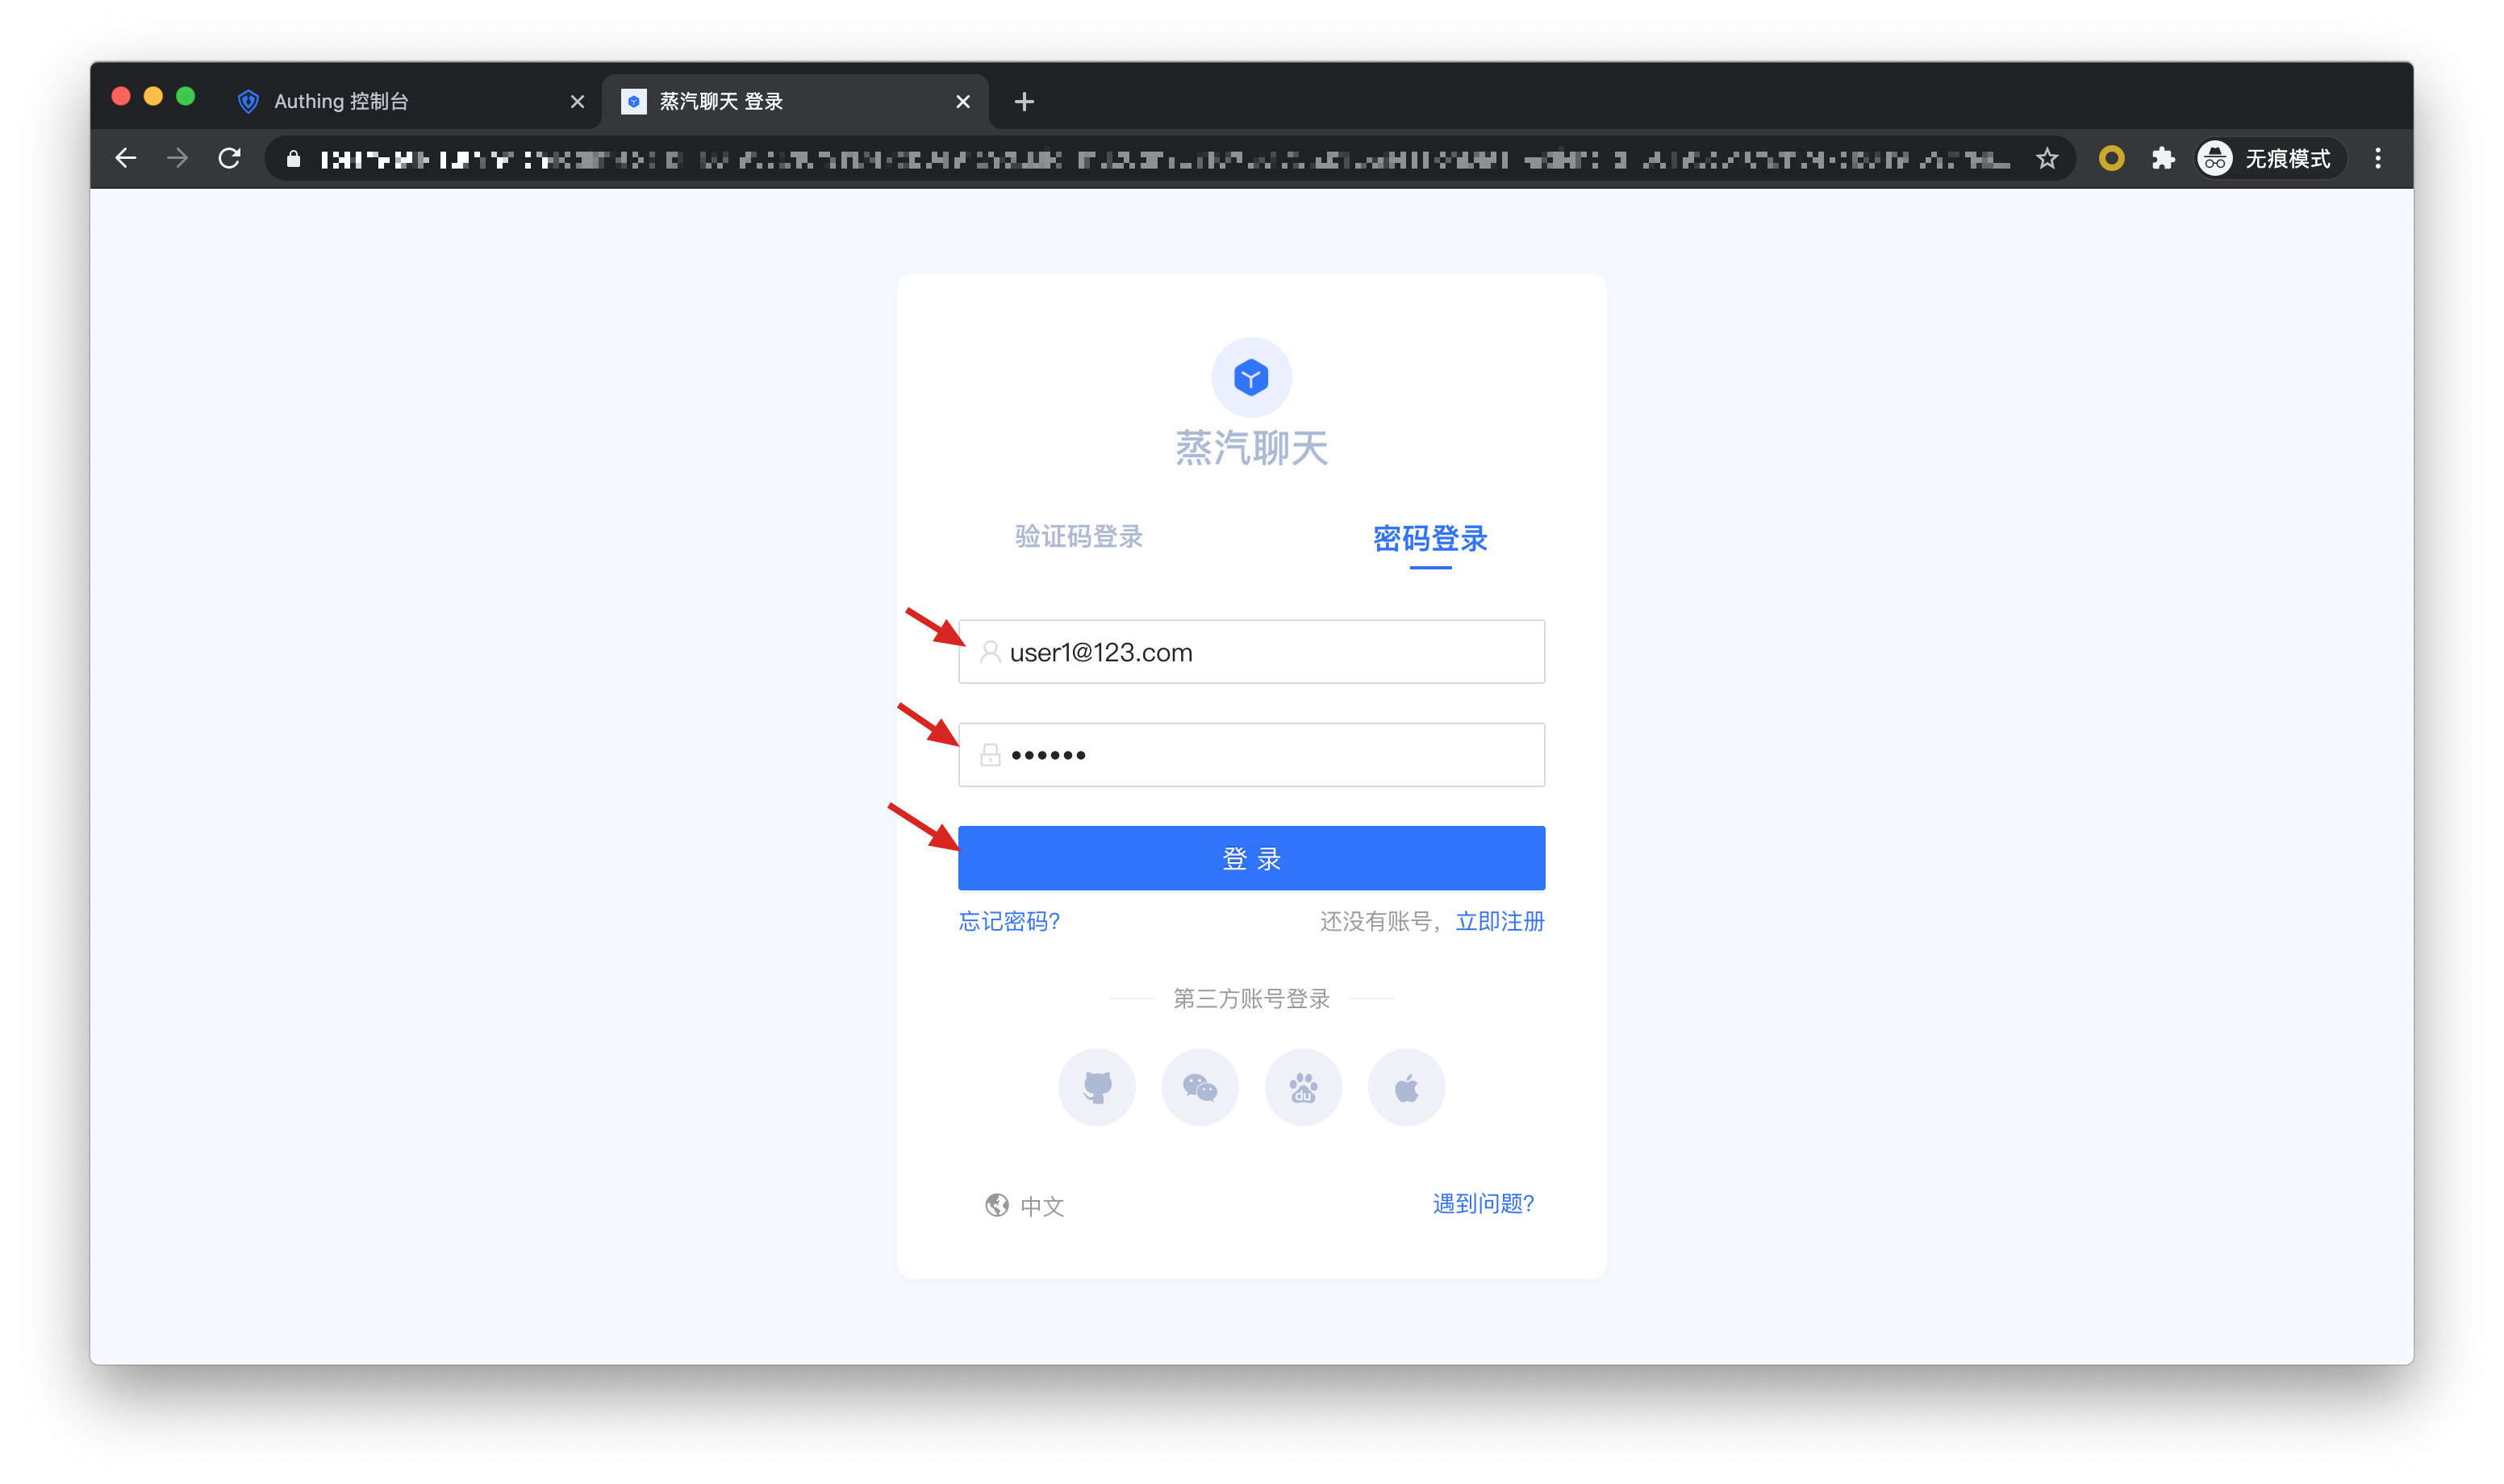
After the user logs in, he will jump to the business address of the caller. And carry the authorization code code parameter in the URL.
Next, you need to use the authorization code code and the Key and Secret of the programmatic access account to exchange for the user's AccessToken and IdToken. For more information about OIDC authorization code mode, please see [document](/authentication/oidc/oidc-authorization.md#Use authorization code mode-authorization-code-flow).
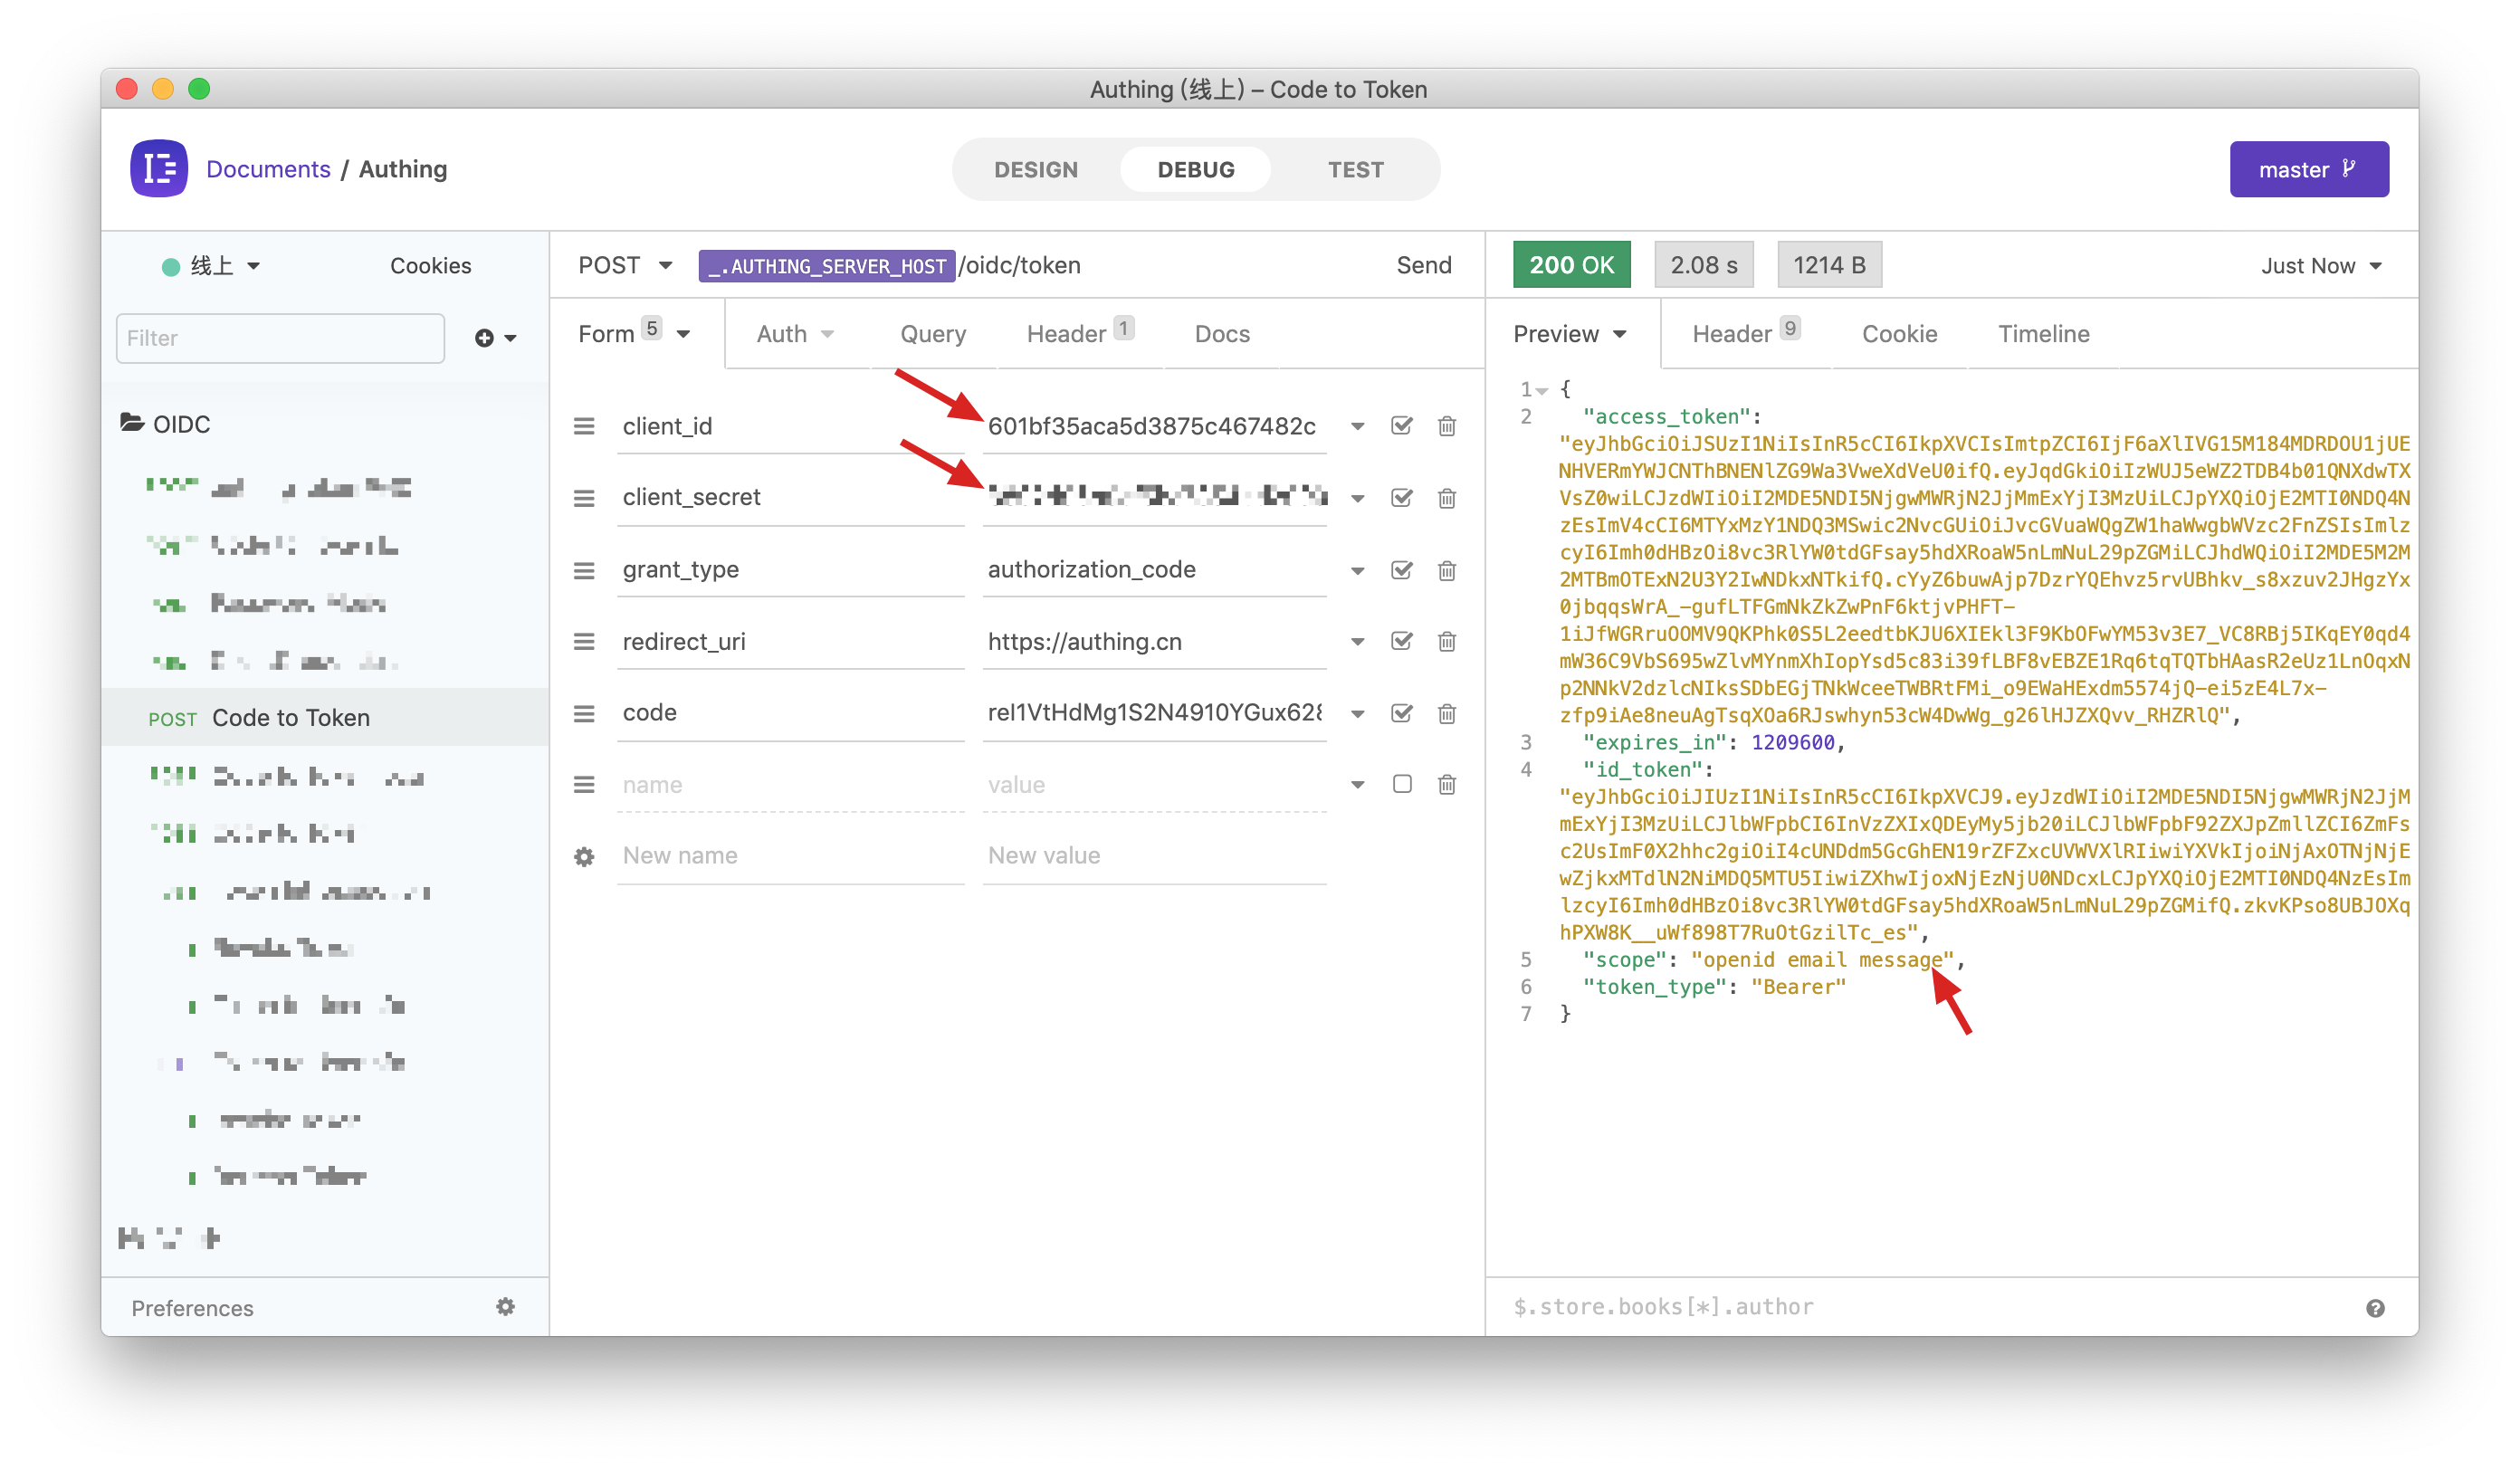
You can see that the user's AccessToken has the message permission scope. The audience (aud) of token is programming access account Key. The meaning of AccessToken is: caller aud has the scope **permissions of resource owner sub, and issuer is iss. The resource party can perform permission verification based on the information in the AccessToken.
# Add API authentication interceptor
After Authing defines the API, you need to add an API authentication interceptor to your actual business API interface. For protected resources, only visitors who carry a legal AccessToken and have the required permissions are allowed. The code example is as follows:
var express = require('express');
var app = express();
var jwt = require('express-jwt');
var jwks = require('jwks-rsa');
var port = process.env.PORT || 8080;
var jwtCheck = jwt({
  secret: jwks.expressJwtSecret({
    cache: true,
    rateLimit: true,
    jwksRequestsPerMinute: 5,
    jwksUri:'https://{application domain name}.authing.cn/oidc/.well-known/jwks.json',
  }),
  audience:'{Programming access account ID}',
  issuer:'https://{application domain name}.authing.cn/oidc',
  algorithms: ['RS256'],
});
// Verify the legitimacy of AccessToken
app.use(jwtCheck);

app.post('/article', function(req, res) {
  // Verify that AccessToken has the required permissions
  if (!req.user.scope.split('').incldues('write:article')) {
    return res.status(401).json({ code: 401, message:'Unauthorized' });
  }
  res.send('Secured Resource');
});

app.listen(port);
Please refer to Verify Token for other content about Token verification.