# Create your first Pipeline function
The Pipeline function is a custom JavaScript code executed in the Authing authentication process. With the help of Pipeline, developers can easily customize and extend The ability of Authing.
# Create an Authing Account
If you don’t have an Authing developer account, please click here to register an Authing account (opens new window). After the registration is complete, the system will guide you to create your first user pool. At the same time [learn about the basic concepts of user pool] (../../quickstart/basic.md).
# Choose a pipeline template
Authing provides many templates out of the box to help you get started quickly.
You can also view the list of Pipeline template functions here: https://github.com/authing/pipeline (opens new window). At the same time, you are welcome to use your talents and contribute to us the Pipeline template function.
First enter the Expansion Capability-Custom Pipeline page of the console, you will see some tips:
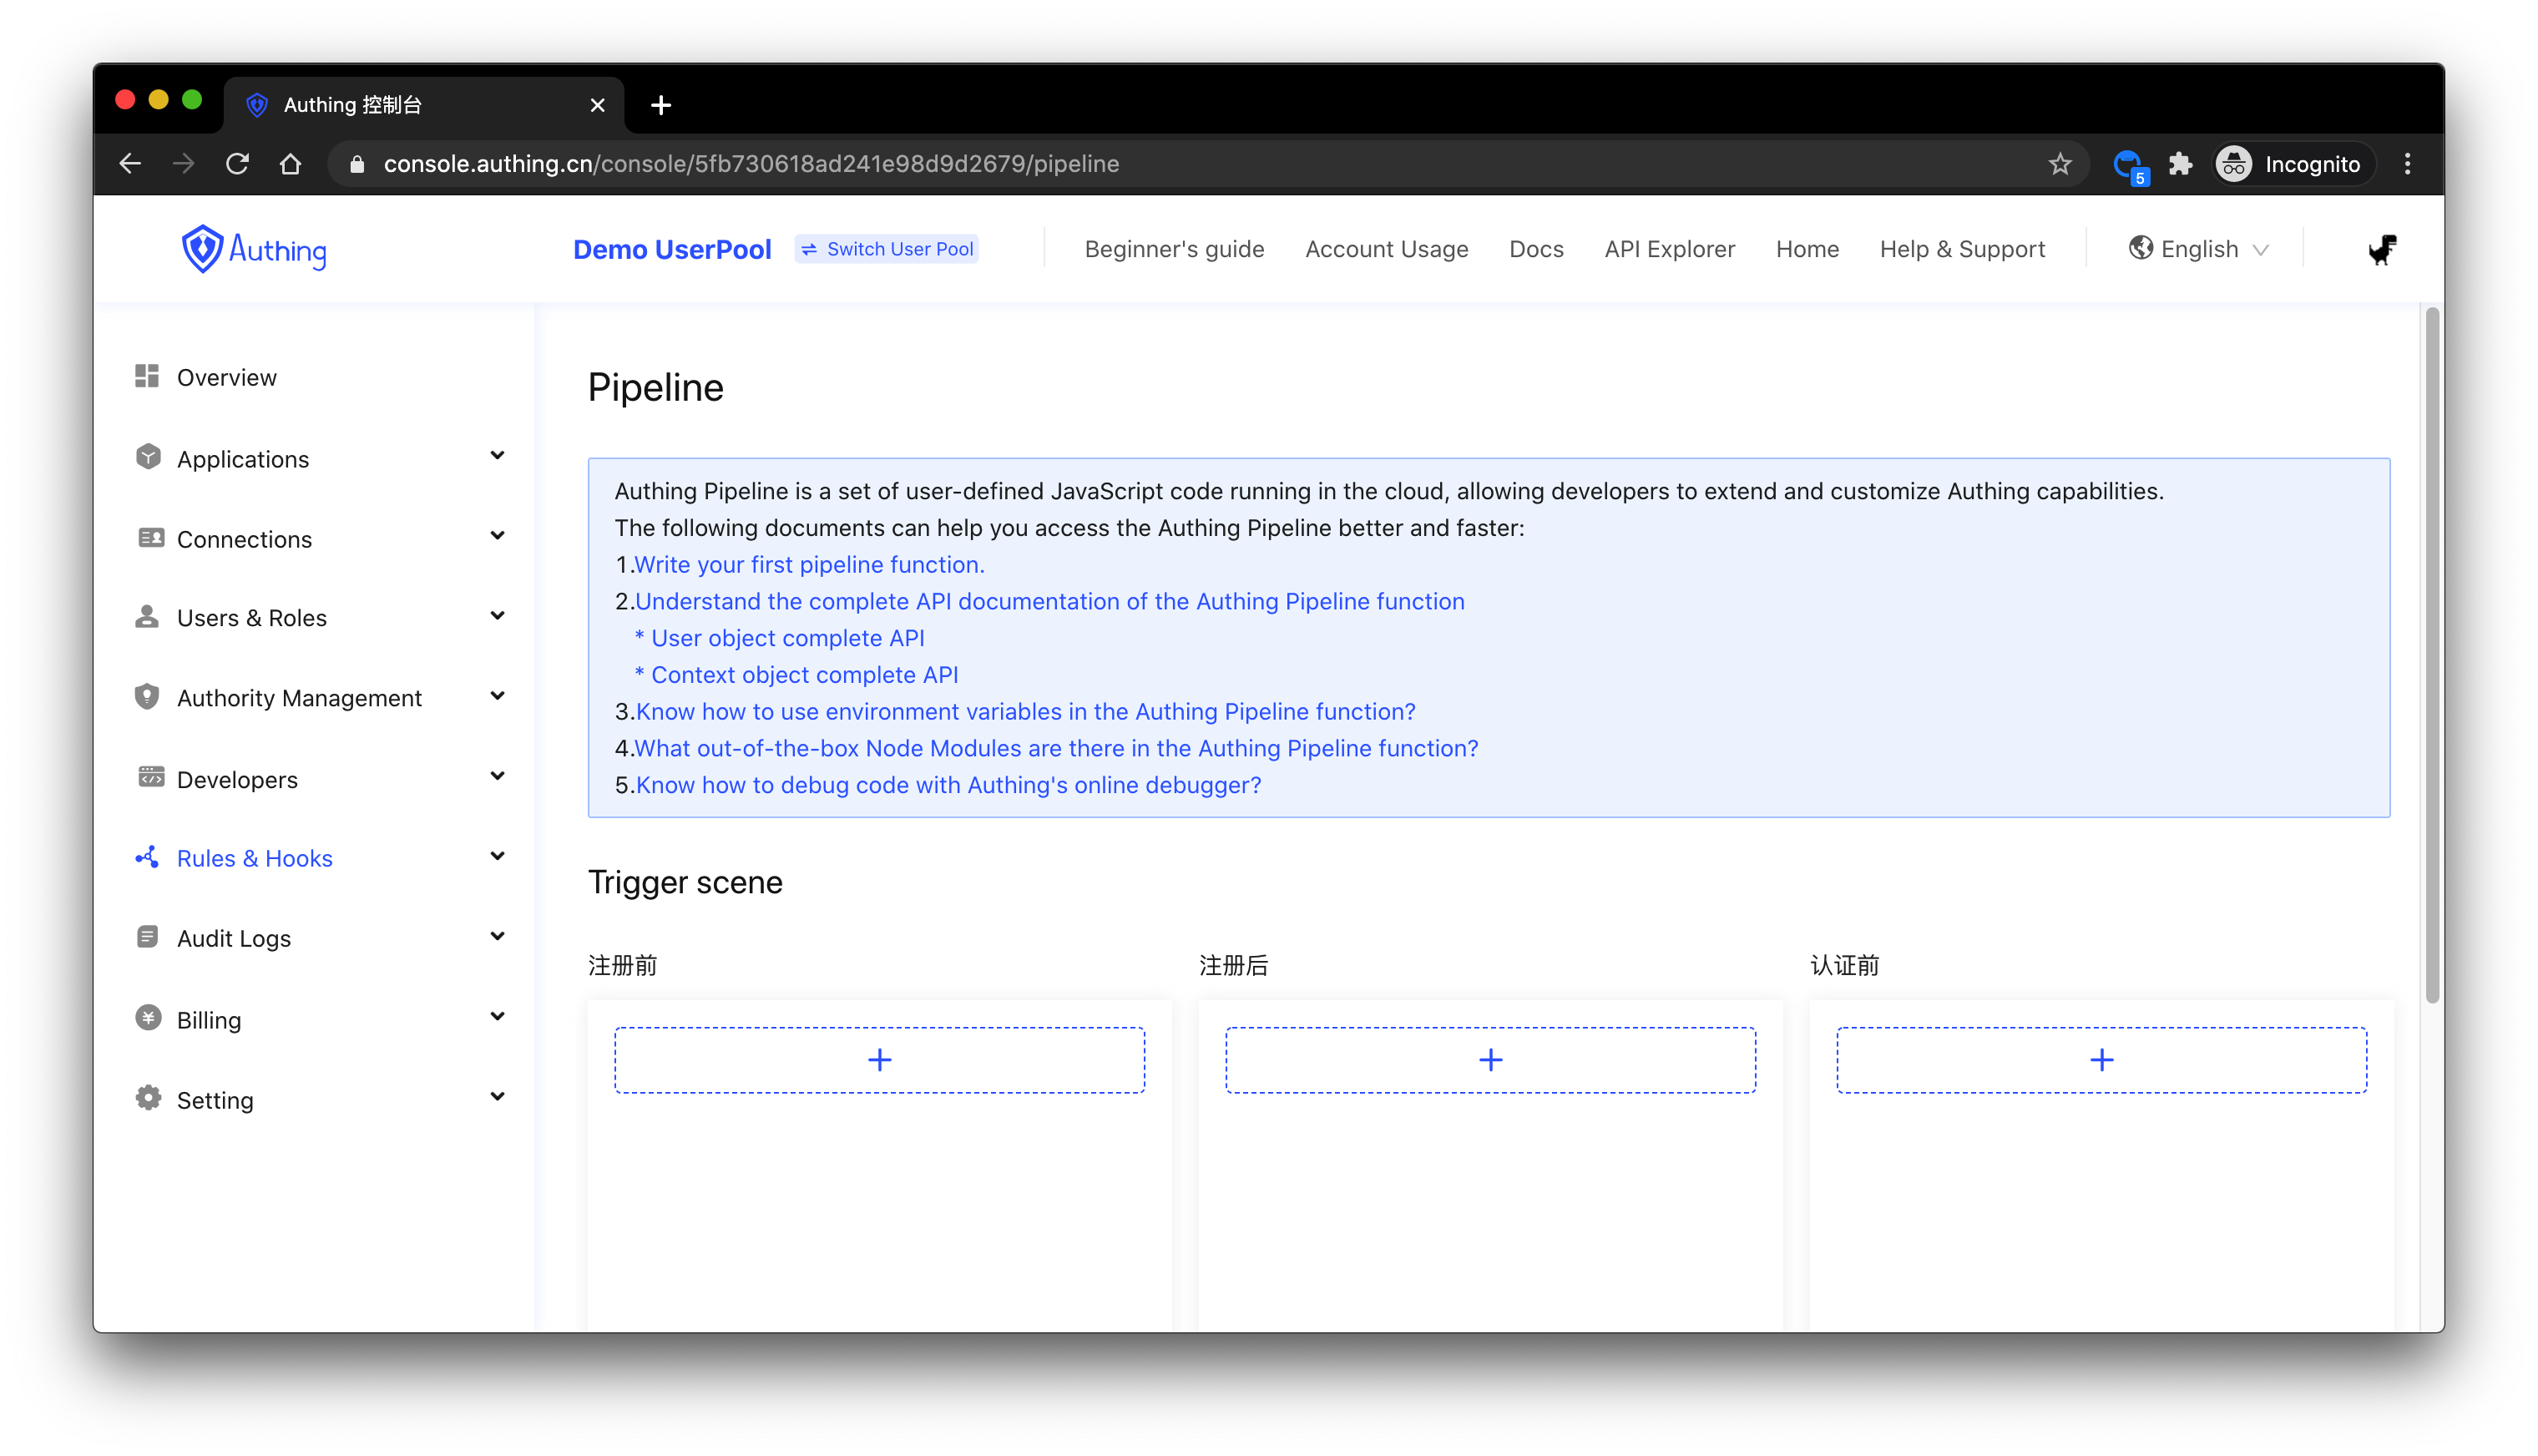
Select a trigger scene, click the "+" button, we have more than 20 templates to choose from:
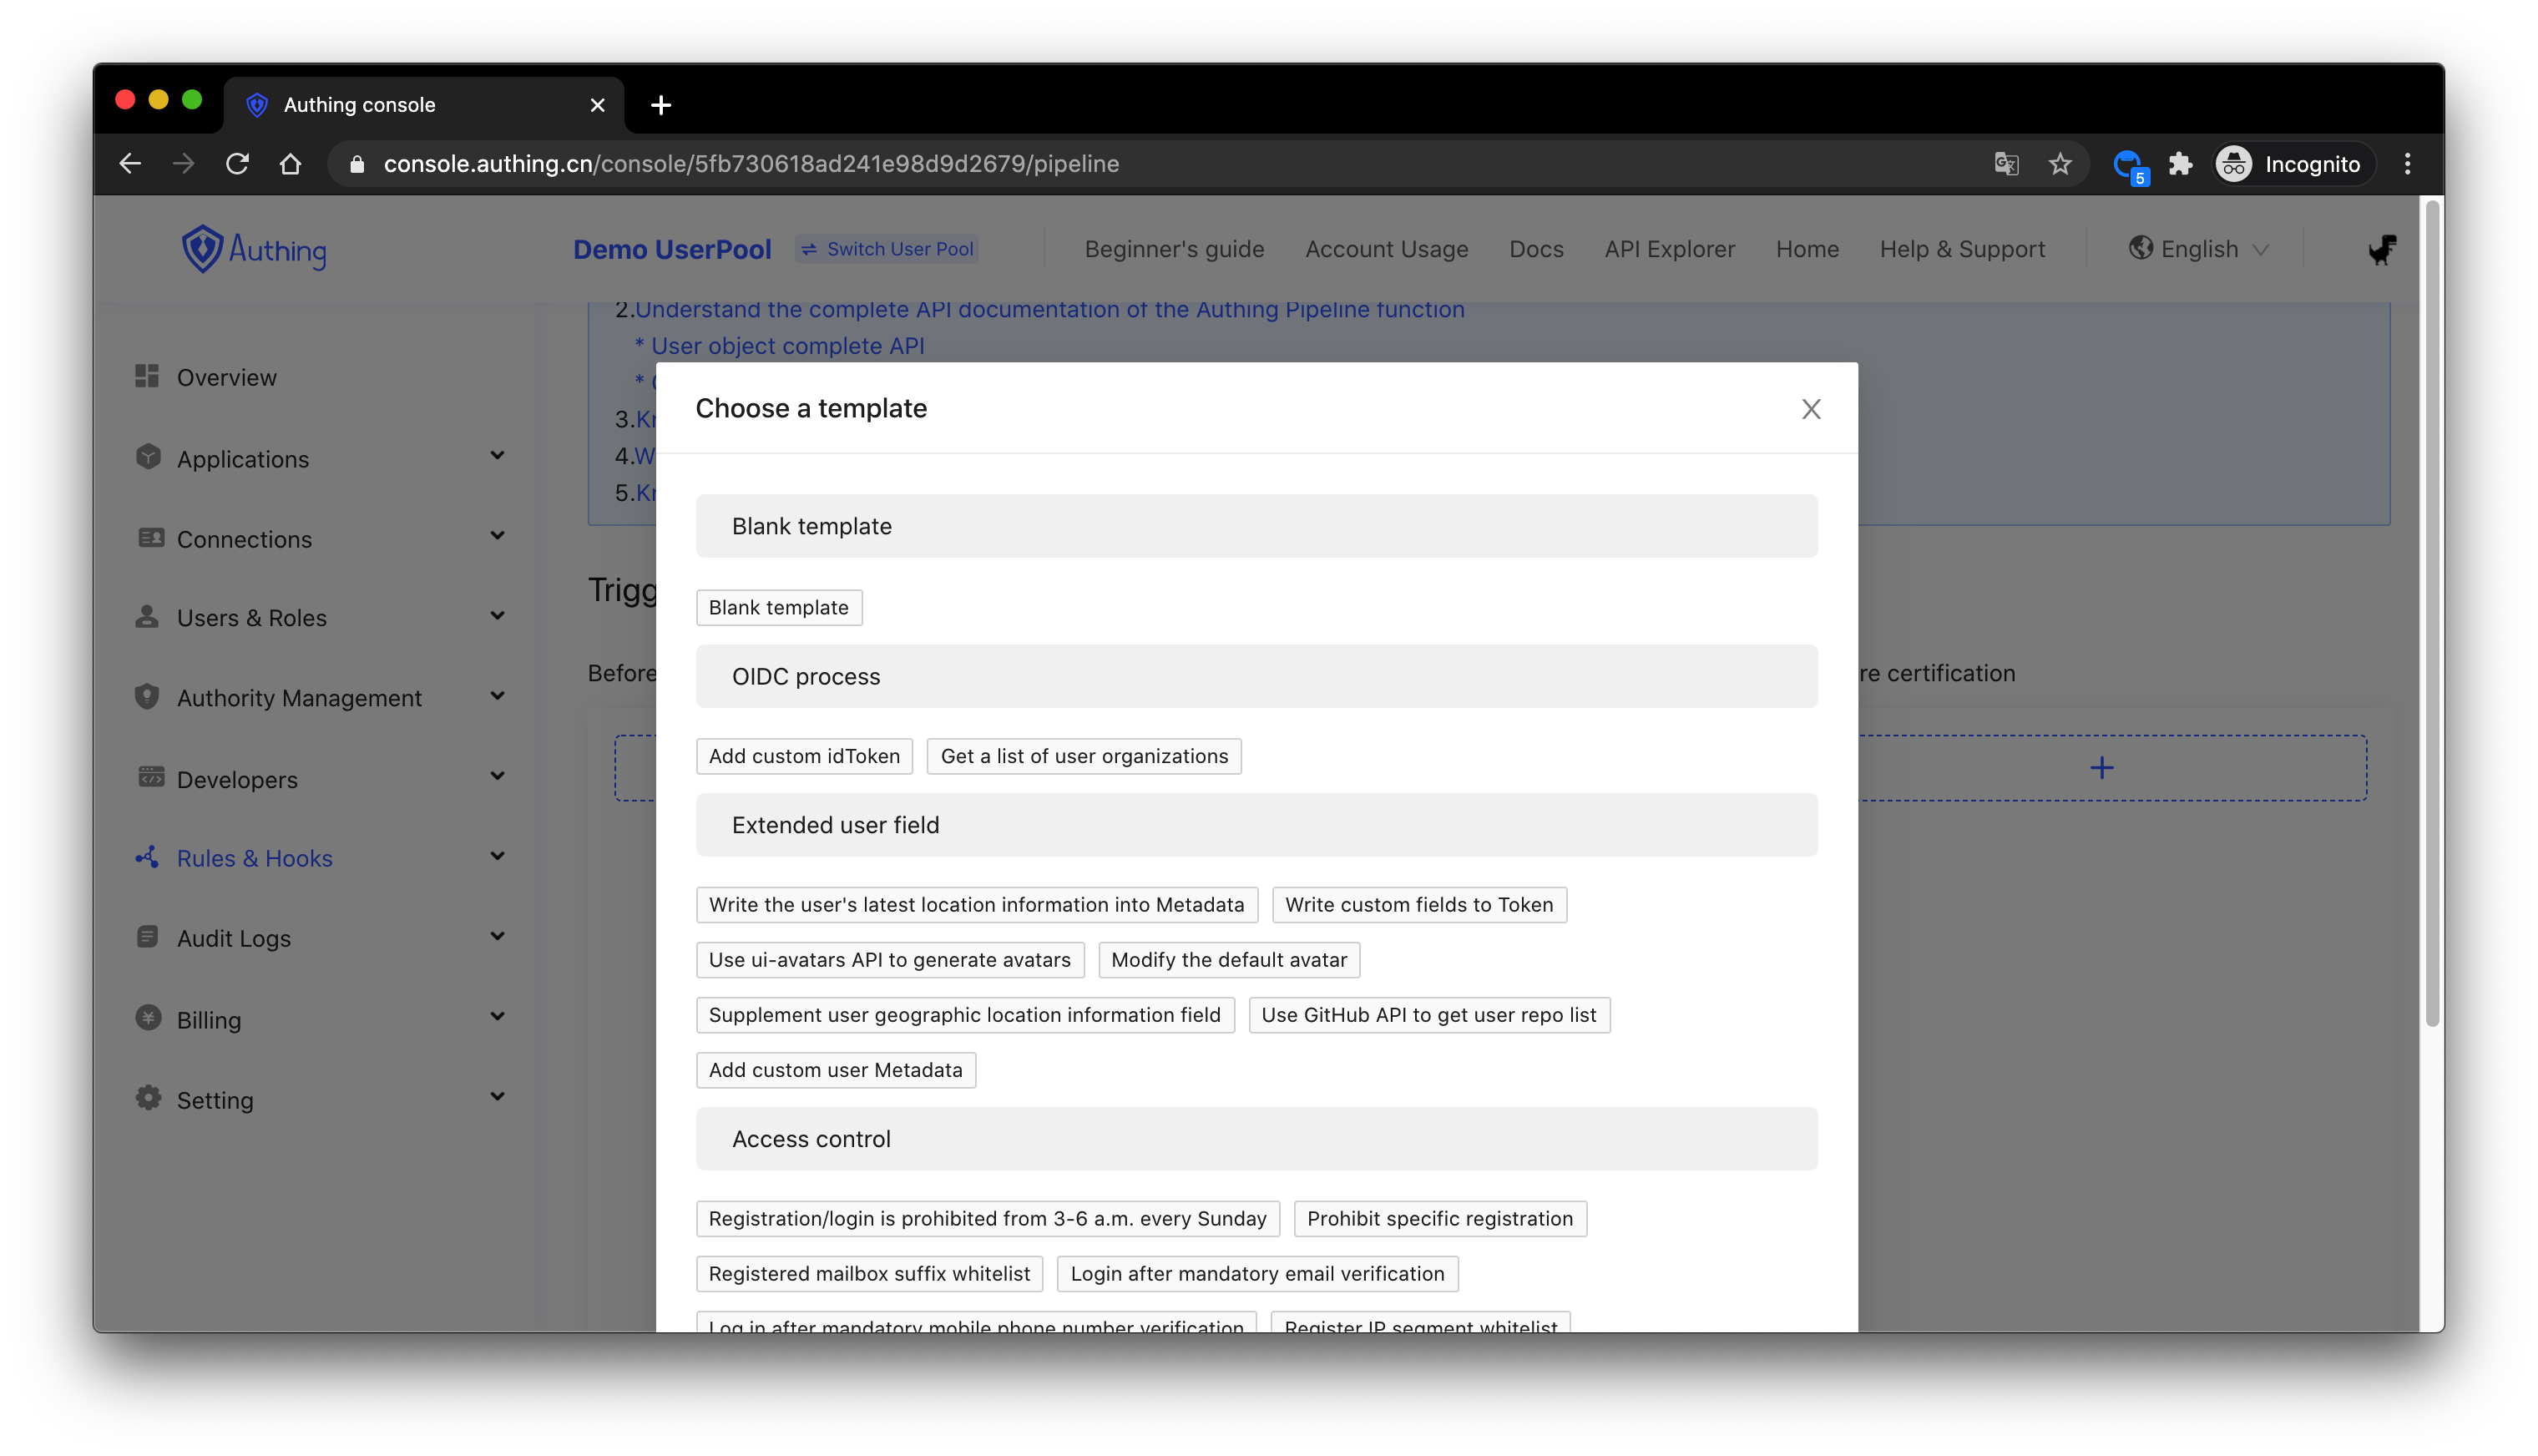
Here, we select "registered mailbox suffix white list" in access control.
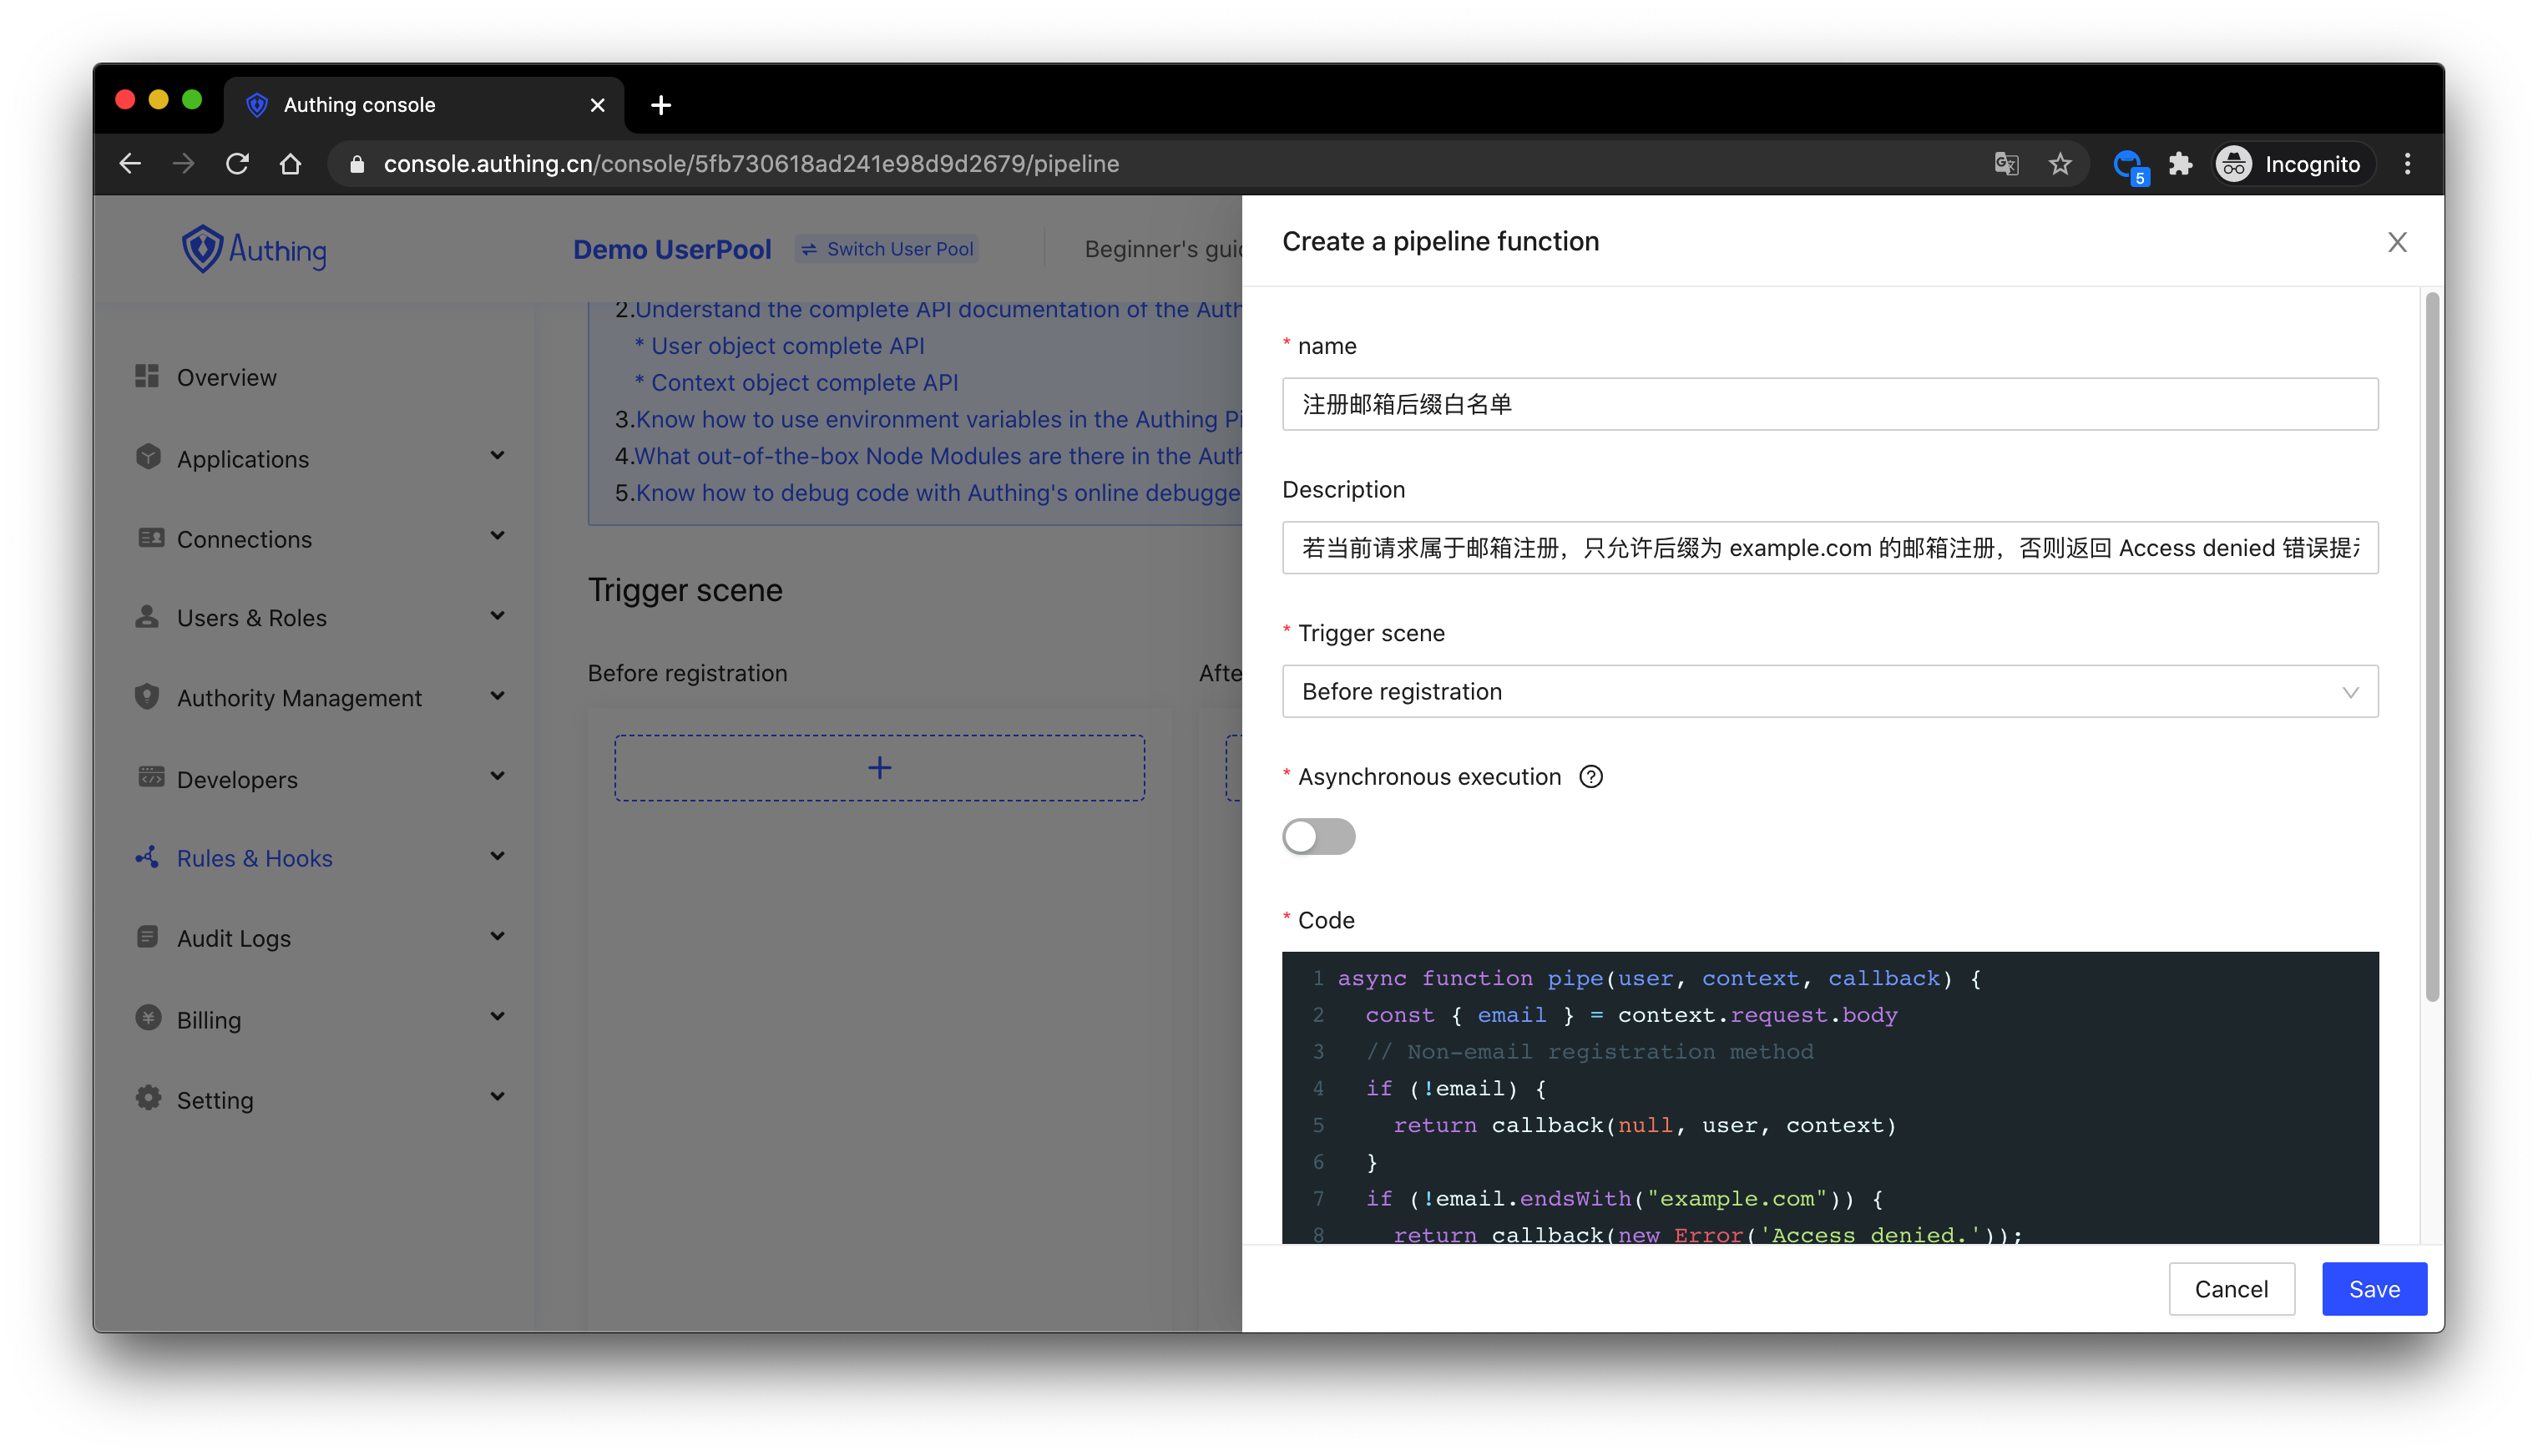
# Create a Pipeline function
The domain name whitelist we set here is "example.com", you can also change it to your own.
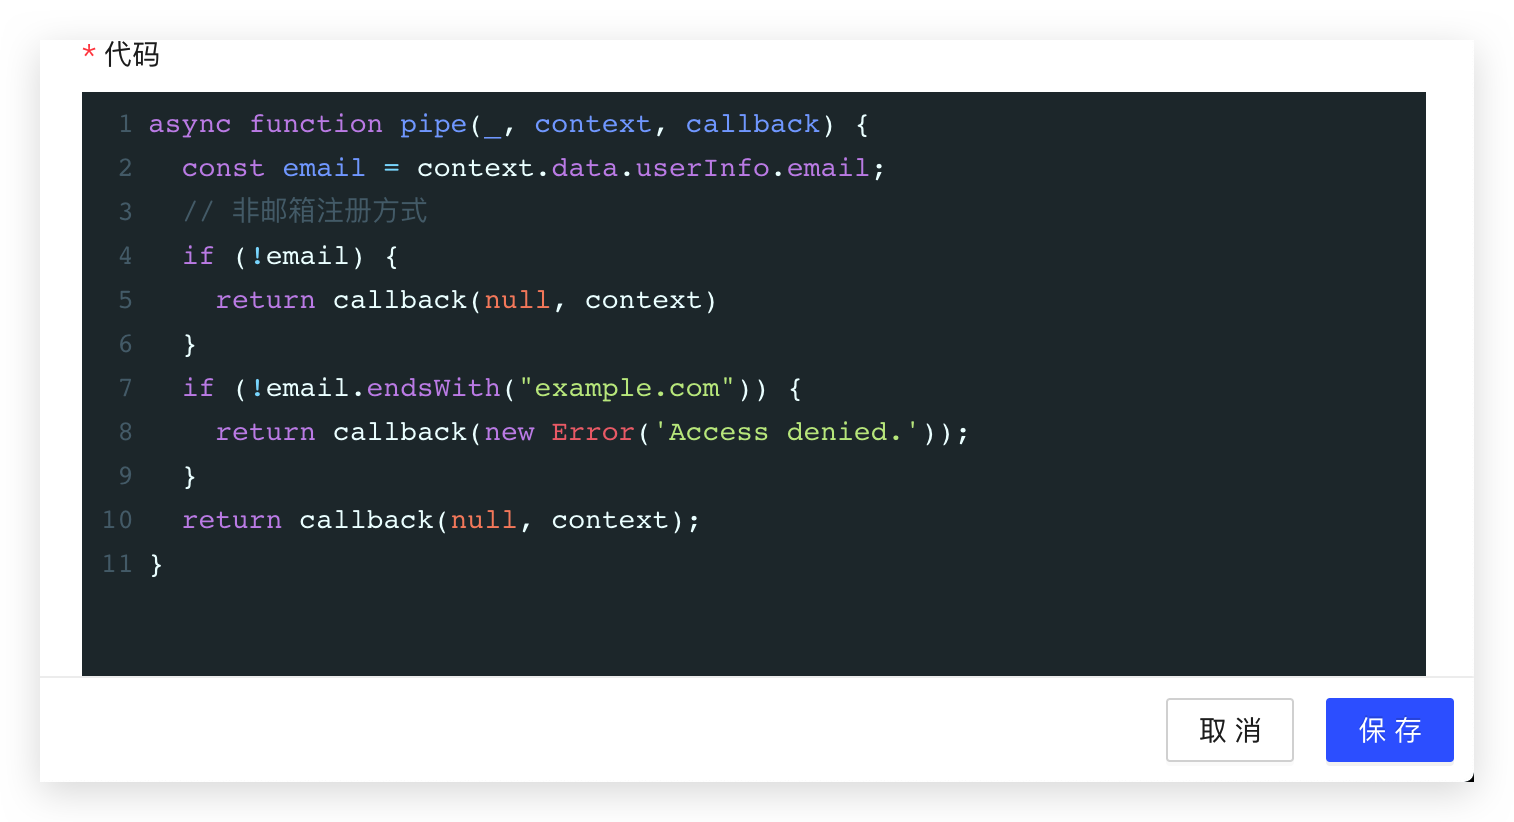
Click the "Save" button in the lower left corner, we will deploy this function to the cloud, it will take some time, please be patient.
Back to the Pipeline function list page, you can see the function we just added.
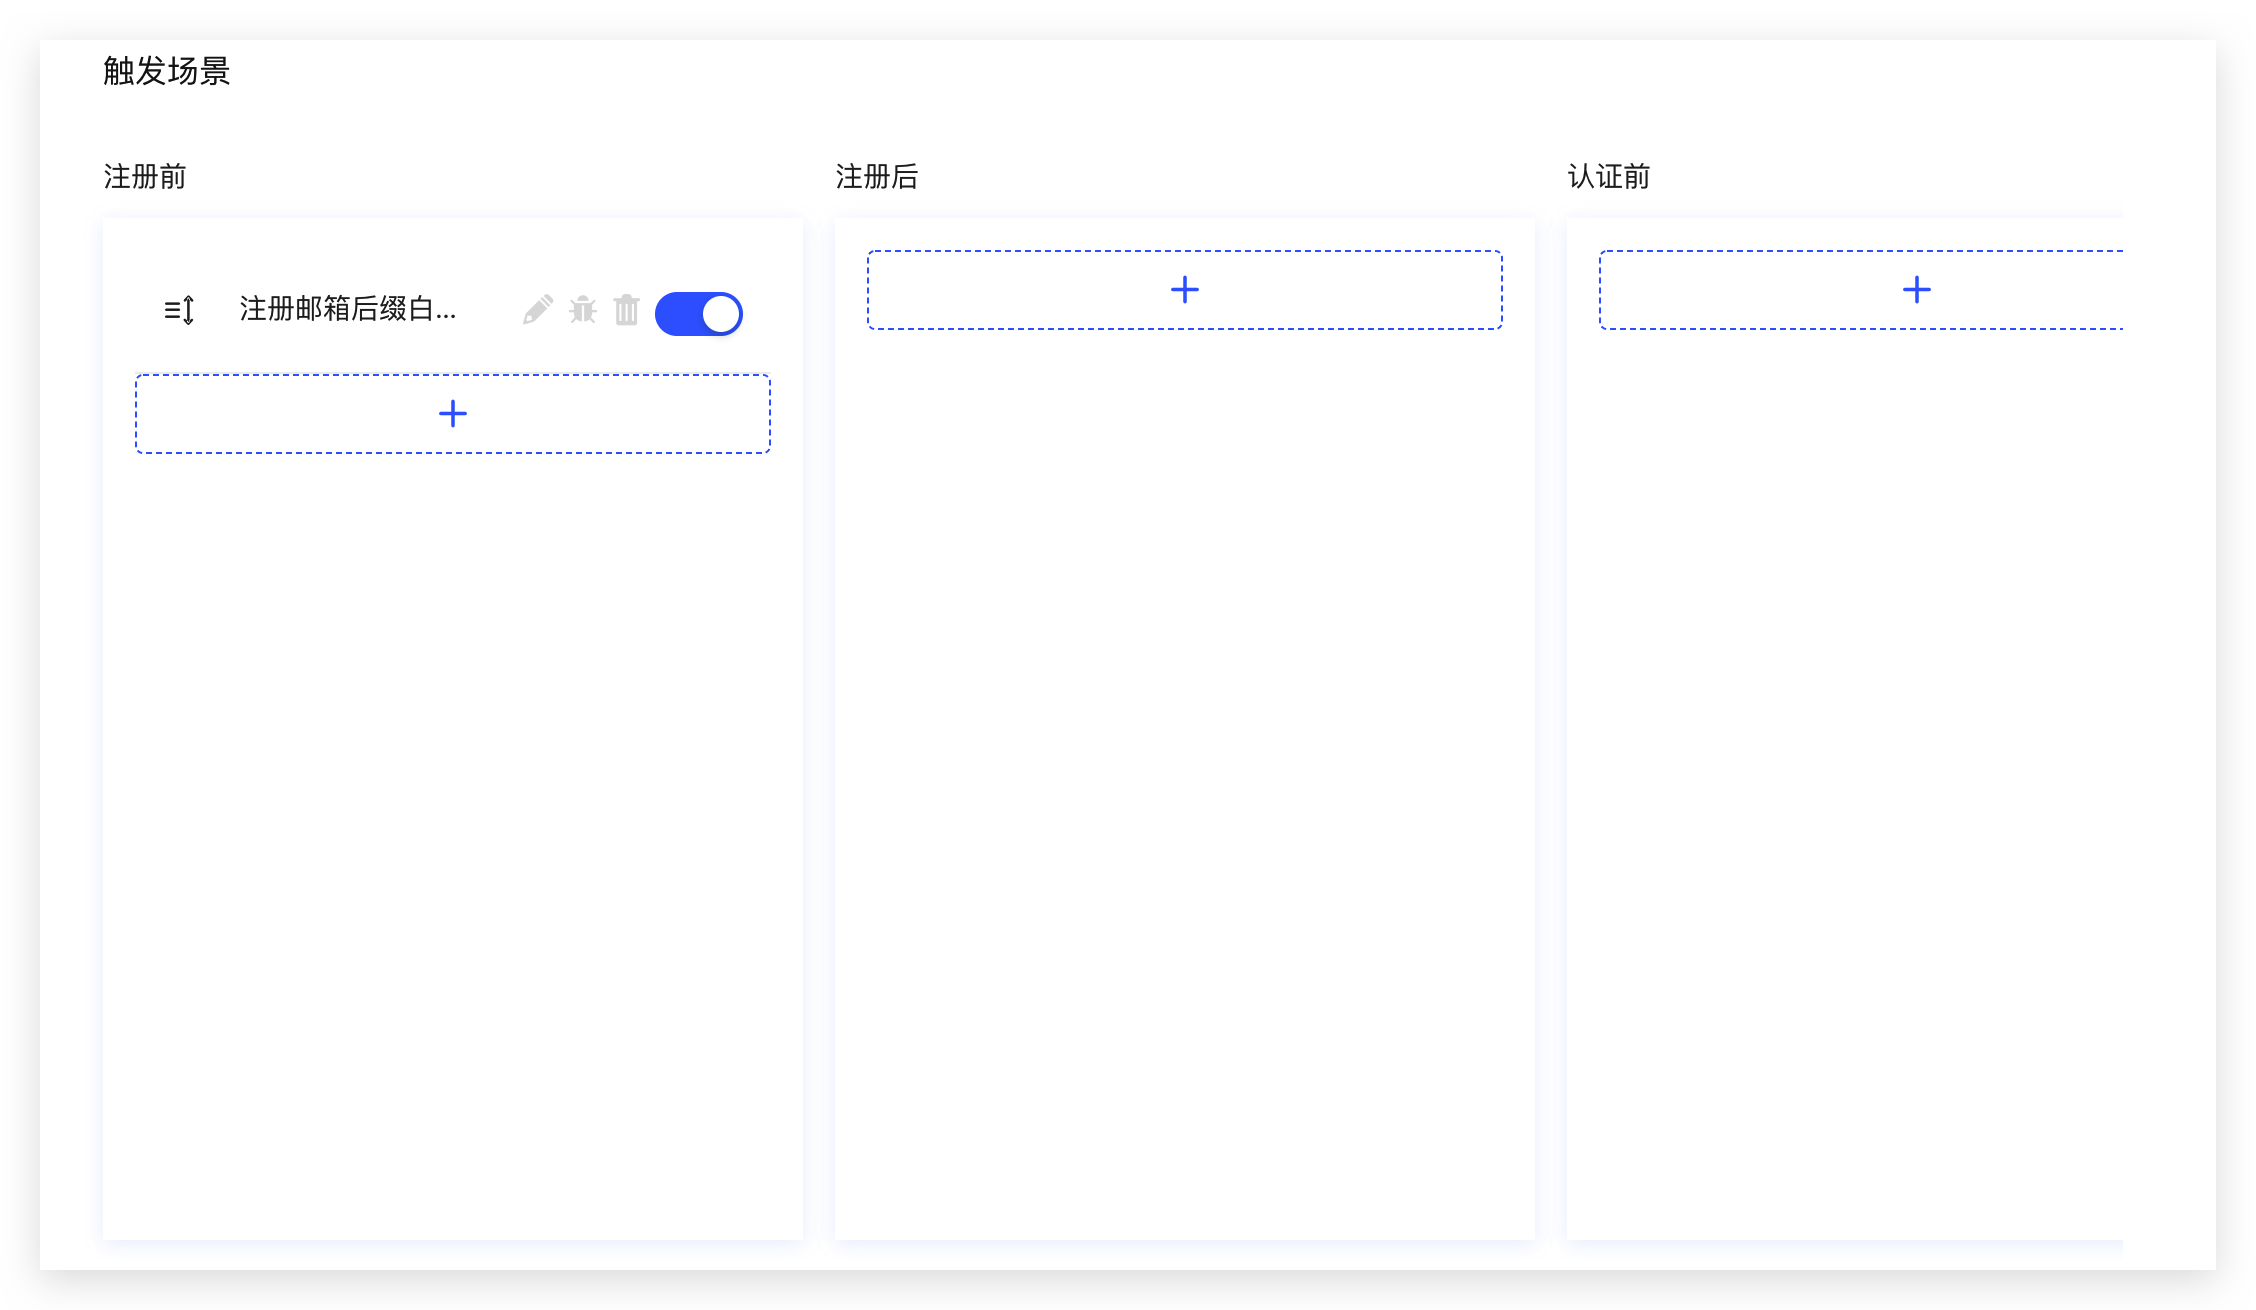
If you have multiple Pipeline functions, you can drag and drop to sort them.
# Verify that the whitelist is valid
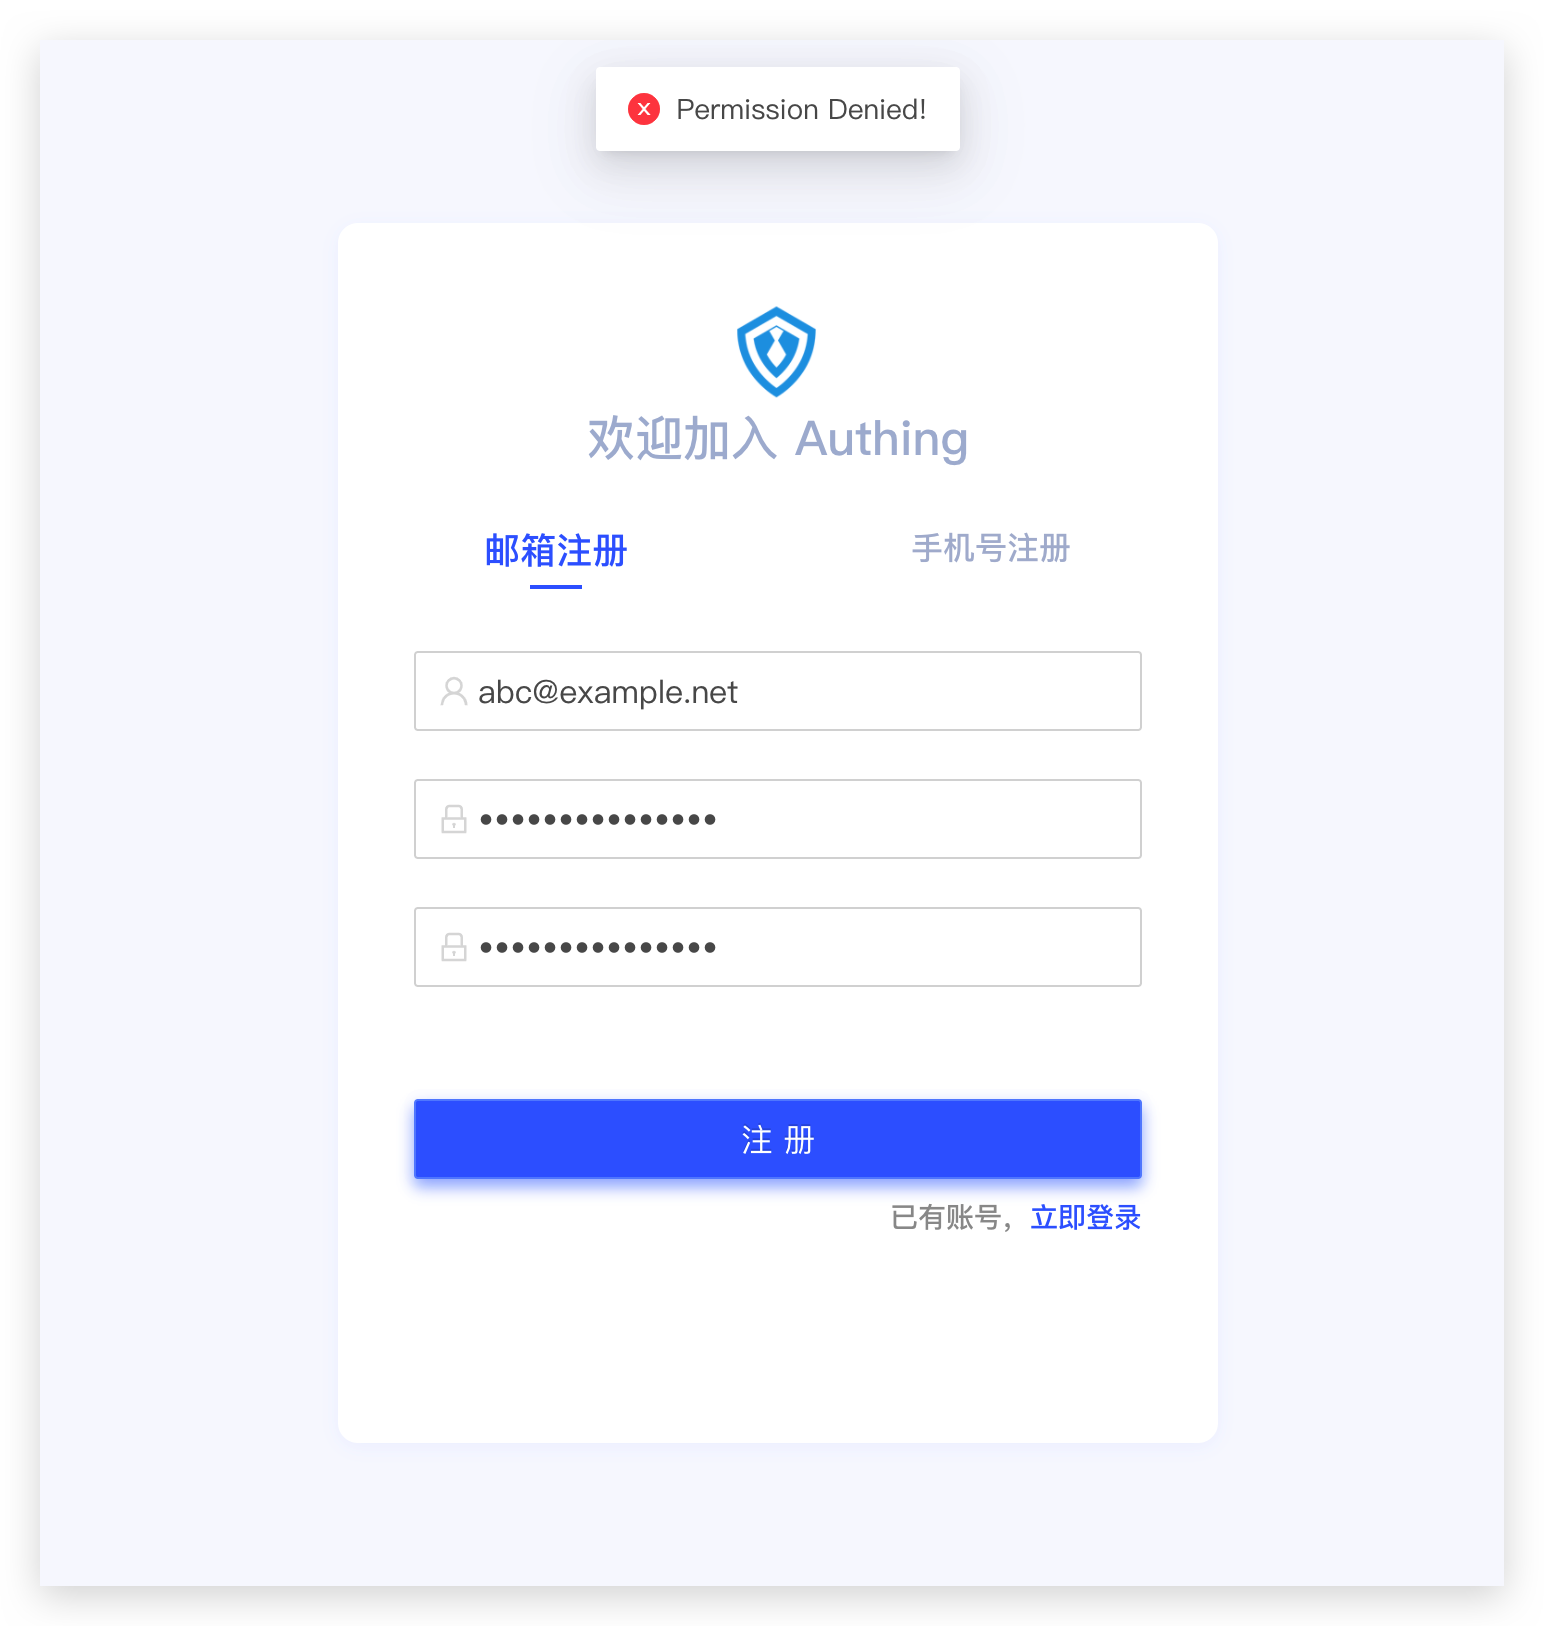
First use the non- example.com suffix mailbox, and see the "Access Denied." prompt returned, which is the prompt message we specified in the custom Pipeline function.
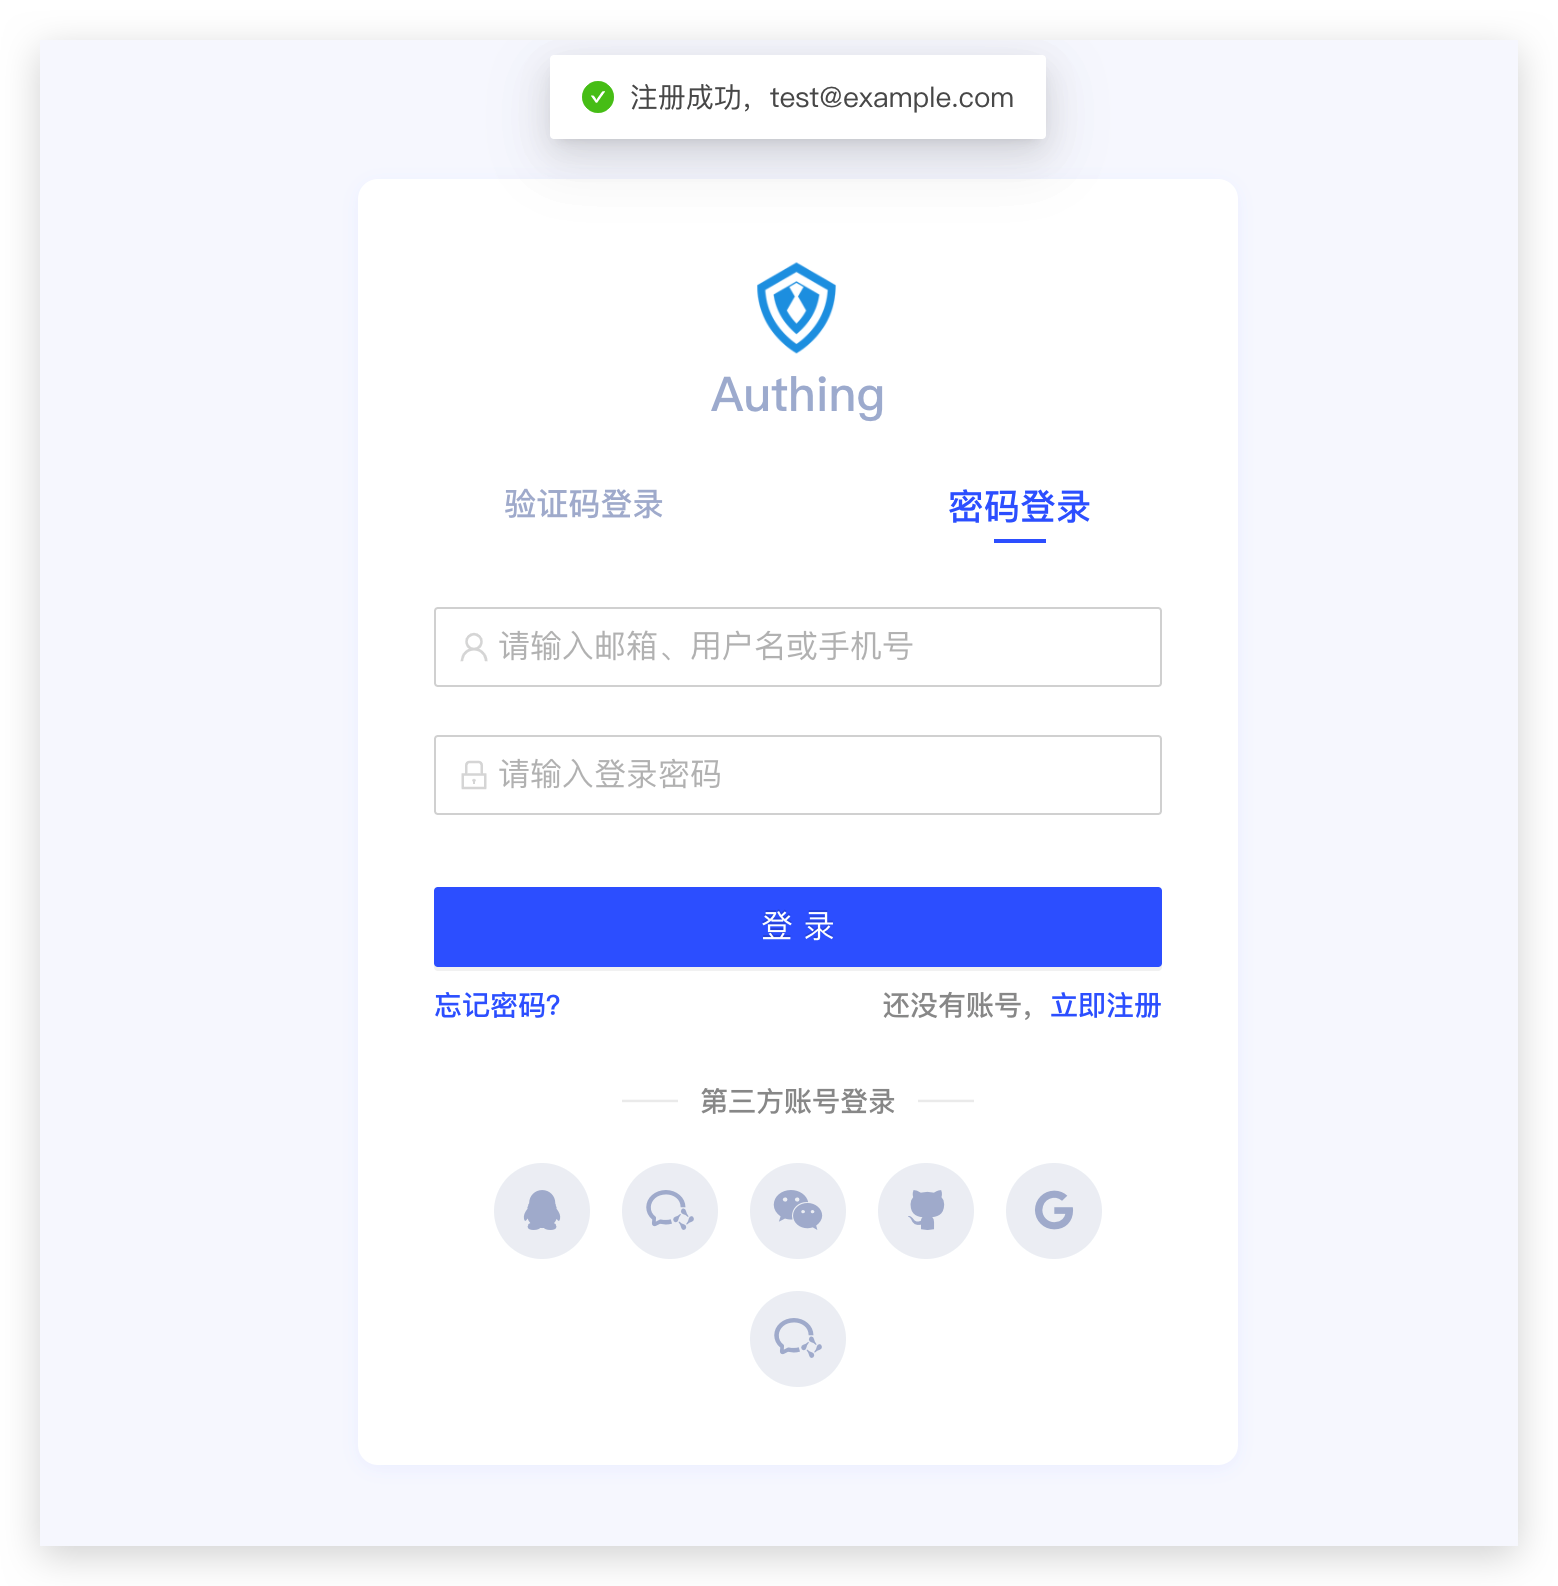
Then use the mailbox with the suffix example.com to register, the registration is successful!
# Next you may also need
You can:
- Read Pipeline function development document in detail.
- Understand which request information can be obtained in the pipe function: user object and context object.
- Learn how to use environment variables in the pipe function.
- Understand [which Node Modules out of the box] (available-node-modules.md) can be used in the pipe function. You can use authing-js-sdk directly!
- We provide a lot of rich pipeline function templates, click here to view (opens new window).
- We also provide a convenient [online debugging method] (how-to-debug.md) to facilitate online debugging by developers.