# First application
Implement the first Authing-based application.
- First application
- Application Development-Start from Authing
- Preparation before development
- Step zero: Register Authing account and create an application
- Step 1: Configure a basic HTML page and CSS
- Step 2: Add login status UI elements
- Step 3: Add Authing authentication form
- Step 4: Monitor the login success event and display the user name
- Step 5: Debug login and registration functions
- Step 6: Add events for the exit button
- Next you may also need
# Application Development-Start from Authing
This article is a guide for using Authing to develop applications (this article uses the Web side as an example), which contains the content of verifying user legitimacy on the backend. Any developer can read this article to learn how to use Authing.
This article uses Authing to implement a web-based login and logout application. For simplicity, this article does not use any advanced front-end framework.
# Preparation before development
# learning target
- Learn to create an Authing application in the console
- Use Authing to achieve login and logout
# Preliminary knowledge
- Basic HTML and CSS knowledge
- Intermediate JavaScript skills
# Tools required
- Your favorite text editor
- A modern browser
All the code for this article can be found on Github (opens new window), you can also [click here to view online DEMO](https://authing.github.io/getting -started/index.html).
# Step zero: Register Authing account and create an application
注册 Authing 开发者账号# Step 1: Configure a basic HTML page and CSS
Create a blank HTML document to write the Authing program:
<!doctype html>
<html>
<head>
  <meta charset="utf-8">
  <title>Authing Hello World</title>
  <style>
    .btn {
        background-color: #45bbee;
        border: none;
        border-radius: 4px;
        padding: 5px 10px;
        color: #fff;
    }
    .btn:hover {
        background-color: #45aaff;
        cursor: pointer;
    }
  </style>
</head>
<body>
  <script src="https://cdn.jsdelivr.net/npm/jquery"></script>
  <script>
      // Custom Codes
  </script>
</body>
</html>
JQuery is used in the example.
This tutorial is just for demonstration, so we did not choose other more advanced frameworks, which allows us to focus on Authing itself.
# Step 2: Add login status UI elements
Adding a piece of HTML to the HTML page is used to display the user name and complete user information (a JSON string) of the logged-in user, and there is a "Exit" button to log out.
<div id="logout" style="display: none">
    You are logged in and your username is: <span id="user"></span>.
    <div>
        Complete user information:
        <code id="userInfo"></code>
    </div>
    <button class="btn" id="logout-btn" style="margin-top:11px">Exit</button>
</div>
# Step 3: Add Authing authentication form
The Guard (opens new window) library can help us quickly generate a form for verifying user identity. You only need to add the CDN of this library to use:
// JavaScript code
<script src="https://cdn.jsdelivr.net/npm/@authing/native-js-ui-components"></script>
...
// CSS file
<link href="https://cdn.jsdelivr.net/npm/@authing/native-js-ui-components/lib/index.min.css" rel="stylesheet"></link>
Just put the script file before the entry script.
Use this library to generate a login form, the calling method is very simple, the code is as follows:
const guard = new AuthingNativeJsUIComponents.AuthingGuard('AUTHING_APP_ID', {
  mode: 'modal',
})
The required parameters are explained as follows:
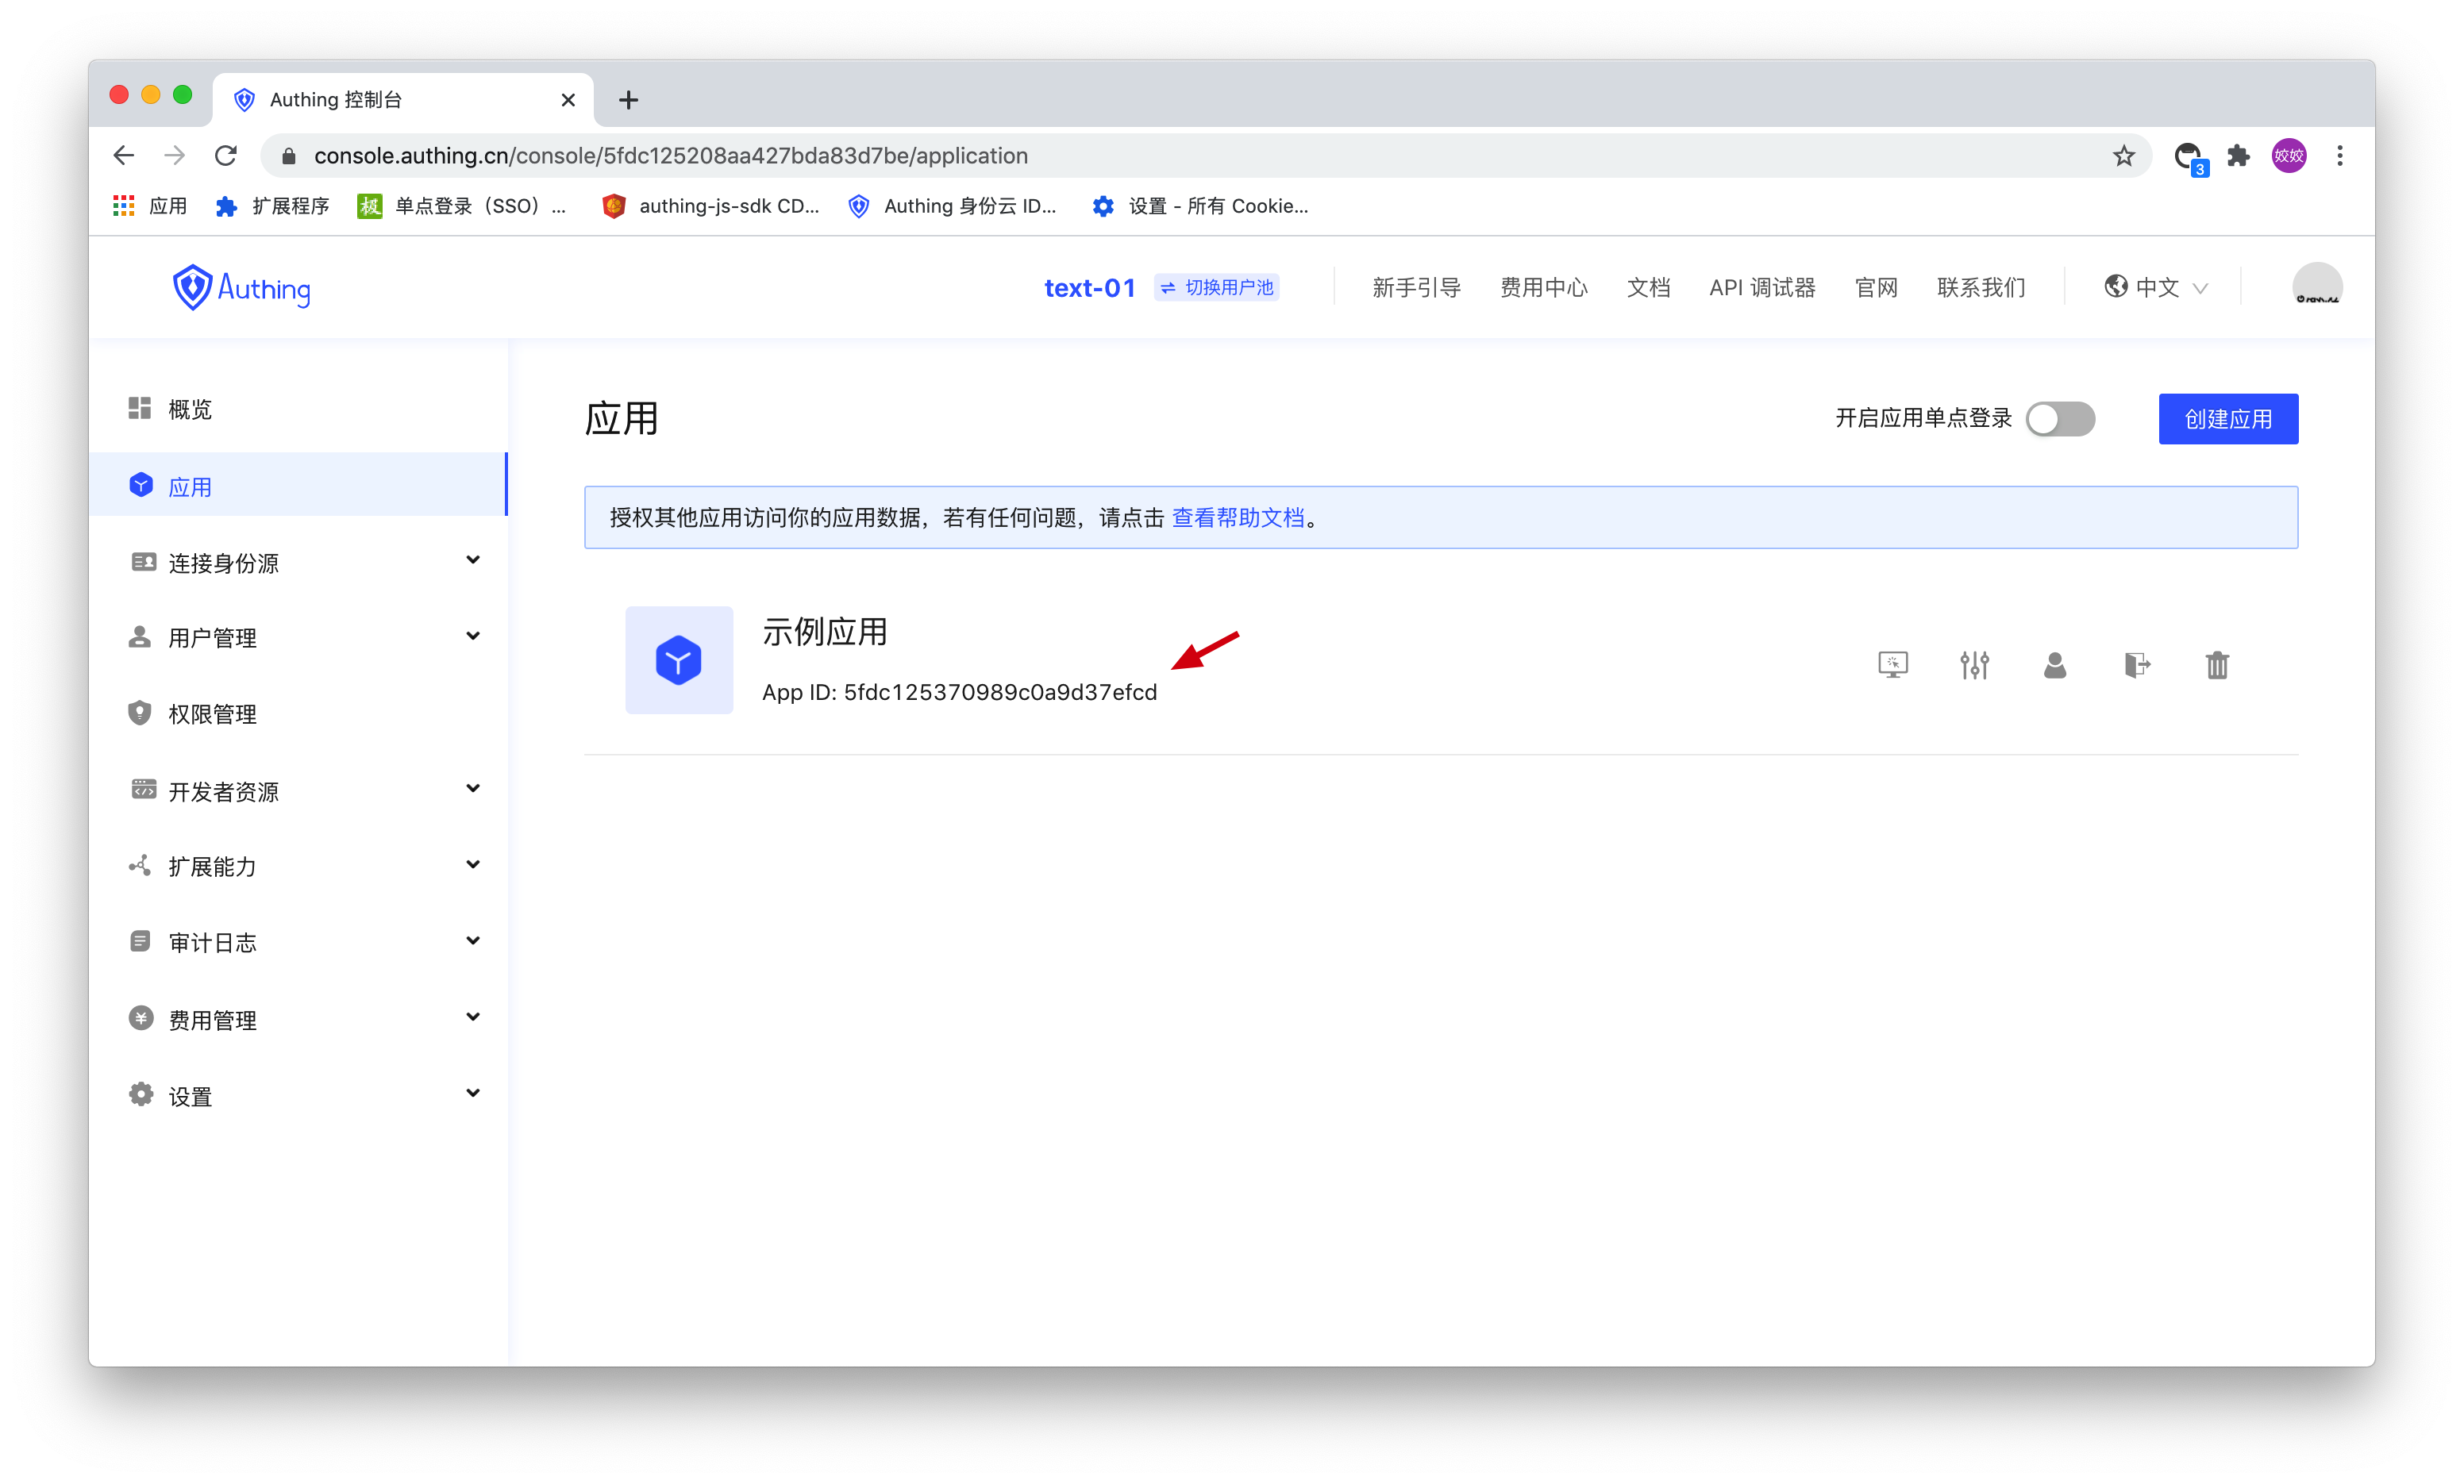
AUTHING_APP_ID: Application ID, which can be obtained from Authing console (opens new window), the specific location is as follows:
mode: Optional parameter, Guard display mode, there can be normal (normal mode) and modal (modal box mode), this example uses modal mode for easy hiding
View userPoolId
At this point we can see a form, its style is as shown in the figure below:

Generated login form
You can click here visit DEMO website (opens new window).
# Step 4: Monitor the login success event and display the user name
In Guard, developers can use the .on method to monitor successful login events, [for a complete list of events, please refer to here](https://docs.authing.cn/sdk/guard/#%E4%BA%8B %E4%BB%B6).
The name of the successful login event is "login":
var guard = new AuthingNativeJsUIComponents.AuthingGuard(
  '5d70d0e991fdd597019df70d',
  {
    mode: 'modal',
  }
)
const saveUserInfo = (user) => {
  localStorage.setItem('userInfo', JSON.stringify(user))
  localStorage.setItem('userId', user._id) // Store user id in localStorage
  localStorage.setItem('username', user.username) // Store user username in localStorage
  localStorage.setItem('token', user.token) // Store user token in localStorage
}
const showLoginStatus = () => {
  $('#logout').show() // show the exit button
  $('#user').html(localStorage.getItem('username')) // display username
  $('#userInfo').html(localStorage.getItem('userInfo')) // Display complete user information
}
guard.on('login', async function(user) {
  // Successful login, save user information
  saveUserInfo(user)

  guard.hide() // For the sake of simplicity, the form is hidden directly after the login is successful. In React or Vue applications, you can perform routing jumps or other services
  showLoginStatus()
})
In the callback event of successful login, the userInfo of the logged-in user will be returned, including JWT Token, click here View the definition, use and verification of JWT Token.
# Step 5: Debug login and registration functions
Up to the fourth step, congratulations you have completed the login and registration functions, now let us run the program to experience it. Let us use a browser to open the index.html in the project, log in/register, and you should see the following interface:
After successful login, you can see the following information:

Return information after login
# Step 6: Add events for the exit button
In the previous step, we completed the login function and experienced the process. Below, we also need to support the logout function:
The exit function needs to use the logout method of the authing object. The authing object needs to be obtained in the authing-load event. The code is as follows:
guard.on('authing-load', async function(authing) {
  // The callback function after the Authing instance is successfully loaded, the parameter authing is the authing object

  // Use the checkLoginStatus method to determine the current login status, you need to use await
  // If you are already logged in, hide the login box and display the current user information
  // The function of this code is that if the user is already logged in, he can see his user information after refreshing
  const token = localStorage.getItem('token')
  const result = await authing.checkLoginStatus(token)
  if (result.status) {
    // hide the login box
    guard.hide()
    // Display basic user information
    showLoginStatus()
  }

  // Use jQuery to monitor the click event of the exit button
  $('#logout-btn').click(async function() {
    // Use the logout method and pass in the user's userId to log out
    await authing.logout(localStorage.getItem('userId'))
    alert('Exit successfully')
    // Refresh the page, you can see the login box again
    location.reload()
  })
})
Finally, let's test the exit function.
Please open your browser, refresh the page, and click "Exit". After a while, you can see the following prompt popped up on the page:

Click the "OK" or "Confirm" button in the pop-up dialog box to re-enable the login box on the page.
If you need to verify the legitimacy of the JWT Token on the backend, please click here to view.
If you still don’t understand what a JWT Token is, please check this article.
Congratulations, so far, you have learned how to use Authing to develop your first application.
All the code for this article can be found on Github (opens new window), you can also [click here to view online DEMO](https://authing.github.io/getting -started/index.html).
If you want to learn more about how to use Guard, here are a few links for reference:
- Guard Github (opens new window)
- [Guard complete initialization parameter list](../sdk/guard/#advanced configuration)
- Guard complete event list
# Next you may also need
Use Authing to achieve single sign-on:
实现单点登录Learn the basics of Authing and the professional terms we will use:
基础概念Use Authing to achieve single sign-on:
实现单点登录The console is where you manage all Authing resources. You can learn about the contents of each module of the Authing console and the things you can do in the console:
控制台概览Learn about the multiple deployment models provided by Authing to help you choose how to deploy Authing:
部署模型和价格