# Use API to access the applet and scan the code to log in
Scan code login requires the client to do two steps:
- Generate QR code
- The client polls the scan code status
The user scan code to confirm the authorization part is handled by the small login applet provided by Authing.
Generate a small program to scan the QR code to log in.
This interface will return QR code ID (random) and QR code link.
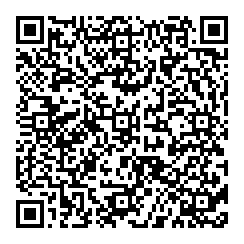
Example of generated QR code:

Use Online QR Code Decoding Tool (opens new window) to view the QR code data as follows:
{
  "scene": "WXAPP_AUTH",
  "random": "SzZrszCJNCFfVBDUCKLDtAYNBR96SK",
  "userPoolId": "5fae2648201cfd526f0ec354",
  "createdAt": "2020-11-13T06:23:25.396Z",
  "expiresIn": 120,
  "customData": {}
}
Query QR code scanning status
Request result field description:
-status -0: Code is not scanned. -1: After scanning the code but the user has not clicked to agree to authorize or cancel authorization, the user's avatar and nickname will be returned at this time, but it does not contain other confidential information, which can be used for front-end avatar display. -2: User agrees to authorization -3: User cancels authorization --1: Expired -userInfo: -By default, after the user scans the QR code, it will contain two fields: nickname and photo -Developers can also configure to return complete user information (including login credentials token) -ticket: used to exchange for complete user information. **This field will only appear after the user agrees to the authorization. **See below for details.
Use ticket in exchange for user information
Note: By default, this interface is only allowed to be called on the server side, that is, it needs to be initialized with the user pool key.