# Configure custom database
Only Enterprise Edition users can use the custom database connection function. For details, please see https://authing.cn/pricing (opens new window). If you want to try it, please contact 15559944612 or sales@authing.cn.
You can customize the database authentication user. For this you need to configure the database connection, write database operation scripts, and configure environment variables (optional).
Please make sure that your database has some fields necessary for Authing user information, such as id, email, photo, nickname, username, phone, etc. For details, please see Authing User Information Fields and Interpretation Understand the Authing user profile schema.
Authing supports direct connection to the following mainstream databases:
-MySQL -PostgresQL -MongoDB -Sql Server
You can also encapsulate the database as a service without directly exposing the database connection. For example, you can encapsulate the authentication operation as an API: https://mydomain.com/auth.
If the service you access in the script is configured with a firewall, please make sure it is open to the following IP addresses: 140.179.19.50, 52.80.250.250. You can also dynamically obtain the external IP address of the Authing server through the following API: https://core. authing.cn/api/v2/system/public-ips (opens new window).
# Open custom database connection
After opening the custom database, it will take effect immediately. Before you write a custom script, the user will prompt an error similar to Please implement the Login script for this database connection when trying to log in. This is an error from the default script, please Go to modify the script, or temporarily close the custom database connection.
Log in to Authing console (opens new window), on the Connect Identity Source- Custom Database page, click the Open button in the upper right corner :

# Choose a scene
There are two different modes for custom databases, and you can choose the appropriate mode according to your business needs:
- Lazy migration of users: This mode of migrating users is called lazy migration. In simple terms, the principle is as follows: At the beginning, all the original user data is in your database. When the user is the first When logging in with Authing for the second time, Authing will find and verify the user in your database through the custom database script you configured. If successful, the user will be migrated to Authing; when the user logs in for the second time, Authing will be used. The database verifies it; when all users log in at least once, it means that the migration to the cloud is complete. For details, please see: Use a custom database to implement lazy migration of users (opens new window).
- Fully use custom database: In this mode, user data is always stored in your database, and Authing will never save your user data. In order for the system to work properly, you need to implement a complete user add, delete, modify, and check script.
# Configure database connection information
Next, fill in the database connection information, you can choose between Connection URI and Programmatic two methods:
# Connection URI form

Connection URI is generally a URI in the form of protocol://username:password@host:port/database, such as postgres://postgres:postgres@localhost:5432/database-name, you can pass it in the script The global variable env.DB_CONNECTION_URI is referenced as follows:
const { Client } = require('pg')

const client = new Client({
  connectionString: env.DB_CONNECTION_URI,
})
await client.connect()
# Programmatic form

This mode specifies the host, port, user name, password, and database name of the database. You can use the global variables env.DB_HOST, env.DB_PORT, env.DB_USERNAME, env.DB_PASSWORD, env.DB_DATABASE reference, as follows:
const { Client } = require('pg')
const client = new Client({
  host: env.DB_HOST,
  port: env.DB_PORT,
  user: env.DB_USERNAME,
  password: env.DB_PASSWORD,
  database: env.DB_DATABASE,
})
await client.connect()
# Write database operation script
When choosing migrating user data to Authing (LAZY_MIGRATION) mode, you need to write two functions in total:
- Login: This script will be executed when the user tries to log in. If the user is not synchronized to the Authing database, the user account password will be checked according to the script you filled in.
- Find User: This script will be executed when the user tries to register. If the script returns the user identity information, it will prompt the user user already exists and registration failed.
We currently provide five templates of MySQL, PostgresQL, MongoDB, Sql Server, and Custom Service. You can write the corresponding scripts according to your needs. .
When you choose the mode Use your own database (CUSTOM_USER_STORE) completely, you need to write the following functions in total:
- Login: This script will be executed when the user tries to log in. If the user is not synchronized to the Authing database, the user account password will be checked according to the script you filled in.
- Find User: This script will be executed when the user tries to register. If the script returns the user identity information, it will prompt the user user already exists and registration failed.
- Create User: This script will be executed when the user registers or uses the API and console to create a user. You need to save the user information in your own database.
- Modify User Profile: This script will be executed when the administrator modifies the user profile or the user modifies the user profile.
- Delete User: This script will be executed when the administrator deletes the user account using the console or API.
- Get user list: This script will be executed when the administrator uses the console or API to get the user list. The data required by this interface needs to include the total number of users and the user list on the current page.
- Verify Password: This script will be executed when the user tries to reset the password and verify the original password.
# Test database script
We provide developers with an online database for quick testing. You can use this database for quick testing, click here (opens new window) to access.
The database is free and open to all users. The database connection information is postgres://postgres:postgres_root_local@47.74.20.164:31000/custom-db-connection. You can create a test user or use the sample user in the list.
After configuring the Connection URI, click Save, and click the Debug button at the bottom.

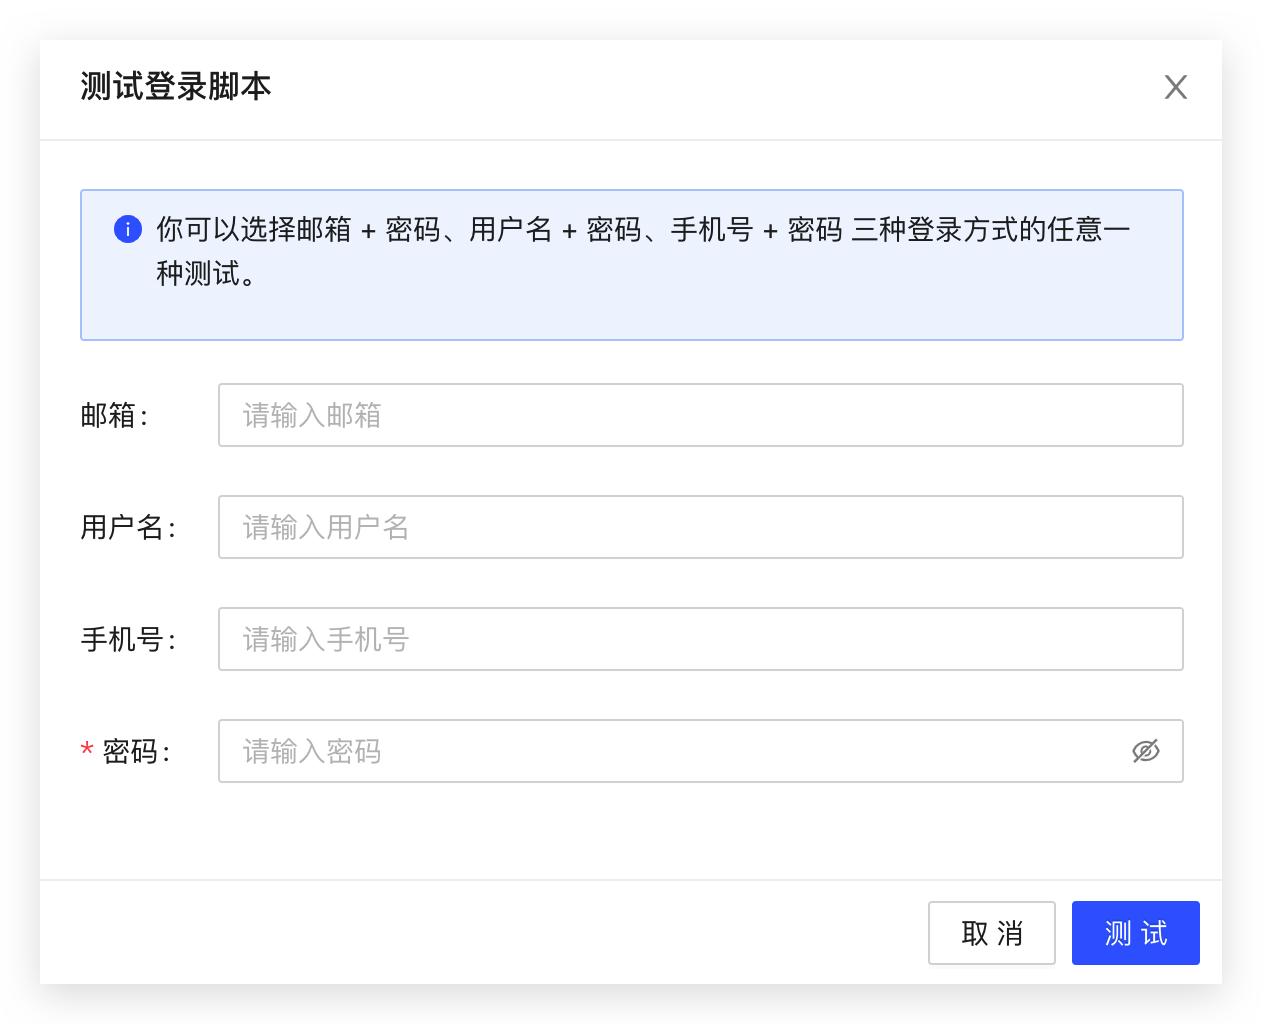
Fill in a user from the user list of the sample user pool in the pop-up form:

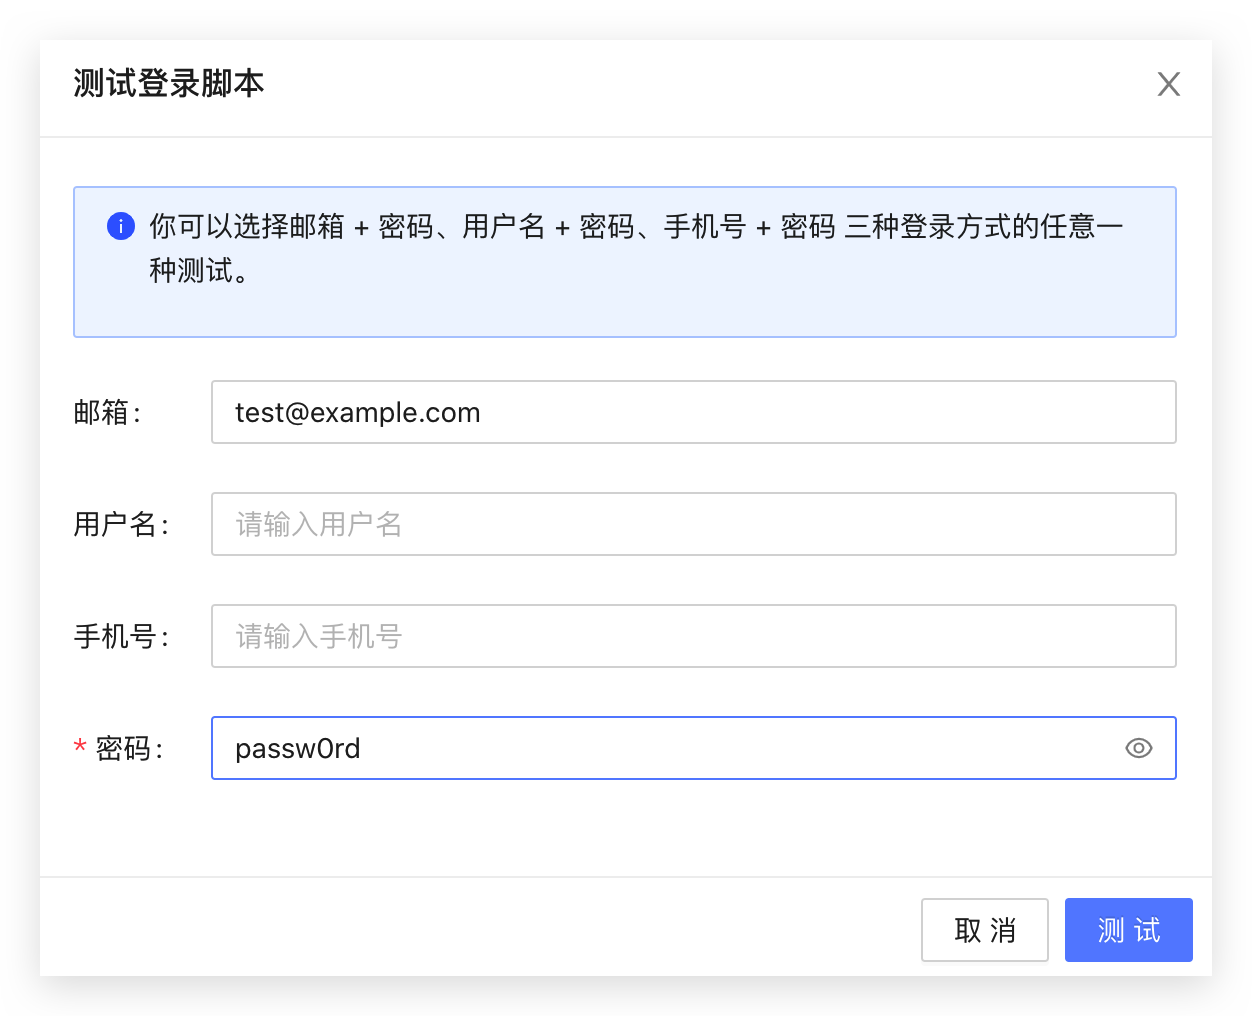
Click the Test button, and you should be able to see related success prompts.
