# Configure Custom Social Connections
Authing provides the ability to access a custom OAuth2.0 identity provider. If you need to connect to a social login identity source other than Authing's built-in social login identity source, you can use this article to do so.
# Create a custom social login connection
# Fill in basic application information
Go to Authing Console> Connect Identity Source> Social Login, find "Connect Custom Social Login" at the bottom, and click the plus sign on the right.

In the drawer that pops up, first fill in some basic connection information, connection identifier, display name, and you can upload an application logo.

# Fill in the basic information of the identity source
Next, fill in some basic information about the external social login provider. You can find the relevant URL endpoints from the documentation of the external OAuth2.0 identity provider, including Authorization Endpoint, Token Endpoint, ** Scope optional value**. Also fill in the application ID and application key of the external OAuth2.0 social login identity source. You can find these information at the external OAuth2.0 social login identity source.

Although scope is optional in the form here, some external OAuth2.0 social login identity sources may require the scope parameter to be passed. It is recommended to fill in the corresponding configuration here.
Authorization link template is a string template, you can use ${authEndPoint}, ${tokenEndPoint}, ${scope}, ${clientId}, ${clientSecret} These macros.
The corresponding relationship between macros and form items is as follows:
| Macro | Form Item |
|---|---|
${authEndPoint} | Authorization URL |
${tokenEndPoint} | Token URL |
${scope} | scope |
${clientId} | Application ID |
${clientSecret} | Application Secret |
Example:
If the authorization link template is filled in:
${authEndPoint}?client_id=${clientId}&response_type=code&state=4634641&scope=${scope}&redirect_uri=https://core.authing.cn/connections/oauth2/5fa91b0f50315451dc86086d/callback
The following authorization URL will be generated in the future:
https://login.microsoftonline.com/8f909eb1-99fe-4f75-b4e0-2f7ab37815c6/oauth2/v2.0/authorize?client_id=fc52a7ab-4172-4db3-9292-e51f85a1576e&response_type=code&state=4634641&scope=openid profile&redirect_uri=https:/ /core.authing.cn/connections/oauth2/5fa91b0f50315451dc86086d/callback
# Upload custom code snippets
Finally, and the most critical part, you need to upload custom code snippets to complete the functions of Code for Token and Token for user information and field alignment.

Authing has provided you with template code:
You can use the request-promise (opens new window) library to send network requests in the function.
# codeToToken function
The following is the template code of the codeToToken function. The first parameter of the function code is the authorization code. You need to use this code to log in to the **Token endpoint of the identity provider from the external OAuth2.0 socialization **AccessToken in exchange.
async function codeToToken(code, connection) {
  const options = {
    method: "POST",
    uri: "External OAuth2.0 IdP Token endpoint",
    form: {
      client_id: "External OAuth2.0 IdP application ID",
      client_secret: "External OAuth2.0 IdP application secret",
      grant_type: "authorization_code",
      redirect_uri:
        "https://core.authing.cn/connections/oauth2/{connection ID}/callback",
      code,
    },
    json: true,
  };
  const resp = await request(options);

  // Return the string value of AccessToken here
  return resp.access_token;
}
# tokenToUserInfo function
The following is the template code of the tokenToUserInfo function. The first parameter of the function accessToken is the return value of the previous function codeToToken (in this case, resp.access_token), you need to use * accessToken** exchanges user information from the **user information endpoint** of the external OAuth2.0 social login identity provider, and completes the field alignment. The return value is an object, and the content must be a user information field that conforms to the Authing data format, and must include the userIdInIdp field, which is the unique identifier of the user in the external identity provider *, which is the user ID.
async function tokenToUserInfo(accessToken, connection) {
  const options = {
    method: "POST",
    uri: "External OAuth2.0 IdP user information endpoint",
    form: {
      access_token: accessToken,
    },
    json: true,
  };
  const resp = await request(options);

  // Perform field alignment
  const profile = {
    // Must contain userIdInIdp field
    userIdInIdp: resp.sub,
    name: resp.name,
    familyName: resp.family_name,
    givenName: resp.given_name,
    photo: resp.picture,
  };
  return profile;
}
Please align the user information to the following fields, that is, the content returned by the tokenToUserInfo function must be an object, and the key in this object must exist in the field names in the following table. Authing user information field meaning table:
| Field name | Format | Meaning |
|---|---|---|
| username | string | username |
| string | ||
| emailVerified | boolean | Is the email verified |
| phone | string | phone number |
| phoneVerified | boolean | Is the phone number verified |
| birthdate | string | birthday |
| familyName | string | Last Name |
| gender | string | gender |
| locale | string | birthday |
| middleName | string | middle name |
| givenName | string | First name |
| nickname | string | nickname |
| photo | string | Avatar link |
| profile | string | Profile page link |
| preferredUsername | string | Favorite username |
| updatedAt | Date | updated date |
| website | string | Personal website |
| zoneinfo | string | Time zone |
Finally click "Save". At this point, the custom external social login settings are all completed, and then let's experience the use of custom social login connections for authentication.
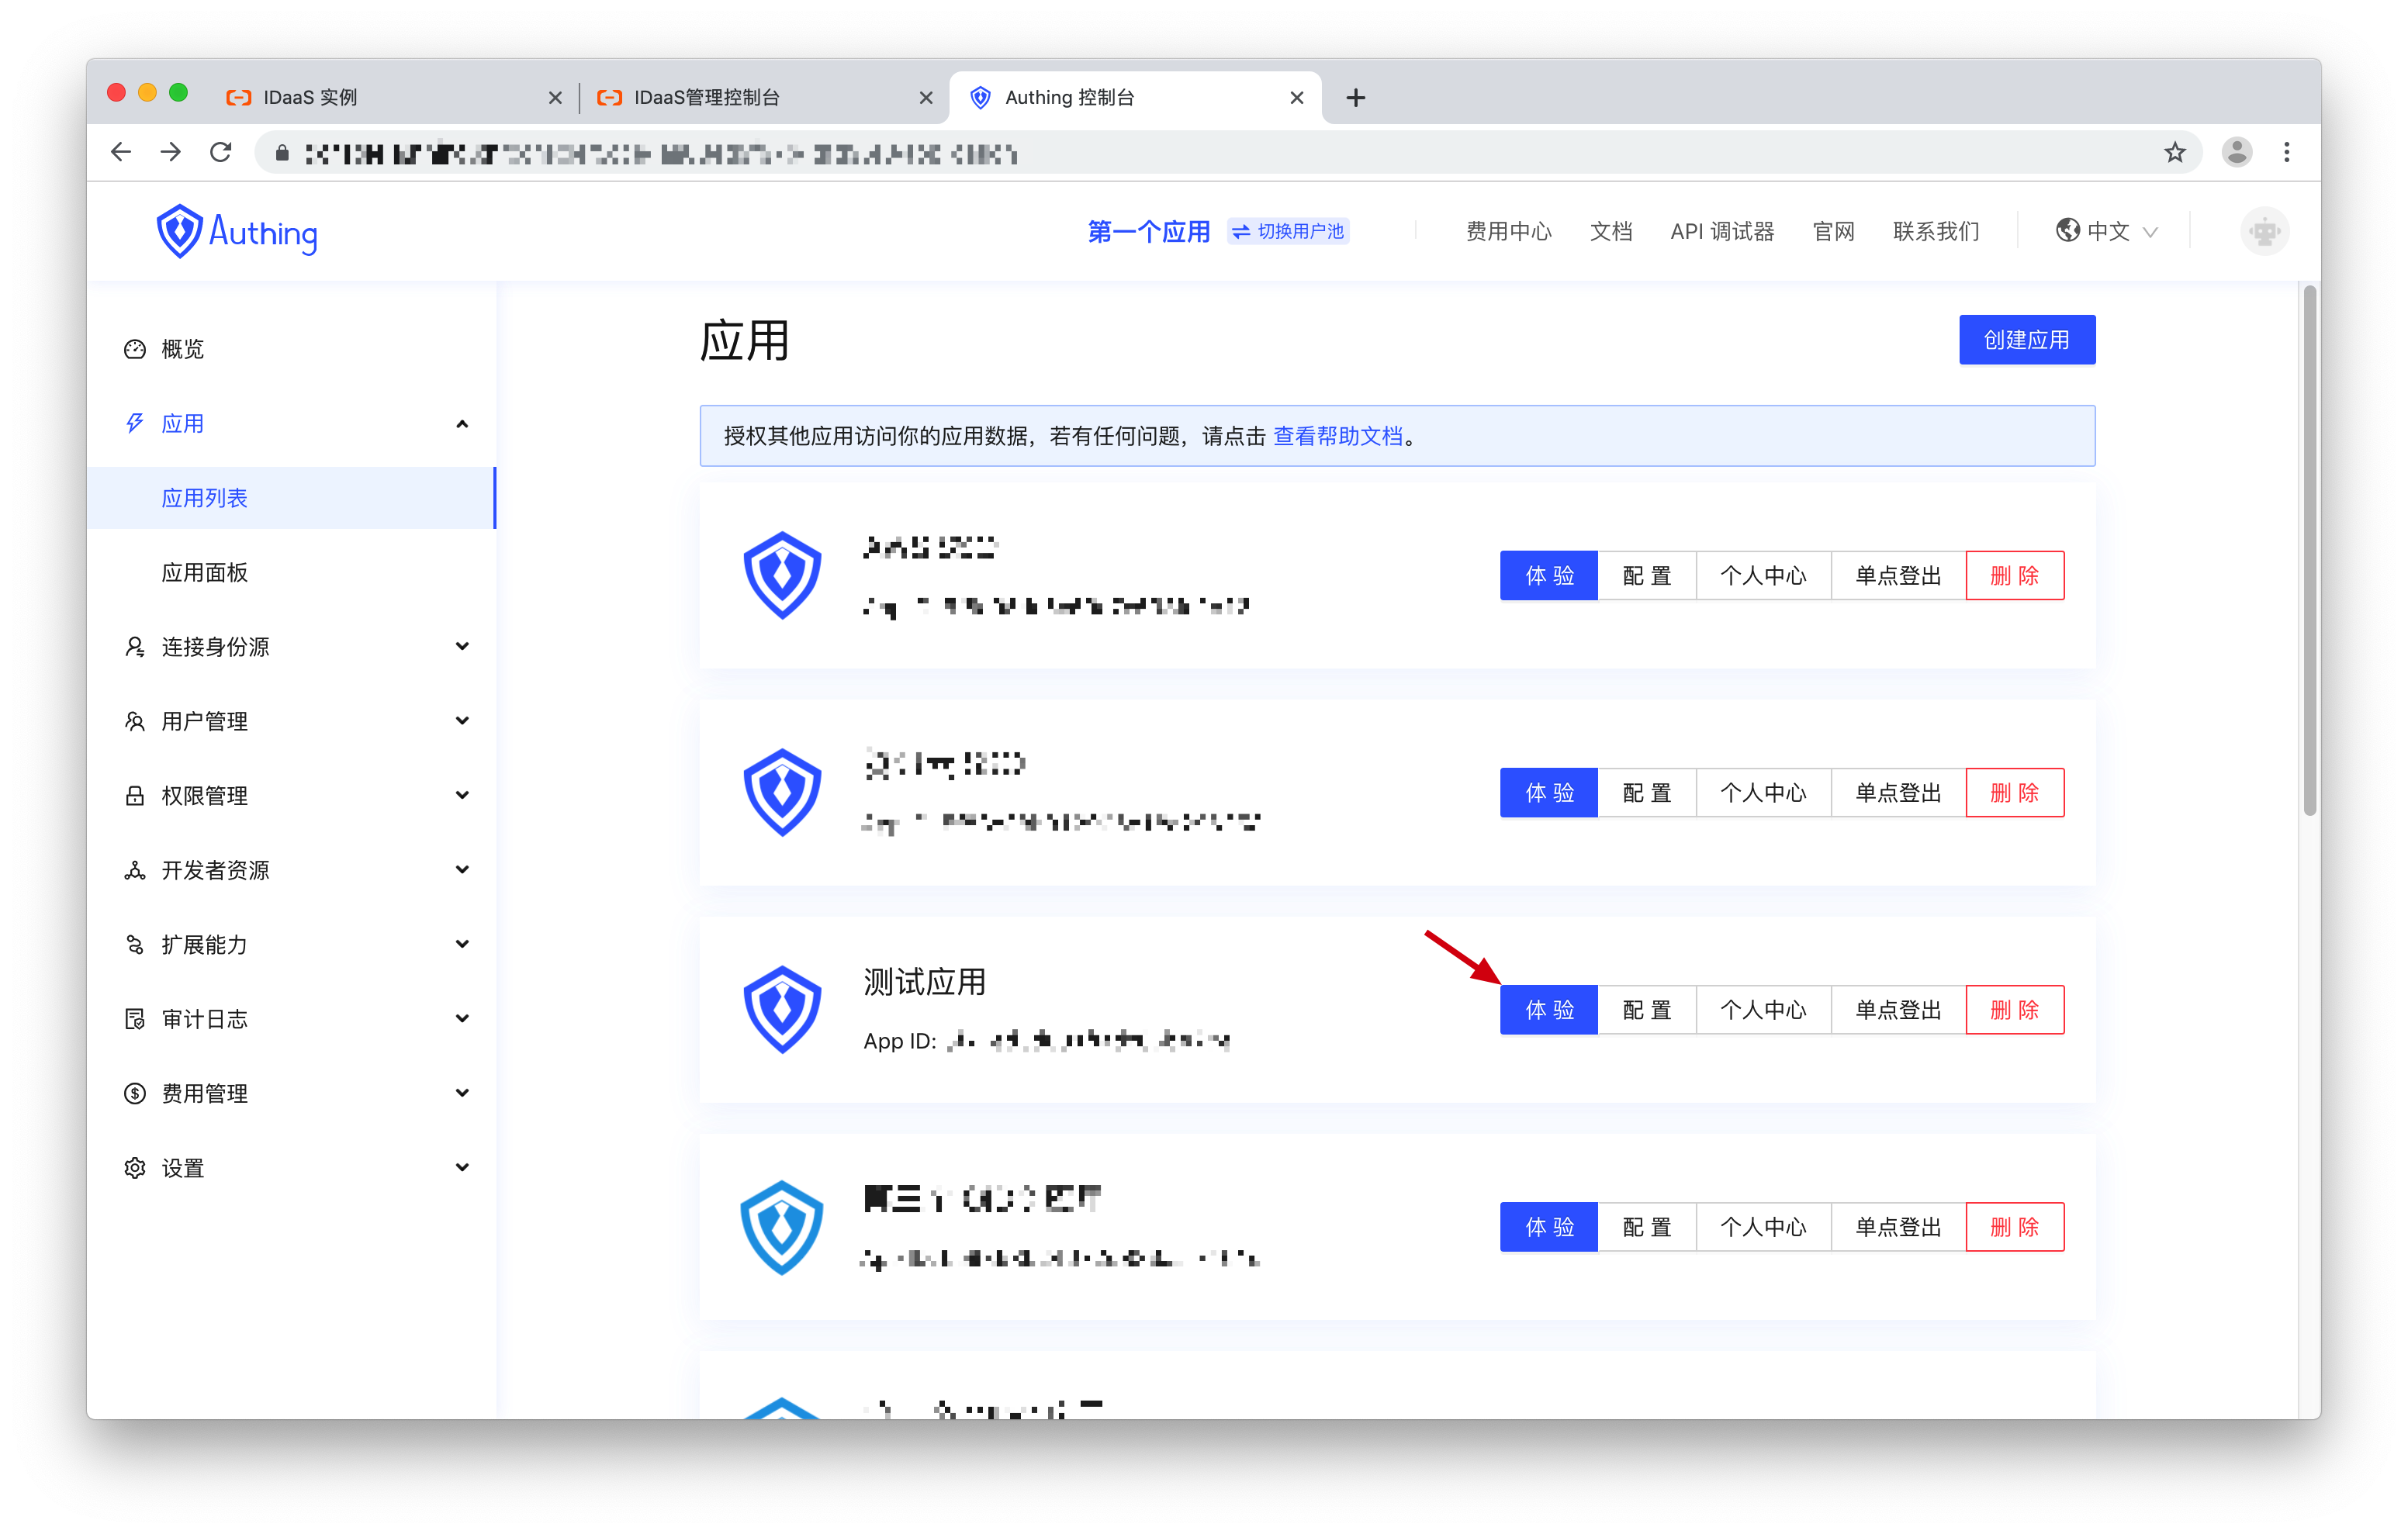
# Test connection
Go to Control Panel> Apps> App List, choose an app at will, and click "Experience".
On the login page, click "Log in with custom social login".

In the pop-up login box, complete the authentication in the external social login identity source.

login successful.

After successful login, jump to the callback address and carry the code authorization code.
# Next you may need
Use authorization code in exchange for user information:
Use OIDC authorization← Scopes WeChat login →